How to install the Tsurugi Linux distribution
If you need to analyze a computer for security or educational purposes, you’ll need a good forensics operating system. That’s where Tsurugi, a forensics analysis operating system, comes in. Here’s how to set it up.
Please note that Tsurugi Linux is designed for educational purposes only. Any other uses of this operating system aren’t supported or recommended.
Downloading Tsurugi Linux
Tsurugi Linux is a forensic operating system. As a result, it has two release versions: Aquire and Lab. The version we’ll be covering in this guide is Tsurugi Lab, which is intended to be installed on a computer.
Note: if you wish to check out the Aquire version of Tsurugi Linux, click here.
To get your hands on the latest release of Tsurugi Linux Lab, head over to the official website. Once on the website, select the “Download” button with the mouse. Then, choose one of the mirror links.
After selecting a mirror link, download Tsurugi Linux Lab. For fast download speeds, consider selecting the “Torrent” option. It saves the developers on bandwidth cost and downloads significantly quicker than the HTTP download.
Creating a Tsurugi Linux USB installer
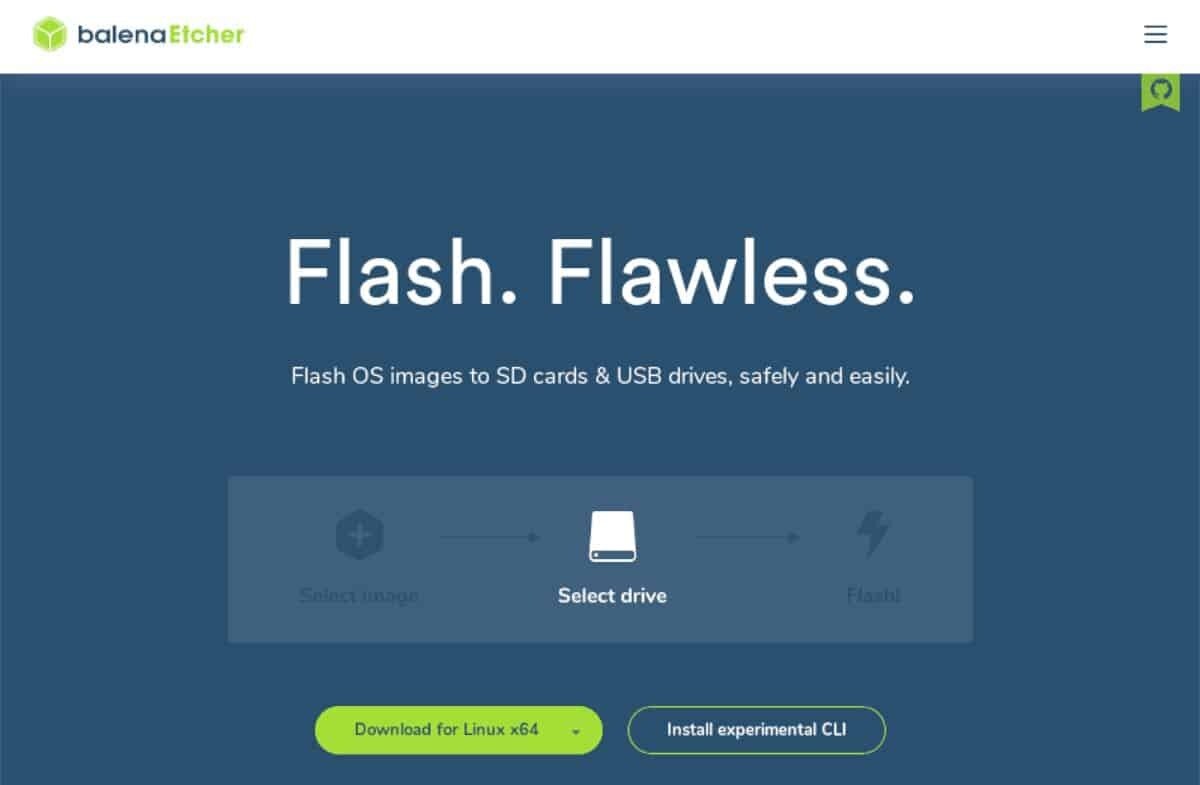
To install Tusurugi Linux on your computer, you’ll have to create a USB installer. To do that, head over to Etcher.io and download the app’s latest release. Then, install Etcher and launch it on your computer.
With the Etcher app installed, open it up on the desktop. Then, follow the step-by-step instructions below to create a Tsurugi Linux USB installer.
Step 1: Select the “Flash from file” button. Then, use the pop-up window to browse for the Tsurugi ISO file downloaded previously.
Step 2: Click on the “Select target” button to choose an installation target. Then, browse for your USB flash drive.
Step 3: Locate the “Flash!” button and click on it with the mouse to start the flashing process. Keep in mind that this process will take some time to complete.
When the flashing process is complete, reboot your computer into its BIOS. Once you load up the BIOS, locate the boot configuration, and change it to boot from USB.
How to install the Tsurugi Linux distribution
To install Tsurugi Linux on your computer, follow the step-by-step instructions below.
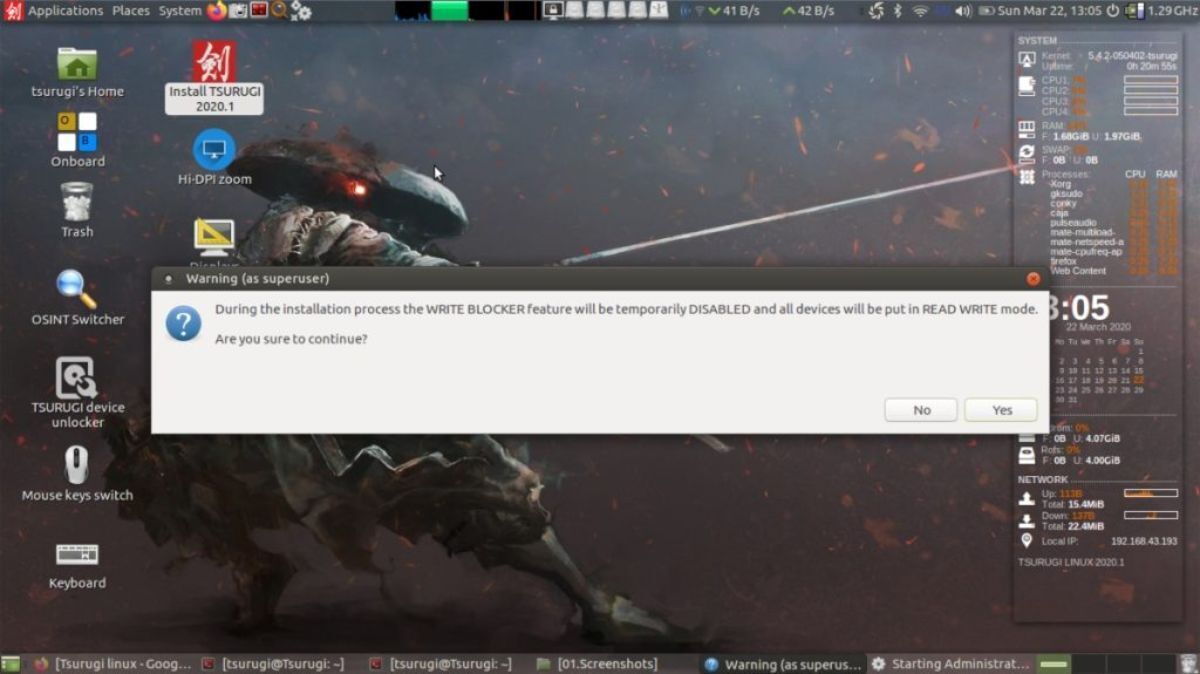
Step 1: Upon loading up the Tsurugi Linux desktop, find the “Install Tsurugi 2020.1” icon. Select this icon to open up the installation tool.
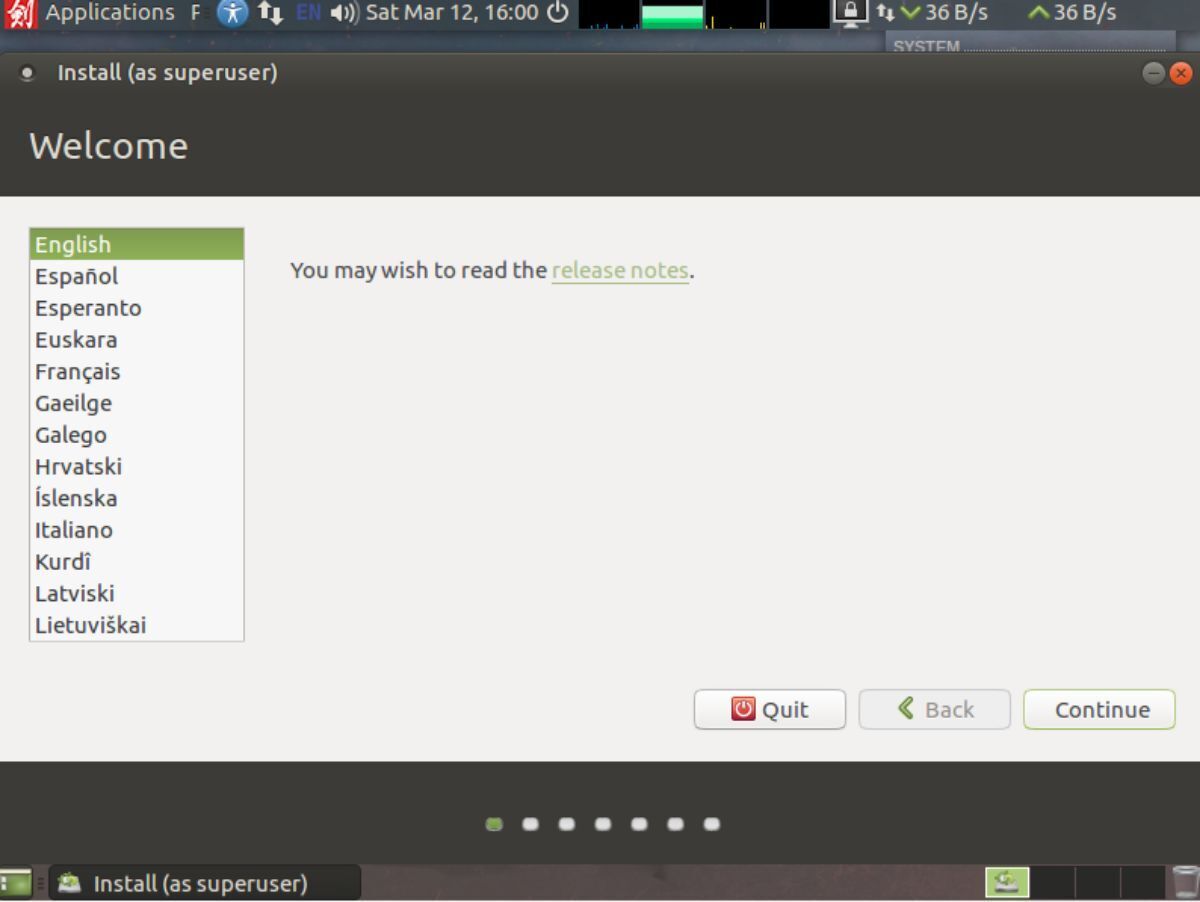
Step 2: After selecting the installation icon, you will see a welcome screen. Select the “Continue” button after reading the welcome message.
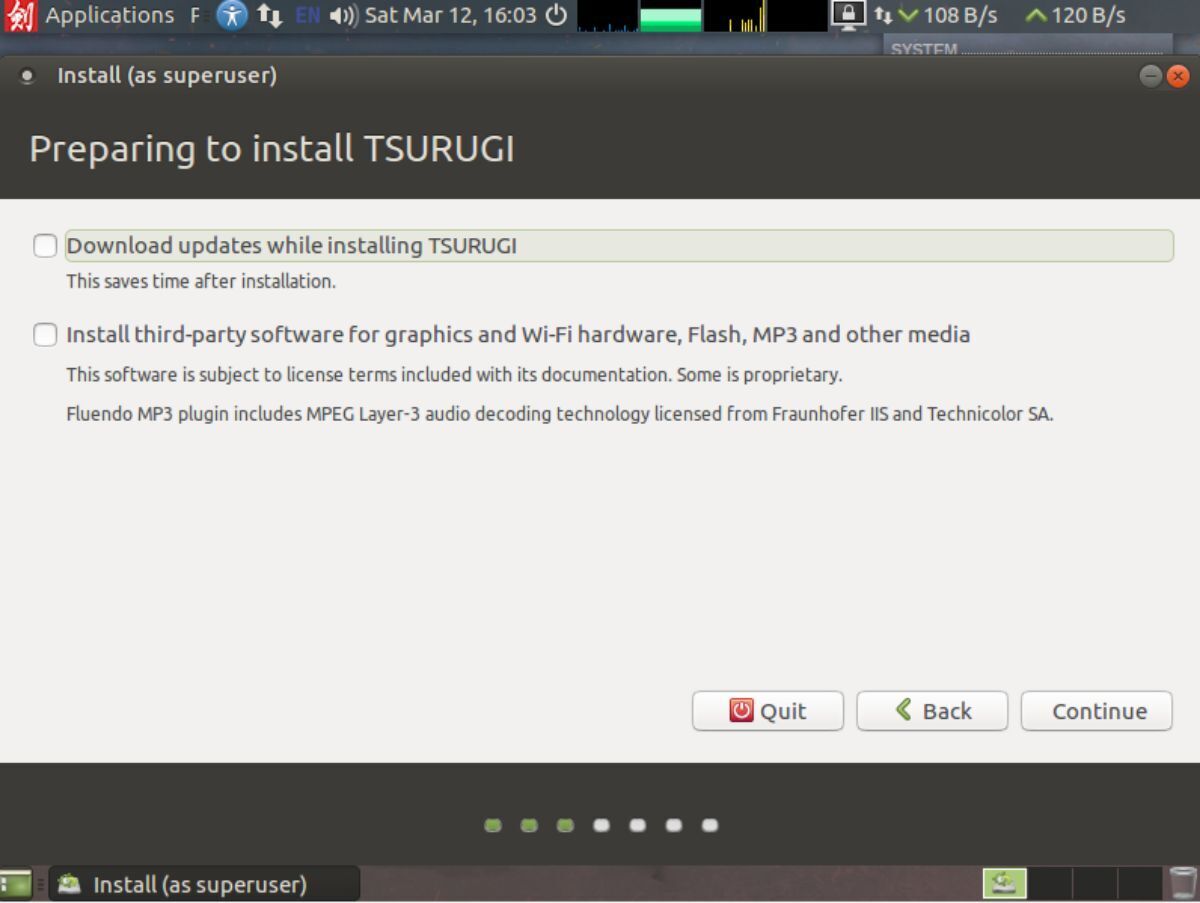
Step 3: On the next page of the Tsurugi Linux installer, select the “Download updates while installing TSURUGI.” Then, select the “Install third-party software for graphics and Wi-Fi hardware, Flash, MP3, and other media.”
Step 4: After selecting installation options, you must choose your installation type. Choose “Erase disk and install TSURUGI” for best results. Otherwise, choose another option.
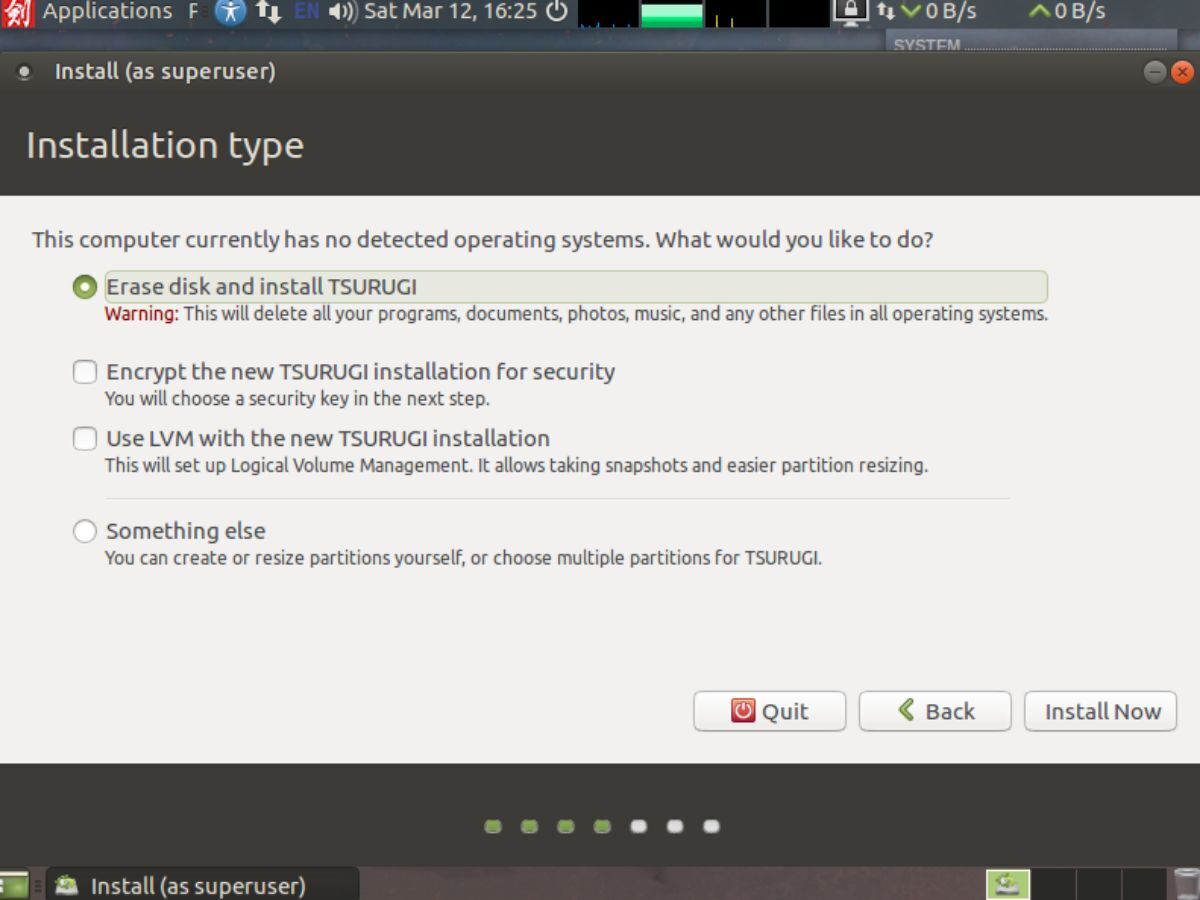
Upon selecting your installation type, find the “Install Now” button and select it with the mouse to start the installation process.
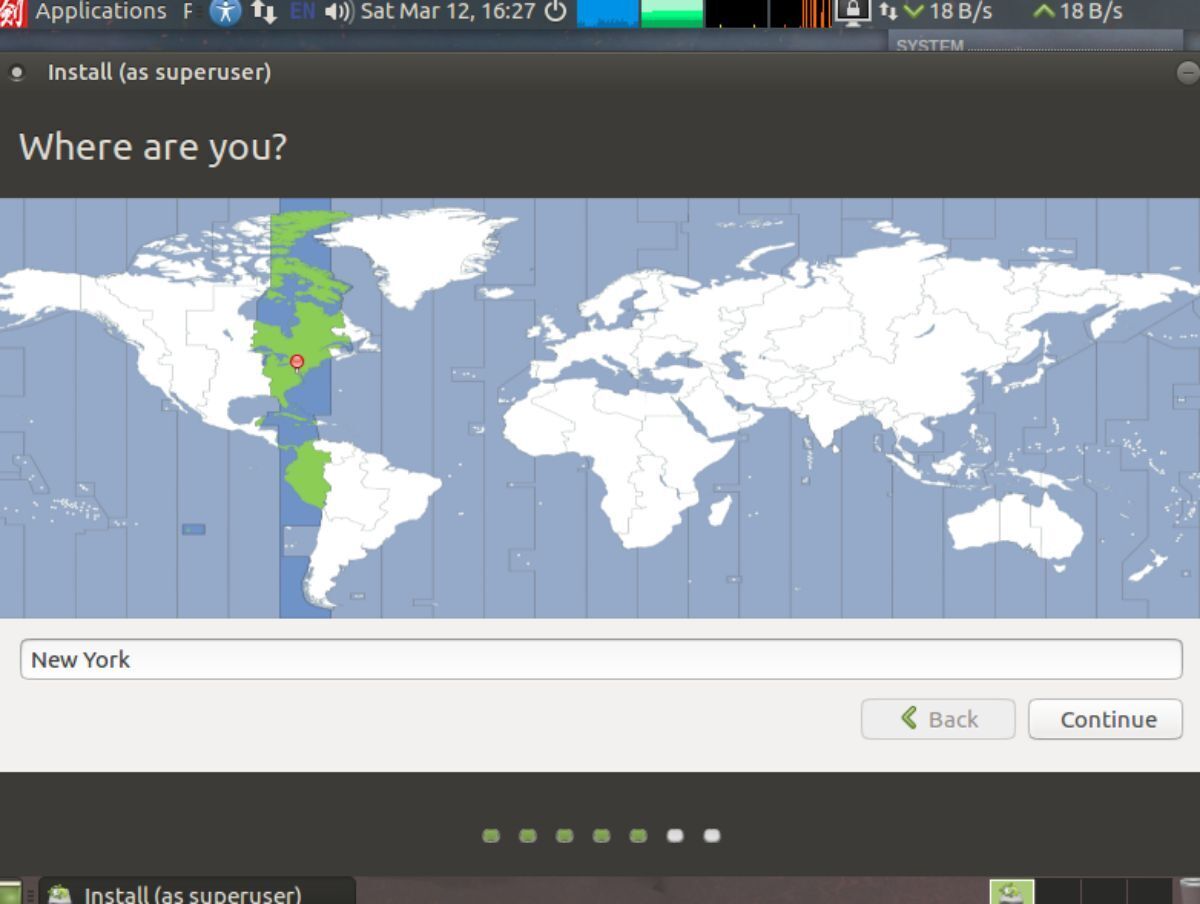
Step 5: You must now select your timezone. Using the graphical map on the screen, choose your timezone. After selecting your timezone, find the “Continue” button to move to the next page in the installer.
Step 6: After selecting your timezone, you’ll need to choose a keyboard layout. Using the keyboard layout selector, choose the correct keyboard layout for you. Alternatively, leave it at the default one selected by the operating system.
When you’ve settled on a keyboard layout, click on the “Continue” button to move to the next page of the installer.
Step 7: Following the keyboard layout, the Tsurugi Linux installer will require you to set up a username, password, and everything else. To configure it, start typing your name into the “Your name” box.
After setting up your name, select the “Your computer’s name” box. Then, fill out what you wish your computer’s name to be. Lastly, find the “Pick a username” box, and enter a username (all lower case) as well as a secure password.
When everything is filled out, select the “Continue” button to move on to the next page of the Tsurugi Linux installation tool.
Step 8: Once your username, computer name, and password are set, the installation will begin. Sit back and allow Tsurugi Linux to install the software onto your computer. Keep in mind that the installation process will take a bit of time to finish.
A message will appear on the screen when the installation process is complete. This message says, “Installation has finished. You can continue testing TSURUGI now, but until you restart the computer, any changes you make or documents you save will not be preserved. ”
Select the “Restart Now” button to restart your computer. Once it is rebooted, you can load up Tsurugi Linux and start using it for forensic analysis.
