How to install the Kile LaTeX editor on Linux
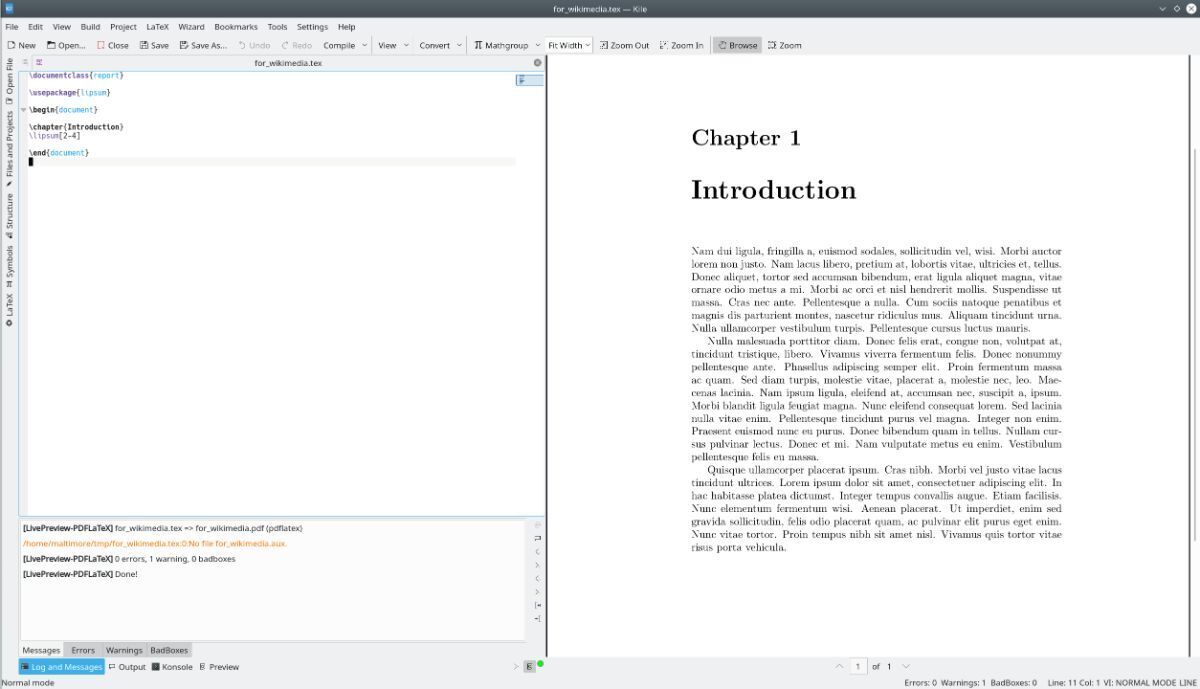
Need a good LaTeX editor for your Linux desktop? Consider checking out Kile. It’s a highly configurable, user-friendly LaTeX editor built by the KDE project. It has many excellent features, like interactive preview and quick compile options. Here’s how to install Kile on Linux.
Ubuntu installation instructions
The Kile LaTeX editor is available for all Ubuntu users, provided they’re using Ubuntu 18.04 LTS, 20.04 LTS, or newer. Additionally, the user must have the Ubuntu Universe software repository enabled. To enable this repo, open up a terminal window.
You can open up a terminal window on the Linux desktop by pressing Ctrl + Alt + T on the keyboard. Or by searching for “Terminal” in the app menu. Run the add-apt-repository command below to set up the app once the terminal window is open and ready to use.
sudo add-apt-repository universe
After running the command above, the Universe repository should be enabled. Next, run the apt install command to set up the Kile editor.
sudo apt install kile
Upon entering the command above, Ubuntu will ask you for your password. Then, using the keyboard, enter your user account password and press the Enter key to confirm it.
With your password entered, Ubuntu will ask you to press the Y key to confirm the installation of Kile. Do so to install the app to your system. Close the terminal when done.
Debian installation instructions
Those on Debian 11, Debian 10, and Debian Sid can install the Kile editor through the “main” Debian software repository. To start the installation process, open up a terminal window on the desktop. You can open up a terminal by pressing Ctrl + Alt + T on the keyboard or searching for “Terminal” in the app menu and launching it that way.
With the terminal window open and ready to use, run the apt-get install command to install your Debian system’s “kile” package.
sudo apt install kile
Debian will ask you for your password when the command above is run. Then, using the keyboard, enter your user account password and press the Enter key to confirm it.
With your password confirmed, Debian will ask you to press the Y key to confirm you wish to install the “kile” package. Do so to install the software.
Please note that Debian packages tend to be outdated, so if you prefer a more recent release of the Kile LaTeX editor, follow the Flatpak instructions instead.
Arch Linux installation instructions
The Kile LaTeX editor is available for all Arch Linux users in the “Extra” software repository. So, ensure you have this software repository enabled on your computer. Then, use the pacman -S command below to install the “kile” package.
sudo pacman -S kile
After entering the command above, Arch Linux will ask you for your password. First, use the keyboard to enter your password. Then, press the Enter key to confirm it.
Upon entering your password, Arch Linux will ask you if you wish to install the software on your system. Press the Enter key or the Y key to confirm you want to set up Kile on Arch Linux.
Fedora installation instructions
The Kile LaTeX editor is available for Fedora Linux users in the official software repository. To get the app working on your Fedora system, start opening up a terminal window on the desktop.
You can open up a terminal by pressing Ctrl + Alt + T on the keyboard. Or, search for “terminal” in the app menu and launch it that way.
Run the following dnf install command with the terminal window open to install the “kile” package on your Fedora system.
sudo dnf install kile
Fedora Linux will ask you to enter your password upon writing the command above. Using your keyboard, write in your user account password.
When you’ve entered your password, Fedora will ask you to confirm the installation by pressing the Y key. Do so to install Kile on your Linux system.
OpenSUSE installation instructions
If you’d like to use the Kile LaTeX editor on OpenSUSE Linux, open up a terminal window on the desktop. You can press Ctrl + Alt + T on the keyboard. Alternatively, search for “terminal” in the app menu and open it.
With the terminal window open, use the zypper install command to set up the latest release of Kile on your OpenSUSE system.
sudo zypper install kile
With the command above entered, OpenSUSE will ask you for your user account password. Using the keyboard, enter your password. OpenSUSE will ask you to press Y to confirm the installation when done. Do so to install Kile on your computer.
