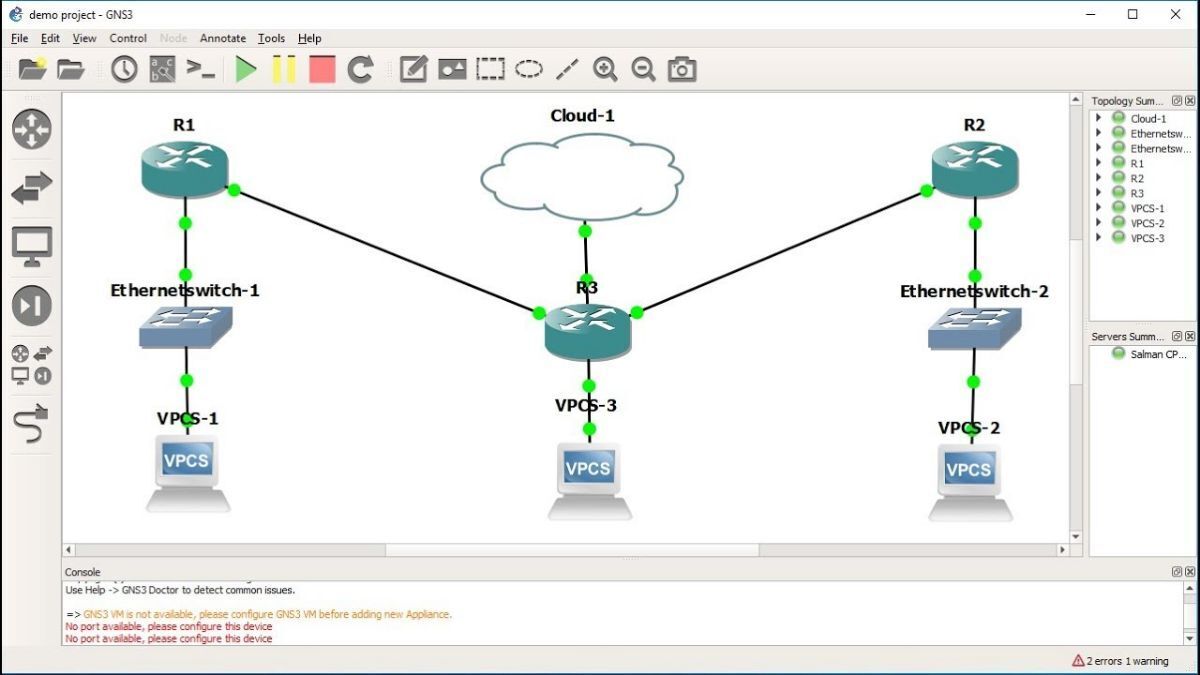
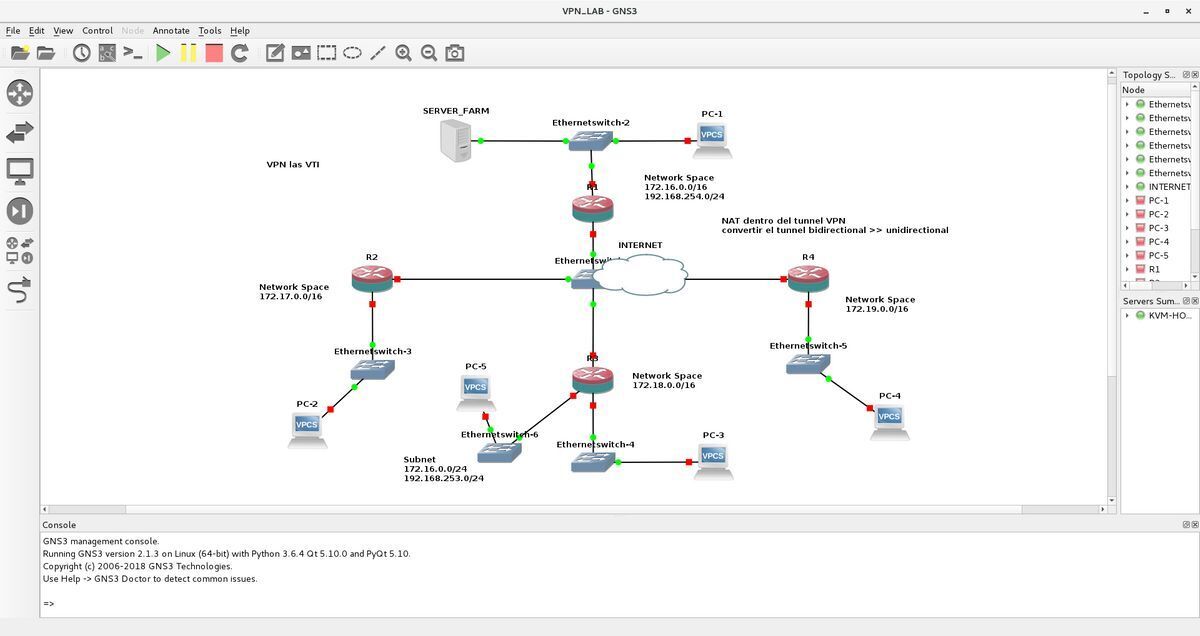
How to install GNS3 on Linux
GNS3 is a network simulation tool for IT pros. With it, users can improve their networks. Here’s how you can install GNS3 on Linux.
Ubuntu installation instructions
GNS3 is installable on Ubuntu and Ubuntu-based Linux operating systems (Linux Mint, Zorin OS, Elementary, etc.) through a PPA. To install GNS3 on your Ubuntu system, start opening up a terminal window.
Once a terminal window is open and ready to use, run the add-apt-repository command to add the GNS3 PPA to your system. This PPA will keep GNS3 up to date with the latest patches.
sudo add-apt-repository ppa:gns3/ppa
After adding the PPA, use the dpkg –add-architecture command to add IOU support for GNS3.
sudo dpkg --add-architecture i386
Next, run the apt update command to refresh Ubuntu’s software sources.
sudo apt update
Finally, you’ll be able to install the GNS3 GUI and GNS3 server packages on your Ubuntu (or Ubuntu-based system).
sudo apt install gns3-gui gns3-server gns3-iou
Debian installation instructions
If you use Debian or a Debian-based Linux operating system, you will be able to install GNS3. Officially, GNS3 supports Debian Jesse, Debian Stretch, and Debian Buster. Be sure to upgrade to one of these versions of Debian before attempting to install GNS3.
Open up a terminal window to set up GNS3 on your Debian system. Once the terminal window opens, use the nano -w command to open up the “sources.list” file.
sudo nano -w /etc/apt/sources.list
Once in the “sources.list” file, move to the bottom. Then, create a new line and add the following comment. This comment will denote what the repos you add do.
Note: do not open Nano if you use Debian Buster.
# GNS3 repos
After adding the comment line, add the following code to your “sources.list” file.
Debian Jesse
deb http://ppa.launchpad.net/gns3/ppa/ubuntu trusty main

deb-src http://ppa.launchpad.net/gns3/ppa/ubuntu trusty main
Once the two repo lines are added to your Debian Jesse “sources.list” file, save Nano with Ctrl + O, exit with Ctrl + X, and run the apt-get update command to refresh Debian’s software sources.
sudo apt-get update
With everything up to date on Debian Jesse, install GNS3.
sudo apt-get install -y gns3-gui gns3-server
Debian Stretch
deb http://ppa.launchpad.net/gns3/ppa/ubuntu xenial main

deb-src http://ppa.launchpad.net/gns3/ppa/ubuntu xenial main
Once the two repo lines to the Debian Stretch “sources.list” file, save the Nano editor by pressing Ctrl + O on the keyboard. Then, close Nano with Ctrl + X and run the following apt-get update command to refresh Debian.
sudo apt-get update
Finally, install GNS3 on Debian Stretch.
sudo apt-get install -y gns3-gui gns3-server
Debian Buster
If you use Debian Buster, you will not need to add PPAs to your “sources.list” file. Instead, you must install the following packages to enable GNS3.
sudo apt update
sudo apt install -y python3-pip python3-pyqt5 python3-pyqt5.qtsvg \
python3-pyqt5.qtwebsockets \
qemu qemu-kvm qemu-utils libvirt-clients libvirt-daemon-system virtinst \
wireshark xtightvncviewer apt-transport-https \
ca-certificates curl gnupg2 software-properties-common
With all the packages installed on Debian buster, run the pip3 install commands to set up GNS3.
pip3 install gns3-server
pip3 install gns3-gui
Arch Linux installation instructions
If you wish to use GNS3 on your Arch Linux system, you’ll be happy to know that there are easy-to-install packages in the Arch Linux AUR. To install them, start by setting up the Trizen AUR helper.
Using the pacman -S command, install the “git” and “base-devel” packages on your computer.
sudo pacman -S git base-devel
With the two packages installed, run the commands below to set up the Trizen AUR helper program on Arch Linux.
git clone https://aur.archlinux.org/trizen.git
cd trizen/
makepkg -sri
With the Trizen AUR helper set up, use the trizen -S command to set up GNS3 on your Arch Linux system.
trizen -S gns3-gui gns3-server
Fedora installation instructions
If you use Fedora Linux and need to get the GNS3 tool set up on your system, you’re lucky: Fedora 34, Fedora 35, and future versions support GNS3 directly through the official software repos.
To get GNS3 working on your Fedora system, start opening up a terminal window. Once the terminal window opens, use the dnf install command to set up GNS3 packages.
sudo dnf install gns3-gui gns3-server
OpenSUSE installation instructions
OpenSUSE Linux users will be able to get GNS3 up and running out of the box without setting up any third-party software repositories. However, you must be running OpenSUSE Tumbleweed. So, if you use OpenSUSE Leap, consider upgrading first.
To install GNS3 on OpenSUSE Tumbleweed, open up a terminal window and use the following zypper install command.
sudo zypper install gns3-gui gns3-server
Pip3 installation instructions
If you’re on a Linux operating system not covered by this guide, you’ll still be able to install GNS3 via Pip3/PyPi. To install it, ensure you have the latest Python 3 and Pip3 set up. Then, open up a terminal window and run the following pip3 commands to set up GNS3 on your Linux system.
pip3 install gns3-server
pip3 install gns3-gui
