How To Install and configure Samba on Debian 11 Bullseye
Samba is a fantastic tool; with it, Linux desktops, laptops, and servers can host Windows/Mac OS compatible file shares. This guide will show you how to install and configure Samba on Debian 11 Bullseye.
Note: this guide assumes you are using Debian 11. However, the instructions should be the same if you use Debian 10 or older. Feel free to follow along.
How to install Samba – GUI
If you’re more into using the GUI on Debian, you’ll be happy to know that installing Samba using a graphical interface is possible. To do it, start by opening up “Synaptic Package Manager.”
Once Synaptic is open, find the search icon in the top-right hand corner and click on it with the mouse. After selecting this icon, click on the search box and type “samba.” After typing in the keyword, press the “Search” button.
When you click the “Search” button, Synaptic Package Manager will show you Debian packages available in the official repositories. Scroll through the search results, locate “samba,” and right-click on it.
After right-clicking on “samba,” select the “Mark for installation” option. When you choose this option in the right-click menu, Synaptic Package Manager will select all additional packages Samba needs to run on your Debian 11 Bullseye system.
Press the “Mark” button in the pop-up window of Synaptic Package Manager to confirm you wish to install Samba on your Debian system. Then, find the “Apply” button in Synaptic, and click on it to install Samba.
How to install Samba – Terminal
You’ll have to open up the terminal to install Samba on Debian 11 Bullseye via the command line. You can open up a terminal window on the Debian system by pressing Ctrl + Alt + T or searching for “Terminal” in the app menu.
Once the terminal window is open and ready to use, run the apt-get install command to install the “samba” package. You’ll also need the “samba-common” package.
sudo apt-get install samba samba-common
Upon entering the command above, Debian will ask you for your password. Enter the associated password if your user account is in the sudoers file. Then, press the Enter key to submit the password.
After submitting your password, Debian will ask you if you wish to install “samba” and “samba-common” to your system. Press the Y key on the keyboard to confirm you want to install the two packages.
When the terminal finishes excecuting the commands, Samba will be installed on your Debian 11 Bullseye system.
How to configure Samba – GUI
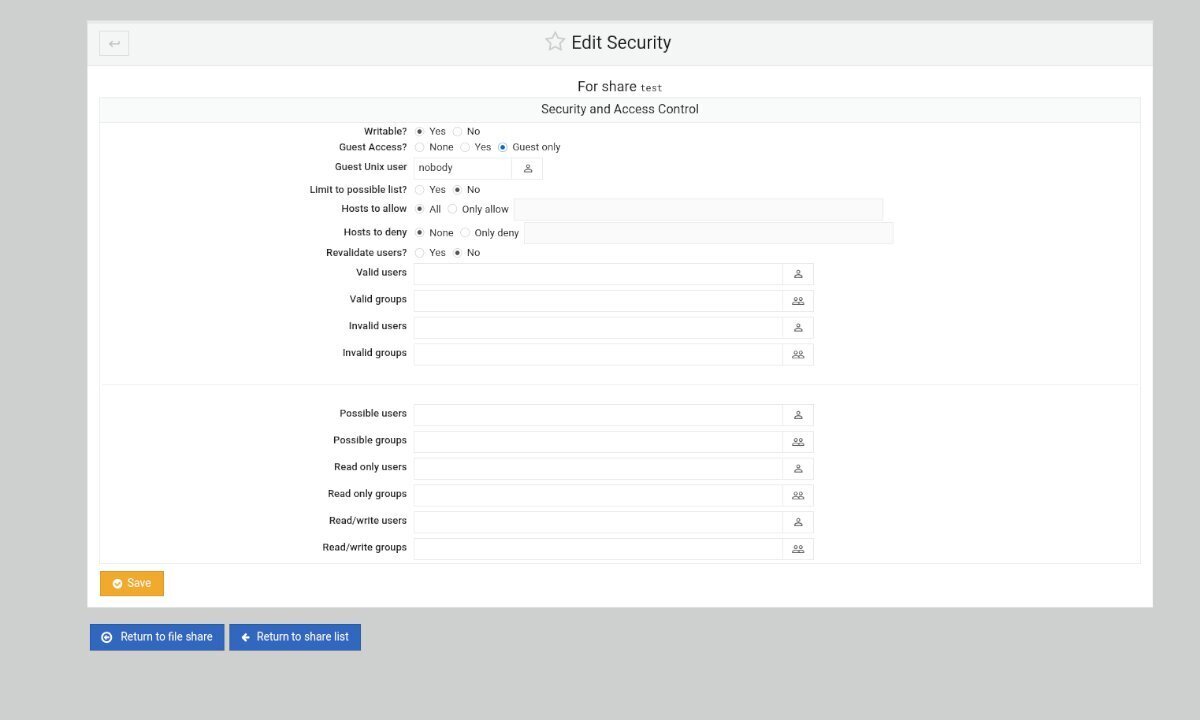
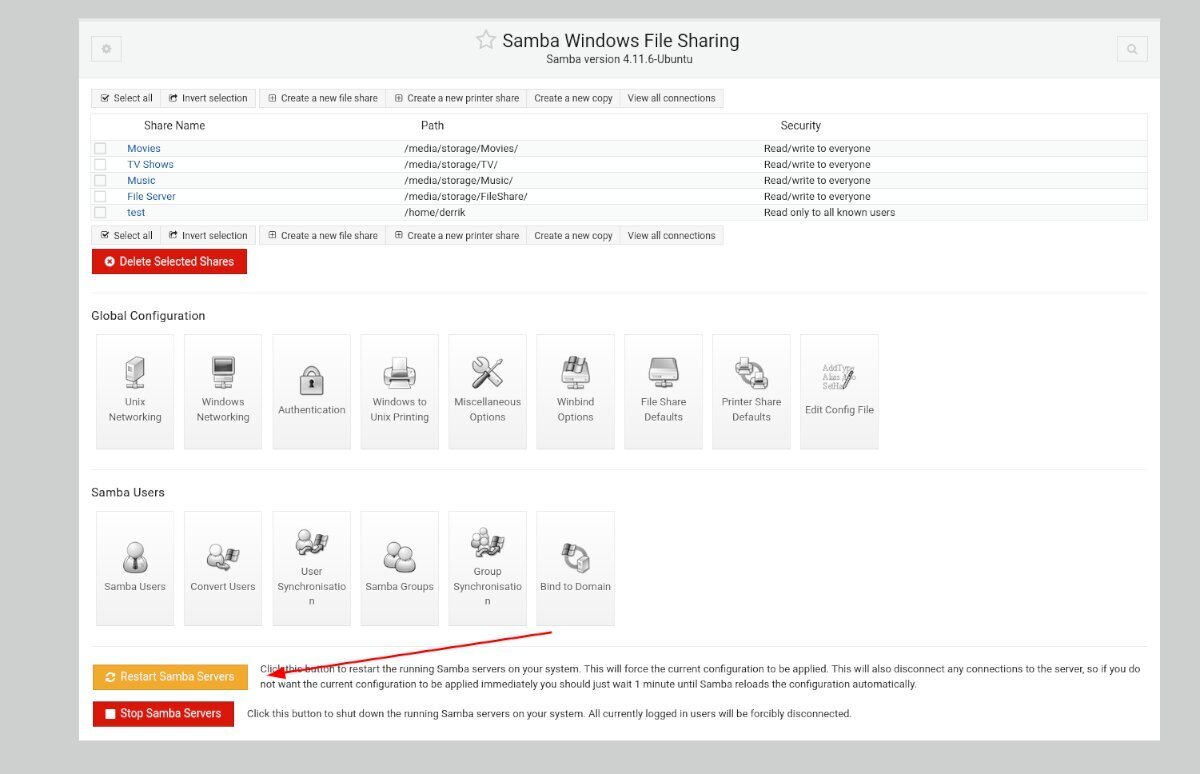
If you’re not a fan of configuration files or dealing with Samba and want to set it up with a GUI on Debian, you can with Webmin. Webmin is a tool that can be installed on your system that gives you a web interface for everyday server operations, like Samba.
Setting up Samba via Webmin has been covered on AddictiveTips previously for Ubuntu. However, Debian and Ubuntu are very similar in architecture and package base. As a result, the Ubuntu instructions will work fine on Debian.
How to configure Samba – Terminal
To configure Samba on Debian 11 Bullseye via the terminal, start by using the cd command and move to the /etc/samba directory.
cd /etc/samba/
Next, copy the smb.conf file and create a backup. Making a backup is a good idea if you mess up your configuration.
sudo cp smb.conf smb.conf.bak
Next, create a new folder. The folder will be /var/shares/public in this example. Use the example folder. Alternatively, create your share.
sudo mkdir -p /var/shares/public
After creating the share, update /var/shares/ directory to have the correct permissions with chmod. The /var/shares/ directory should be “755”.
sudo chmod 755 -R /var/shares/
Upon updating the permissions to the directory, open the smb.conf file for editing. Then, scroll to the bottom of the configuration file and paste the following code.
sudo nano /etc/smb.conf
[Share]
comment = Samba file share.
path = /var/shares/public/
browseable = yes
read only = no
guest ok = yes
After editing the configuration file, save it in the Nano text editor by pressing Ctrl + O on the keyboard. Exit the text editor by pressing Ctrl + X. Then, test your Samba configuration file with the testparm command.
testparm
If the testparm command outputs no errors, you can restart the Samba service with systemctl. Restarting the Samba service will enable the changes you’ve made in your config file.
sudo systemctl restart smdb
Restoring the backup
If you need to restore your Samba configuration from backup, do the following.
cd /etc/samba/
sudo rm smb.conf

sudo cp smb.conf.bak smb.conf

sudo systemctl restart smdb


