Create bootable USBs with Impression
Impression is an easy-to-use, modern application that Linux users can use to create bootable USB drives. In this guide, we’ll show you how you can install the Impression app on your system and use it to create bootable drives.
How to install Impression on Linux
The quickest way to get the Impression application up and running on Linux is via Flatpak from the Flathub app store. However, it is also possible to install the impression app as an Arch Linux package from the AUR if you use Arch or Manjaro.
In this guide, we’ll show you how to get the Impression app working on both platforms. To get started, open up a terminal window. You can open up a terminal window on your Linux desktop by pressing Ctrl + Alt + T on the keyboard. Or, by searching for “Terminal” in the app menu.
Once the terminal window is open and ready to use, the installation process can begin. Follow along with the installation instructions that correspond with the installation method you prefer.
Flatpak
If you choose to install the Impression app via Flatpak, you’ll first need to install the Flatpak runtime. The runtime is the “flatpak” package that you install from your Linux package manager. It contains everything you need to run Flatpak apps. To install the Flatpak runtime, do the following.
Ubuntu
If you are using Ubuntu Linux, you will need to use the apt install command to install the “flatpak” package on your computer.
sudo apt install flatpak
Debian
Those on Debian Linux can install the “flatpak” package using the apt-get install command in a terminal window. The apt install command also works.
sudo apt-get install flatpak
Arch Linux
If you’re an Arch Linux (or Manjaro) you can install the “flatpak” package on your computer using the pacman -S command.
sudo pacman -S flatpak
Fedora
If you’re using Fedora Linux, there is no need to install the Flatpak runtime on your computer. The reason for this is that Fedora works very hard contributing to Flatpak, so it should already be enabled. If you need to install it, however, use dnf install.
sudo dnf install flatpak
OpenSUSE
Much like Fedora, OpenSUSE comes with Flatpak pre-enabled. As a result, there is no need to install the “flatpak” package, as it should already be there. If it isn’t there, you can install it with the zypper in command.
sudo zypper in flatpak
Arch Linux AUR
If you wish to install the Impression app from the AUR, start by installing the Trizen AUR helper. This tool will make installing packages much easier.
sudo pacman -S git base-devel

git clone https://aur.archlinux.org/trizen.git


cd trizen/

makepkg -sri
Once the Trizen app is installed, you can install the Impression app using the trizen -S command.
trizen -S impression
Where to download Linux ISO files
To make a bootable USB with Impression, you need a Linux OS. There are many places to download Linux ISO files. However, a great place to look is DistroWatch. This website tracks Linux operating systems and provides download links to each OS.
Once you’ve located the OS you wish to download, download it to your computer. The download process shouldn’t take long. When the process is complete, move on to the next section to create your USB with Impression.
How to create bootable USBs with Impression
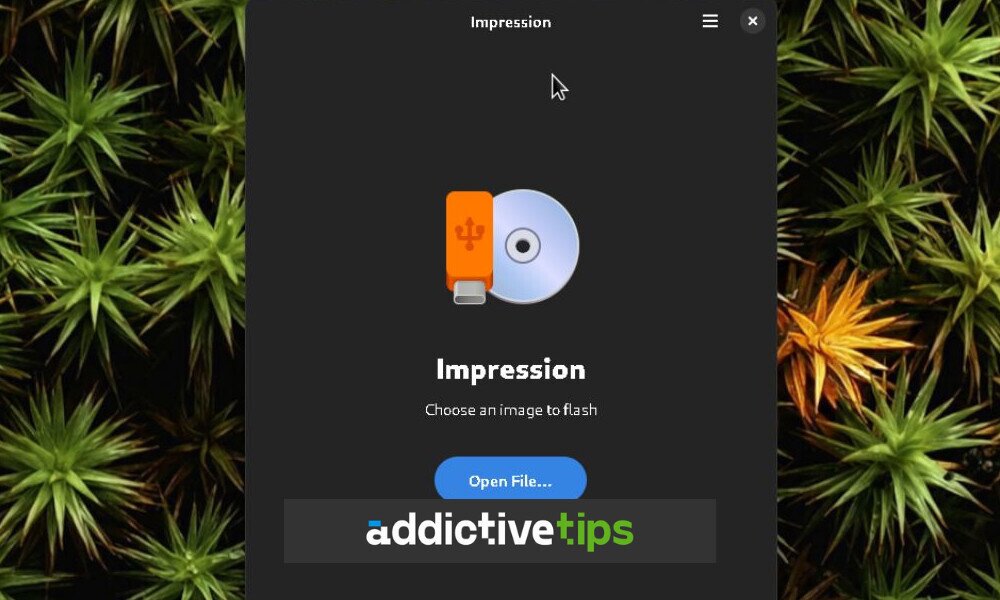
To create a bootable USB with the Impression application, start up the application. You can launch it by searching for “Impression” in the application menu.
Once the Impression app is open, find the “Open File…” button, and click on it with the mouse. When you select this button, a pop-up window will appear. Browse for the ISO file you downloaded previously.

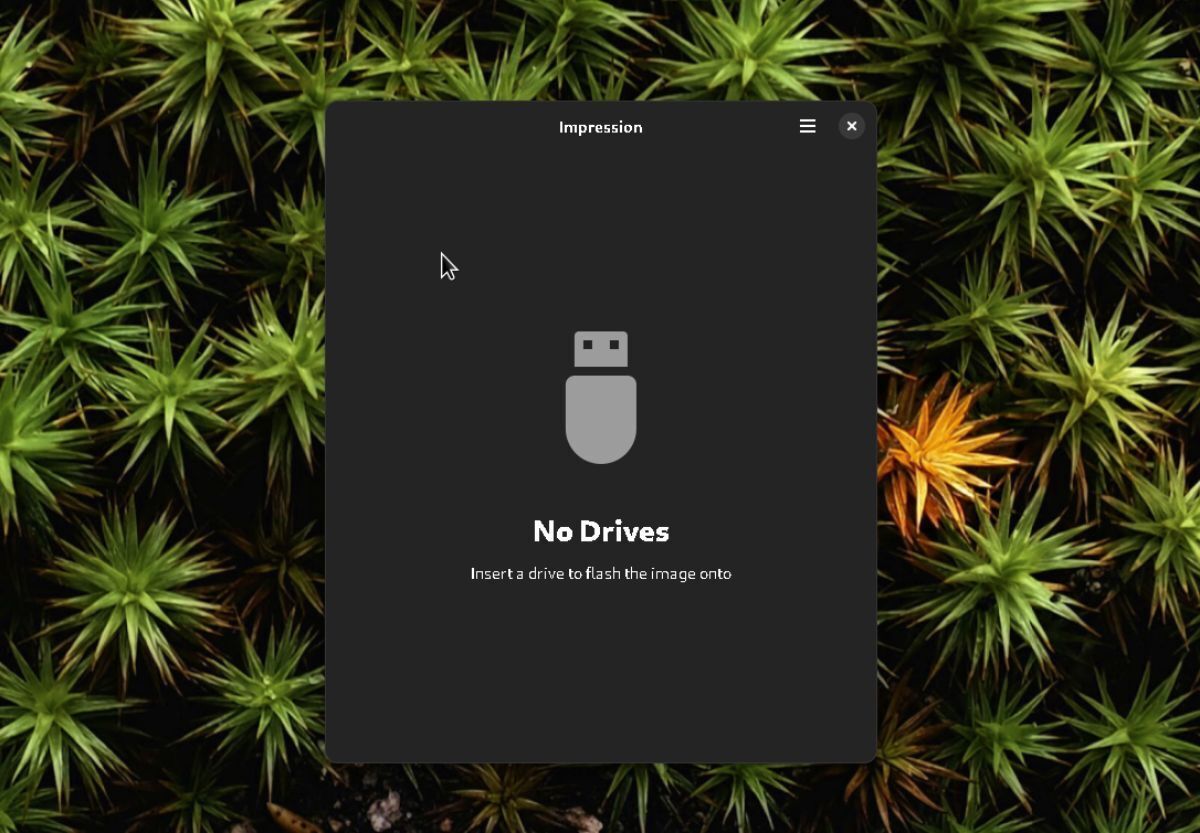
You must now insert a USB flash drive into the USB port on your computer. Ensure you’ve inserted a USB flash drive into the USB port that is large enough to handle the ISO file.
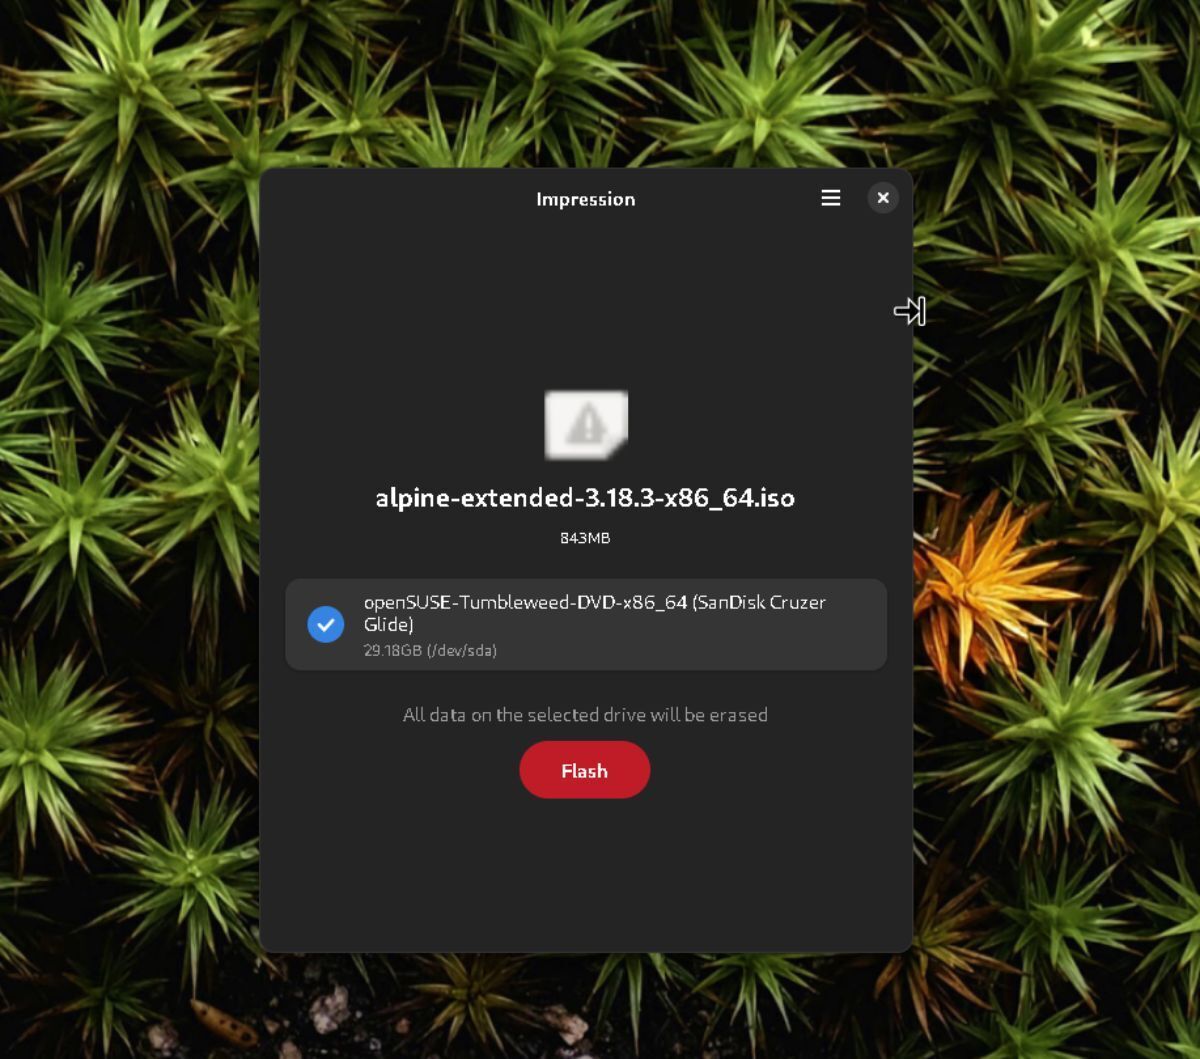
After inserting the USB flash drive into your computer’s USB port, you’ll be asked to choose the USB flash drive inside the Impression app. Select it, then choose the “Flash” button to begin the flashing process.
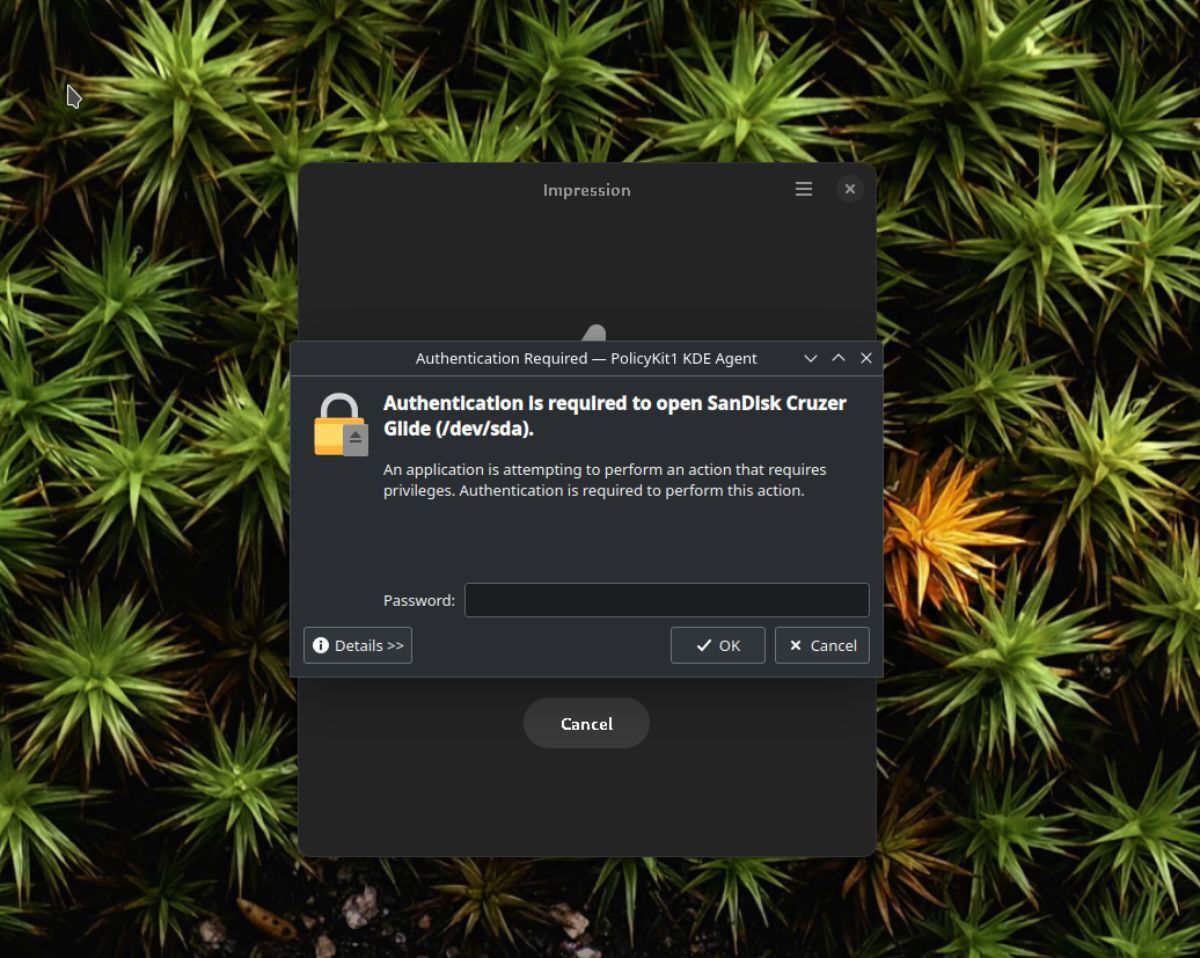
When you select the “Flash” button, it’ll ask you to enter a password. Enter the password into the prompt window to begin the process. This process will take some time to complete.
Once Impression is finished flashing the ISO file to your USB, you’re done. Reboot your computer into the BIOS to load up the USB flash drive you created with the Impression app.