How To Activate Screen Saver In Ubuntu 11.10
Ubuntu 11.10 does not come with a default screen saver, and even Gnome 3 provides nothing but a black screen when your system is idle. For this reason, the only way to acquire a screensaver is to install a third-party application. Hence, to get a screensaver in Ubuntu 11.10, you can install XScreenSaver. It is the standard screen saver collection shipped with many Linux and Unix distributions, and is a perfect match for both Unity and Gnome 3. In this post, we will tell you how to install XScreenSaver in Ubuntu 11.10.
To get started, remove the default Gnome (blank) screensaver with the following Terminal command.
sudo apt-get remove gnome-screensaver
Once done, install XScreenSaver, along with some extras with this command.
sudo apt-get install xscreensaver xscreensaver-gl-extra xscreensaver-data-extra
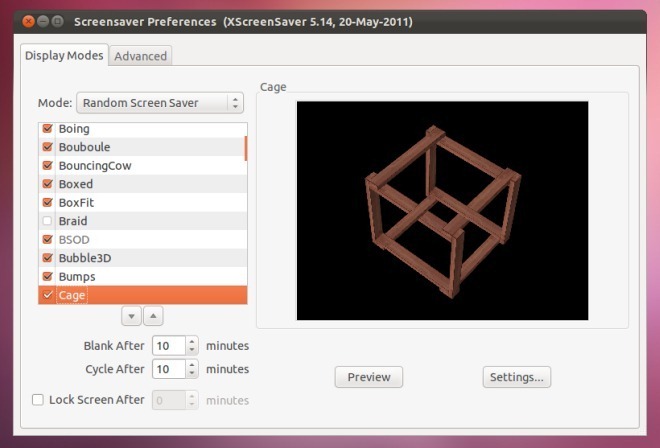
After installation, launch XScreenSaver to perform configurations and to select a screen saver. The list contains dozens of screensavers that you can choose from, along with the option to select a screensaver mode which allows selecting a random, on screen, and blank screen saver. Once you have selected a desired screen saver from the list, you can set a a time frame for enabling the screensaver. If you would like to see how the selected screensaver may appear on your screen, click Preview.

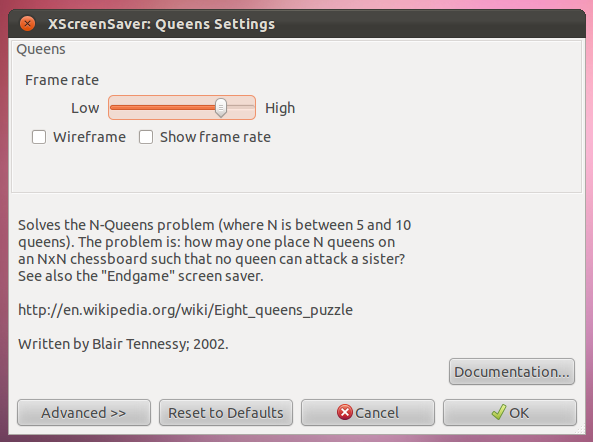
You can adjust further appearance configurations from Settings. Here, you can adjust the frame rate, wide frame and view the frame rate.

In case you would like to revert the changes anytime, use the following commands.
sudo apt-get remove xscreensaver xscreensaver -gl-extra xscreensaver -data -extra

sudo rm /usr/bin/gnome-screensaver-command

sudo apt-get install gnome-screensaver
You can also download XScreenSaver from the link given below.

works for ubuntu 12.04 beta2 as well
works like a charm
Well, you’re not very green. Make sure that idle PC keeps using electricity to the max.
weh