How To Get Stock Gnome Shell In Ubuntu 17.10
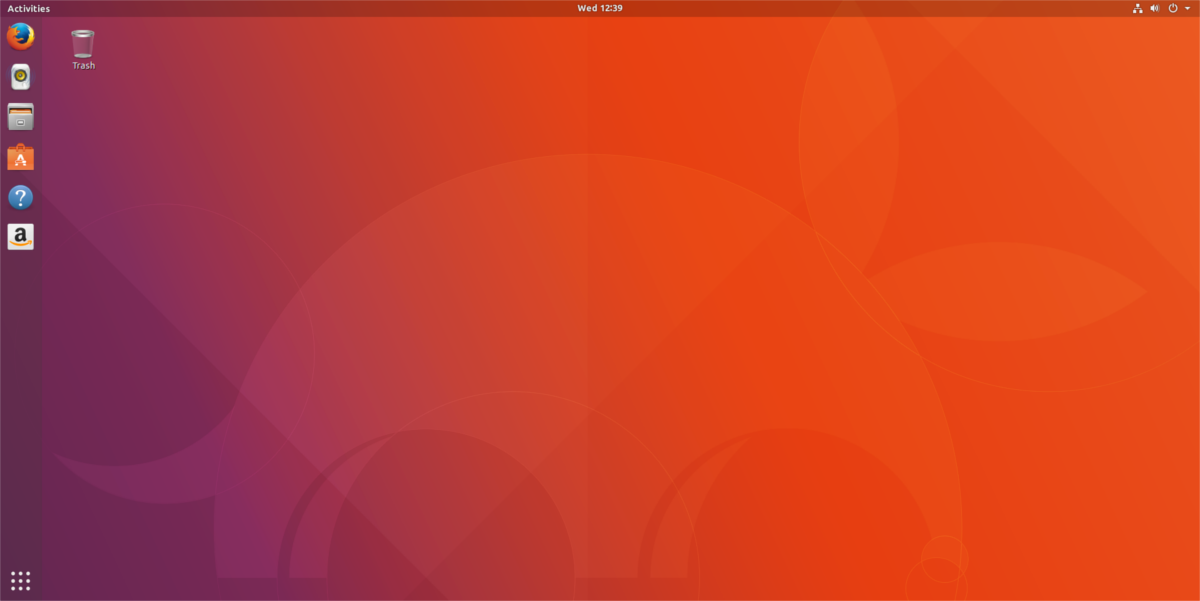
In Ubuntu 17.10, Canonical decided to completely upend the familiar Unity desktop environment in favor of the Gnome Shell desktop environment. Since release, it’s been running the latest version of Gnome Shell with a few usability tweaks i.e. you don’t get stock Gnome Shell in Ubuntu 17.10. You get a modded version.
The developers feel that these tweaks are very much necessary to improve the overall usability of the desktop environment. Modifications done by Ubuntu include a fork of the popular “Dash to dock” extension, that turns the hidden Gnome activities dock into a Unity-like permanent dock for navigating programs, support for Unity app indicators in the Gnome Shell panel, and other things.

For a lot of Gnome Shell users, these tweaks and extensions are a welcome change. Main reason being the fact that a lot of Linux users strongly dislike the stock Gnome 3 experience, and would make these changes anyways. Ubuntu just makes everything more user friendly.
This is all well and good, but the new changes to Gnome Shell aren’t praised by all Ubuntu fans. Some Gnome users on the operating system would prefer that the developers behind Ubuntu just gave everyone the stock Gnome Shell in Ubuntu 17.10.
Revert Back To Stock Gnome
Reverting back to stock Gnome Shell is a little different than other Linux operating systems. This is because Ubuntu 17.10 has created two different versions of Gnome, with two different login sessions. To get a stock setup, users can’t just uninstall/disable the various extensions. Instead, open up a terminal window and do the following:
sudo apt install gnome-session
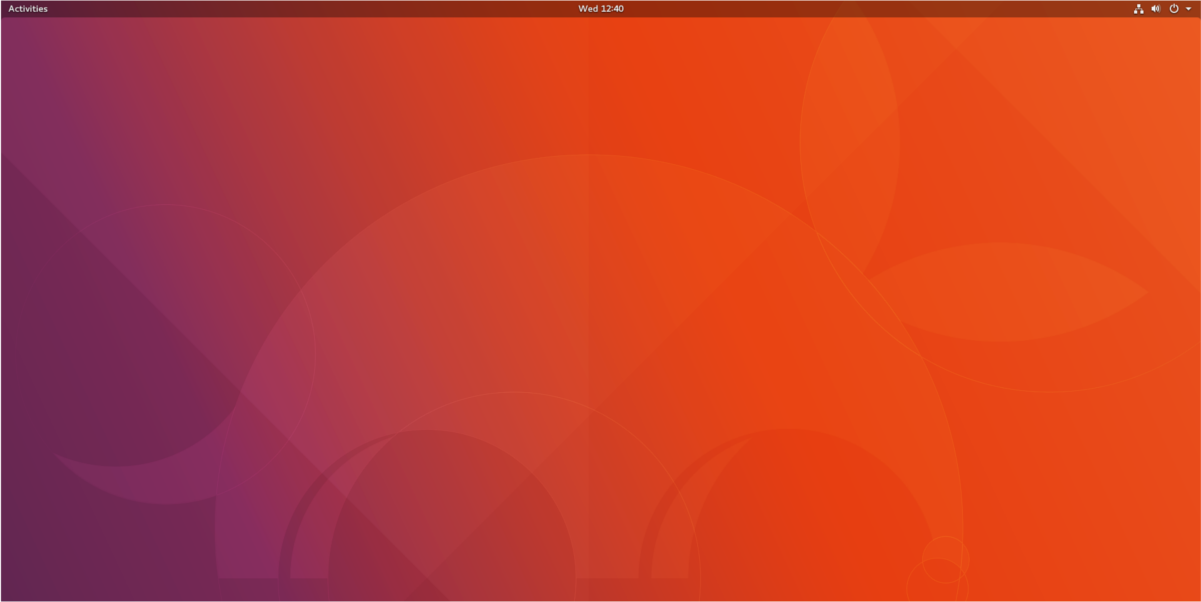
Installing the Gnome session package into Ubuntu does the bare minimum. It purges all of the various modifications, but it doesn’t offer up the “stock” experience users are used to on other Linuxes.

Instead, you’ll still see the Ubuntu wallpaper, and the Ubuntu GDM theme. For most users, this will work. To get a “true” stock experience with the Gnome Shell, Gnome packages need installing as well. Start off with:
sudo apt install ubuntu-gnome-default-settings
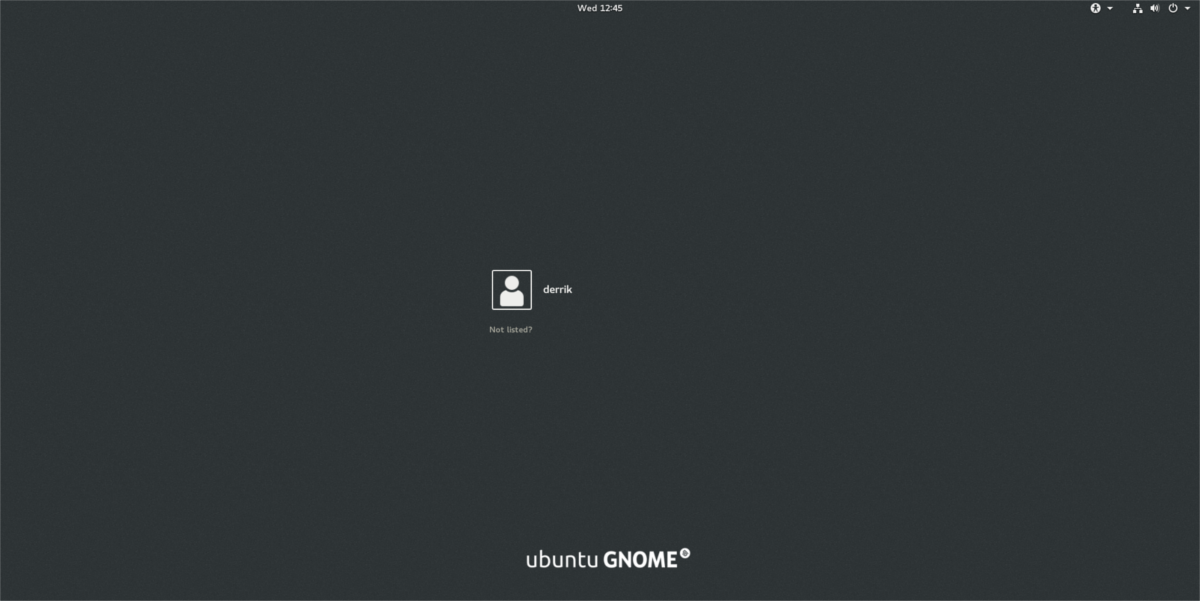
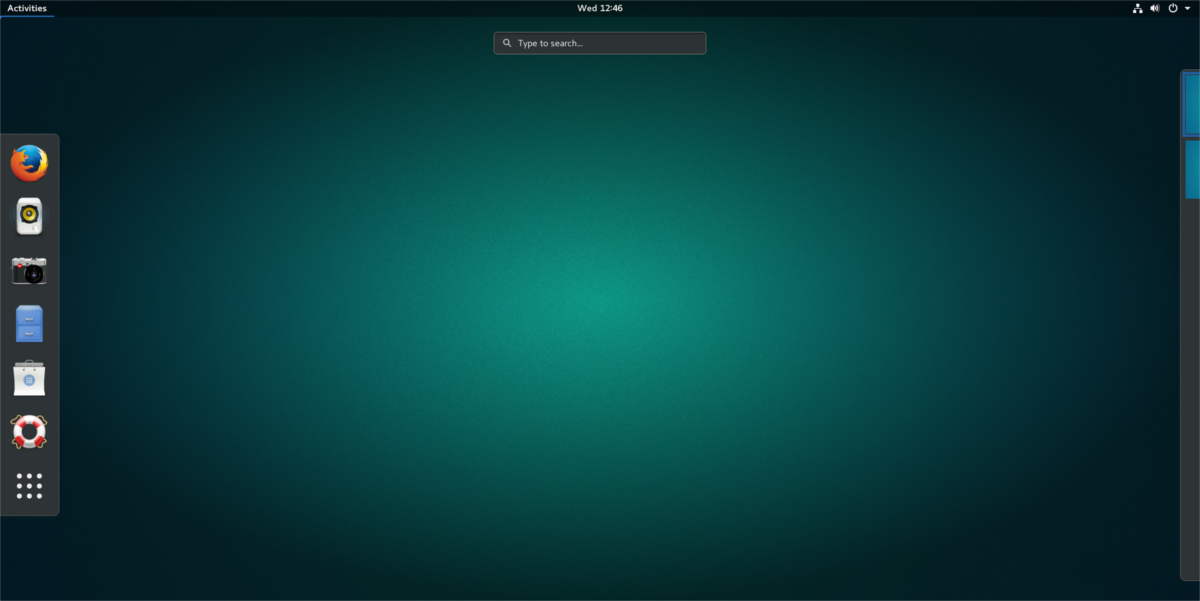
The default settings package gives Gnome the stock look present on virtually all other Gnome-based Linux operating systems out there. Complete with no Ubuntu wallpaper, and no weird orange and purple GDM login screen.

The next package users should install are the Vanilla Gnome packages. It’s a large package group that gives users everything bundled within the Gnome desktop. This changes things like the login animation and etc.
sudo apt install vanilla-gnome-default-settings vanilla-gnome-desktop
Alternatively, another package users can install is the Ubuntu Gnome Desktop. These packages don’t go nearly as far as the Vanilla package set. Users won’t have a lot of Gnome bundled software installed, and all that.

Install it to your Ubuntu 17.10 PC with this command:
sudo apt install ubuntu-gnome-desktop
Uninstalling Stock Gnome
If you’ve decided to move to stock Gnome, only to realize that you miss the modifications that Ubuntu 17.10 brings, there’s a way to change everything back to normal. It’s a simple process that utilizes the power of the Ubuntu package manager. Instead of using the “remove” function in apt (which would only uninstall the modification packages), we’ll use the “purge” function.
Purge is much more useful as a command, as it not only uninstalls any packages from the Ubuntu system, but it also purges all traces of it from the Ubuntu PC. This means deleting configuration files, and the like.
Instructions For Ubuntu Gnome Desktop
First, purge the packages installed to Ubuntu earlier, with:
sudo apt purge ubuntu-gnome-desktop ubuntu-gnome-default-settings gnome-session
Then, run the autoremove command to automatically get rid of any remaining packages that shouldn’t be there.
sudo apt autoremove
Click the top-right part of the Gnome panel, and click the logout button. This takes you to the GDM login screen (which is purple and orange again). Click the gear icon, and select “Ubuntu”. Then, enter your password, and log back in. Everything will be as it was before the modifications were installed.
Instructions For Gnome Vanilla
Much like uninstalling Ubuntu Gnome Desktop, the instructions for getting rid of the Gnome Vanilla settings are very similar. To remove, run:
sudo apt purge vanilla-gnome-default-settings vanilla-gnome-desktop
Then, run autoremove to get rid of any remaining packages, settings and etc from the Ubuntu desktop.
sudo apt autoremove
After the purge command completes, close the terminal and log out of Ubuntu. Then, log back in. Everything will be back to normal.
Conclusion
Ubuntu 17.10 completely changed the way Ubuntu is interacted with. A total change, compared to the last 7 years, but a welcome decision none-the-less. This is due to the fact that Ubuntu had started to fall behind all of the promises it made to the community (with “convergence”, mobile phones and tablets ).
By pivoting to a traditional Gnome desktop, Canonical isn’t giving up. Instead, they’re choosing to give users a solid desktop that the rest of the Linux community already loves, and uses every day. It tries very hard to make both fans and haters happy. Hopefully by allowing users to choose between “stock” and “Unity-like”, more users will use Ubuntu Linux.

Awesome Thank You!!
Thank you for providing this. I have been looking for how to fix the mess 17.10 created for a while.
‘ ubuntu-gnome-desktop ‘ and ‘ gnome-session ‘ are essentially the same:
$ apt-cache show ubuntu-gnome-desktop
Depends: ubuntu-desktop, gnome-session
As ‘ ubuntu-desktop ‘ is already installed, by default.