How To Fix A Bad Hard Drive On Linux
Having issues with your hard drives on Linux? Don’t worry, there are ways to address these types of issues. The easiest, and quickest way to fix a bad hard drive on Linux is by using a partition editor known as Gparted. With it, users can easily modify file systems, delete them, create new ones, and even fix issues they might have. There are two ways to make use of Gparted. The first way, is by installing it directly to a Linux PC as any other program. Understand that installing Gparted as a program can be very limiting. The main thing is that because of how Linux works, users are not allowed to modify in-use partitions.
Install Gparted
Install it to your favorite Linux distribution by opening Gnome Software, searching for “Gparted”, and then clicking the install button. Alternatively, install Gparted by opening a terminal window, and entering this command to install it.
Ubuntu
sudo apt install gparted
Arch Linux
sudo pacman -S gparted
Debian
sudo apt-get install gparted
Fedora
sudo dnf install gparted
OpenSUSE
sudo zypper install gparted
Making Gparted Live Disk
If Gnome Software is not on the Linux distribution you use, do not worry. Gparted is very popular. In fact, it’s probably the single best partition (graphical) editor on all of Linux. Think of the way you normally install programs on your version of Linux, and install it that way. Search for “gparted”.
Not interested in limits when messing with your hard drive? Download this Debian Linux powered Gparted live disk. Using it allows users to modify any and all hard drives, partitions and devices under Linux.
There are many different ways to make live installation disks on Linux. However, the easiest way by far is with the program Etcher. Go to the program’s website, download Etcher and use it to make a live disk. Not sure how to make one? Don’t worry! It’s a three step process. The creation process is shown with an animation on the Etcher download page.
Note: Have a USB drive of at least 512MB for Gparted.
Fixing Hard Drives With Gparted
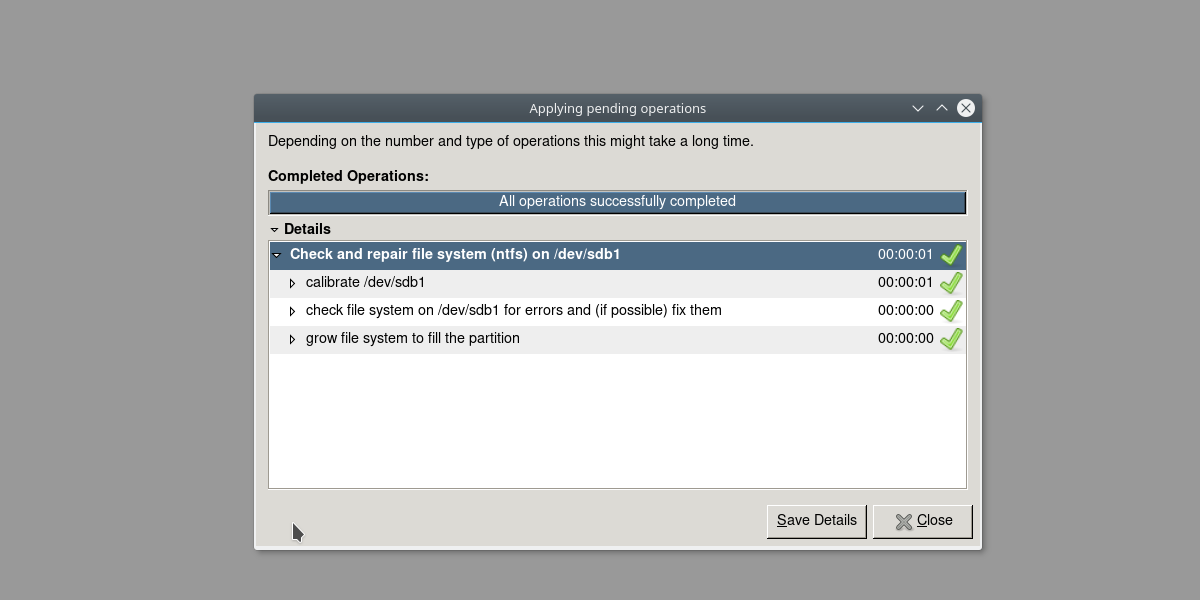
Find the hard drive that is causing issues inside of Gparted. Do this by selecting it in the dropdown on the right. This will open the hard drive’s partition layout inside of Gparted. Right click any of the partitions, then select the “check” option. After selecting “check”, click the checkmark to start the process.

What “check” does is look through the partition for any problems. If there are any problems at all, Gparted will promptly fix them. This could mean re-organizing blocks, fixing file system issues and more. It will take time.
Removing Bad Blocks With FSCK
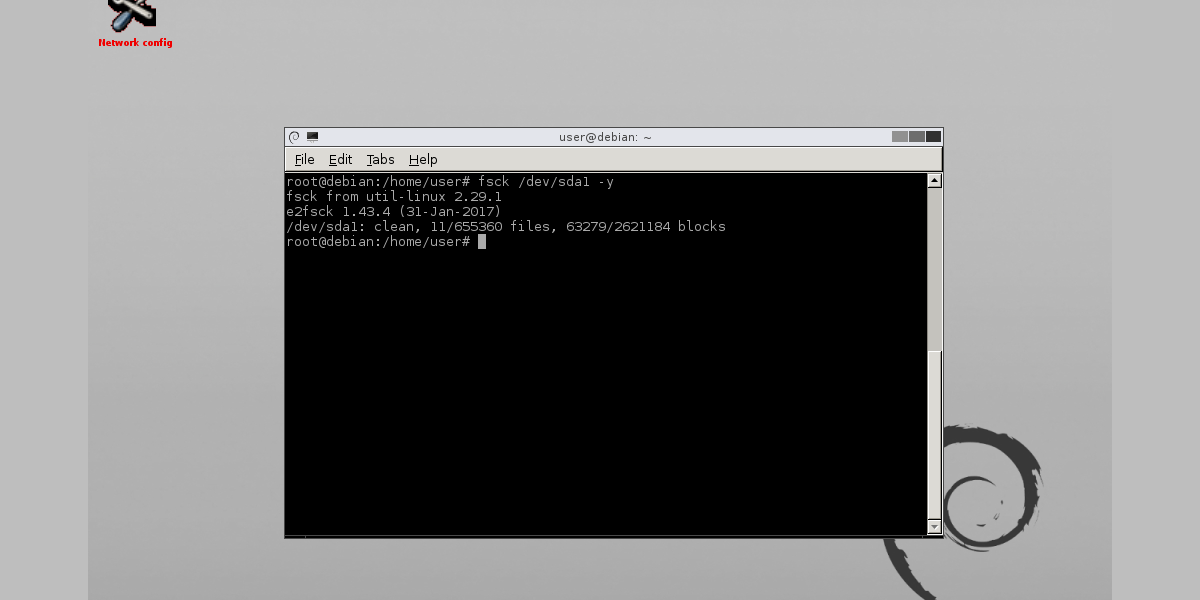
Another reason to use the Gparted live disk is that it provides a terminal that anyone can use. This helps when fixing some hard drive issues, as it is not possible to run a filesystem check while a partition is in use. Open the terminal in the Gparted live disk. Next, use lsblk to list all drives and partitions. Find the hard drive that you want to check, and keep in mind the label that it has in lsblk. In this example, we’ll be using /dev/sda1
Be sure to change the command to reflect your own needs (by changing /dev/sdb1 to whichever hard drive you wish to run a check on).
Gain root in the terminal with: sudo -s
Then, in the terminal, enter the following command:

fsck /dev/sda1 -y
Fsck tends to take a bit of time, as it has to go through, find every single bad block and fix/clean it. Be patient! Do not turn off your PC during this process. It will finish in 20 minutes or so.
Zero Out A Hard Drive
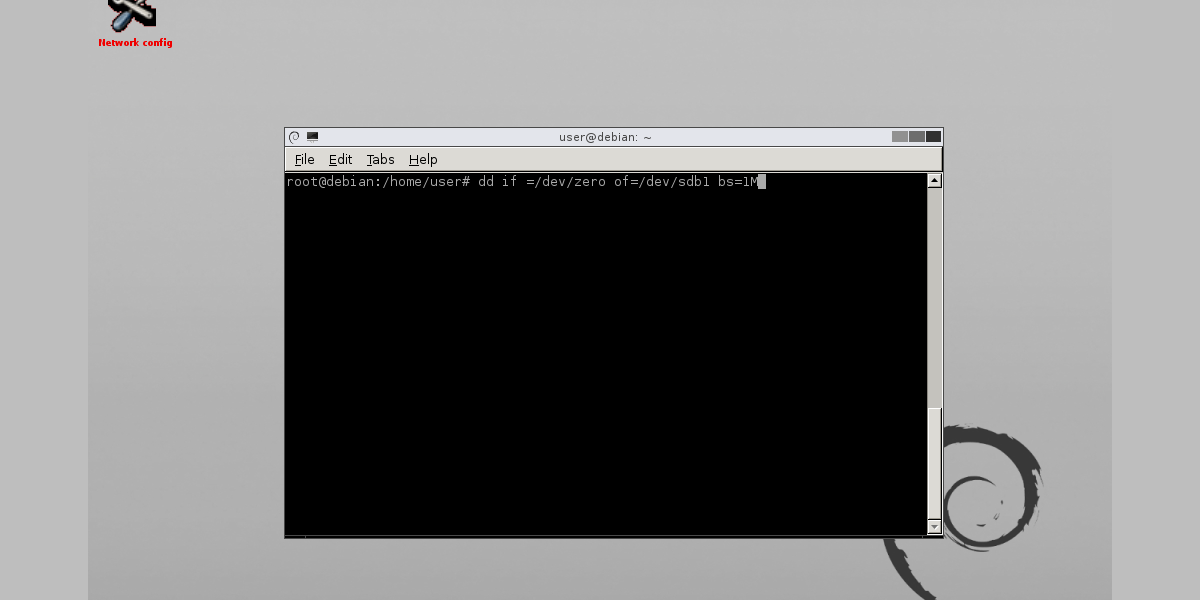
Another use for the Gparted terminal is DD. If there are too many bad/dirty blocks present on the hard drive, it may be necessary to overwrite all of the data on it, and blank it out. This is known as “zeroing out” a hard drive. To start off, find the name of the drive you wish to blank with lsblk (should be /dev/sd__). In this example, we’ll be using /dev/sdb. Be sure to modify the command to suit your needs.
Gain root in the terminal with: sudo -s

Zero a single partition with:
dd if=/dev/zero of=/dev/sdb1 bs=1M
Zero out an entire hard drive with:
dd if=/dev/zero of=/dev/sdb bs=1M
The DD command (especially when run on a hard drive) tends to take a very long time. The thing about using DD is that there is no loading screen, prompt or anything. The way to tell if the process finished is simple: wait till the terminal lets you type words again. This means it’s done.
Much like running the FSCK command, DD will take a long time. Probably longer, in some cases. Best to run this command, then leave the room to do something else for a couple hours.
Conclusion
Hard drives aren’t perfect, even on Linux. There’s no telling when it could start experiencing issues. That’s why it’s important to know what to do when things like this happen, so that these problems can be minimized. Hopefully, by reading this tip, you’ll be able to fix a bad hard drive on Linux.
