Block ads on Chromebook without an extension
Very soon, Google will be switching Chrome to Manifest V3. This change makes adblocking extensions in Chrome more limited in blocking advertisements in the browser. If you use a Chromebook and want to ensure you can always block ads, there’s a way around it. This guide will show you how you can block ads without a browser extension.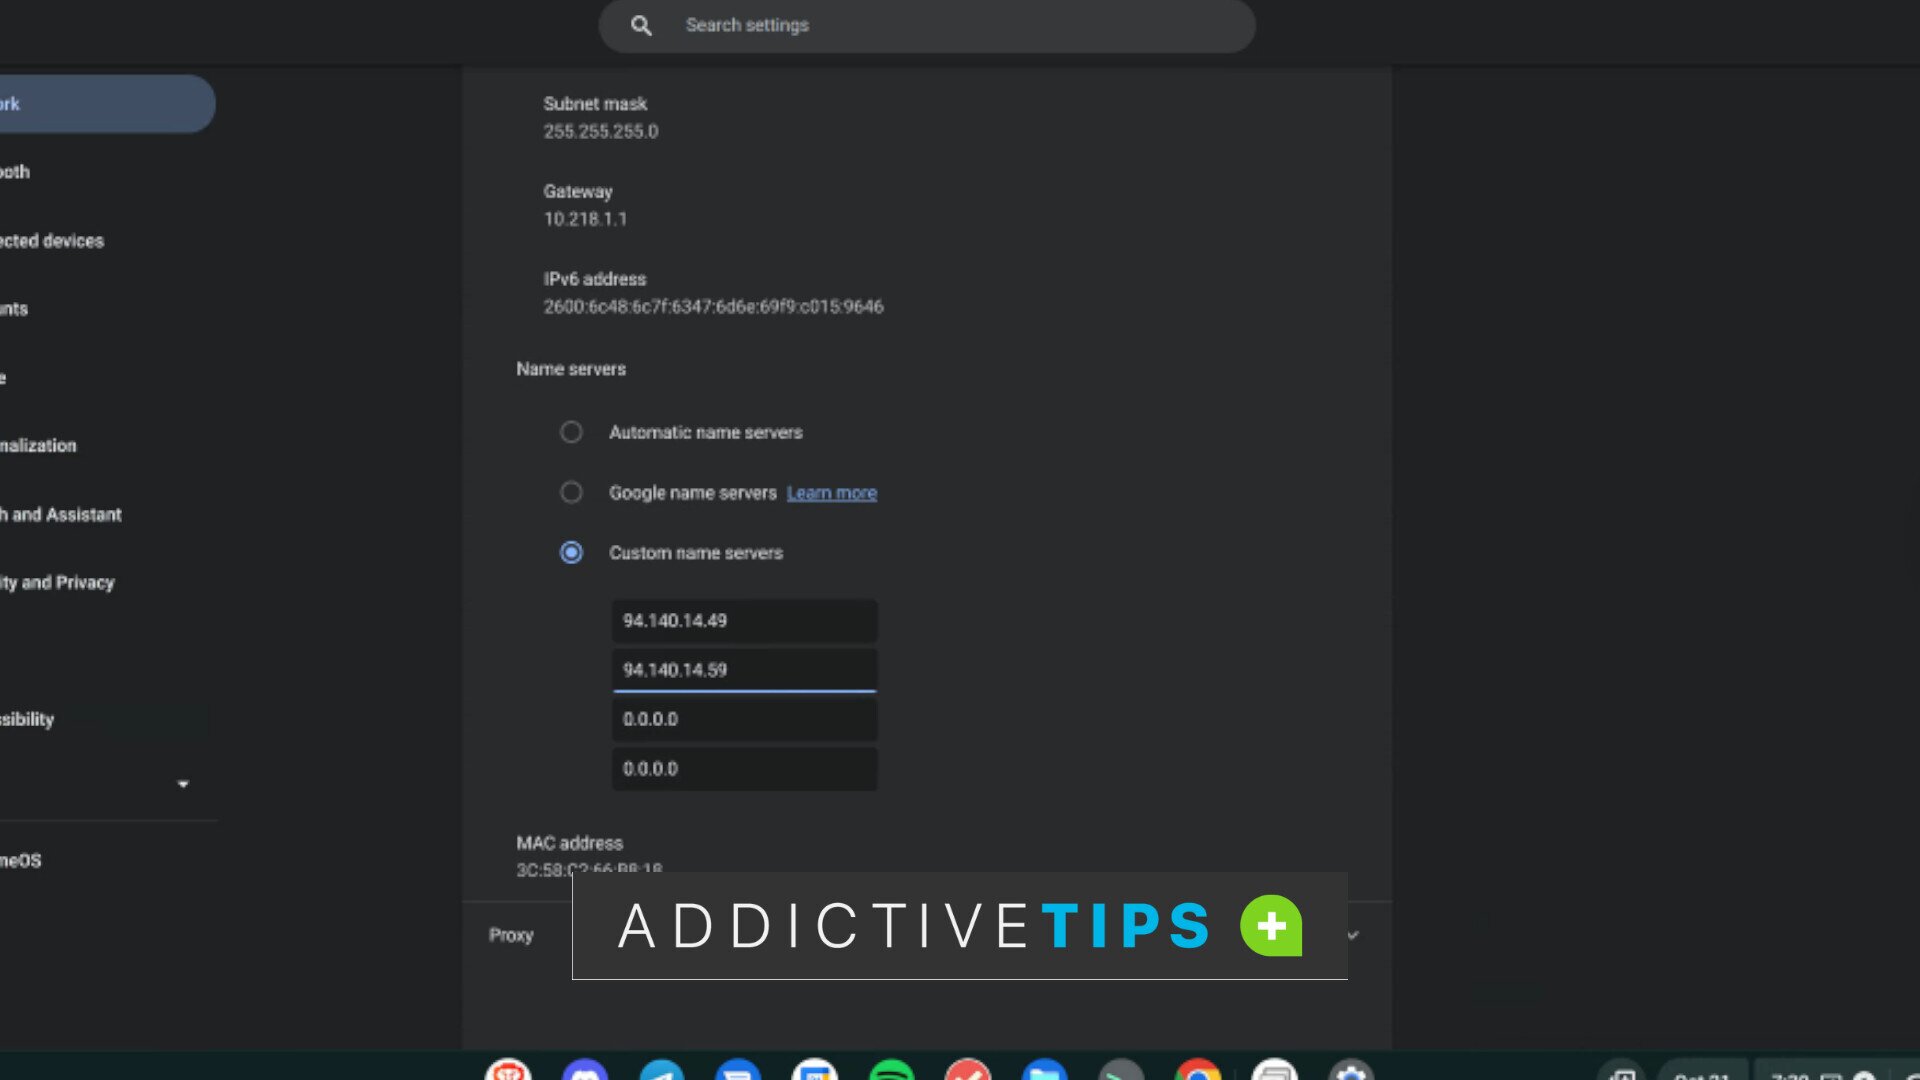
How to set up ADGUARD DNS
You must create an account to use ADGUARD DNS. Head over to the official website to make an account. Once you’ve accessed the website, there are several ways to create an account (Google, Facebook, Apple ID, or Email.)
Select a way to continue. Once you have, you will see the ADGUARD DNS dashboard. Find the “Connect new device” button, and select it with the mouse. You’ll then need to “Set your device.”
Choose a device type for your Chromebook in the “Set your device” area. As Chrome OS is Linux, select the “Linux” option. Then, find the “Enter device name” and write in “Chromebook.” Click next when done to continue.
After selecting the “Next” button, you’ll see “Device added.” Connect it to AdGuard DNS using one of the options!” Then, in the drop-down menu, set it to “Using DNS server addresses.”
Once you’ve selected “Using DNS server addresses,” ADGUARD DNS will show you a complete readout of everything you need to change your DNS settings on your Device.
How to enable ADGUARD DNS in Chrome OS
Enabling ADGUARD DNS in Chrome OS is done through the settings area. To start, click on the clock on the right-hand part of the Chrome OS dash. After selecting it, choose the gear icon to open Chrome OS settings.
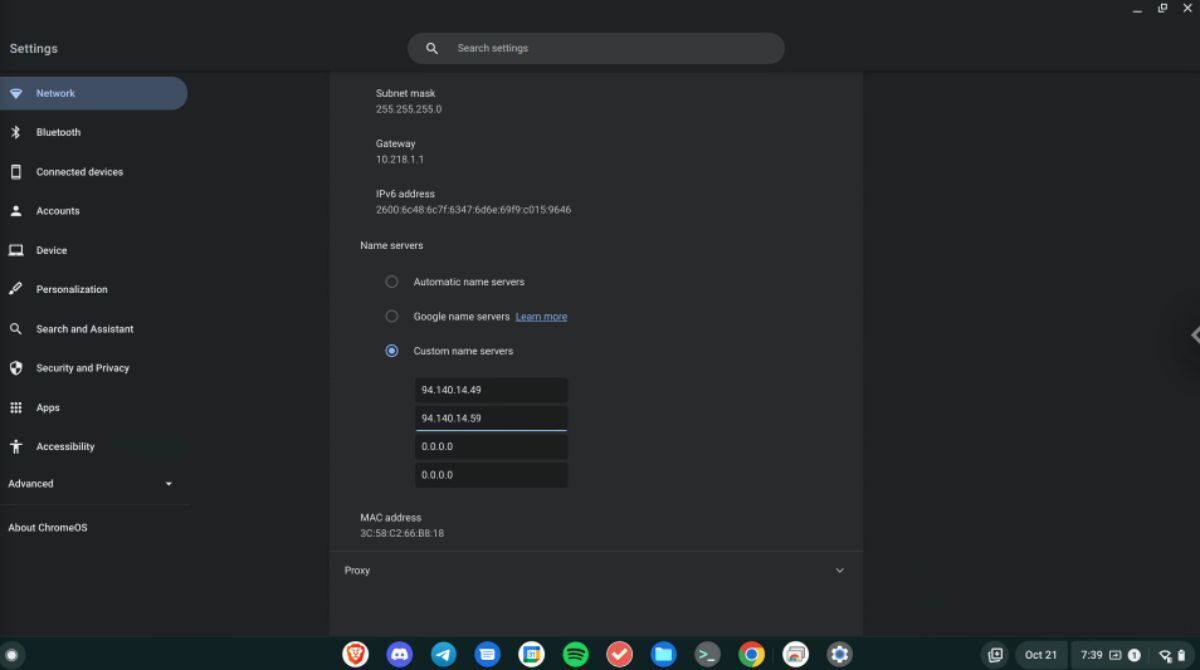
Once inside the Chrome OS settings, find “Network” in the sidebar, and click on it with the mouse. Then, choose the network connection you are currently using. Finally, click the arrow next to the connection to view advanced settings.
In the advanced settings area for your connection, locate “Network” and click the arrow next to it. Next, find “Name servers” and choose the “Custom name servers” option. Selecting “Custom name servers” allows you to enter ADGUARD DNS settings.
Enter the following IP addresses in the “Custom name servers” section. Be sure to erase any other IP addresses so that Chrome OS doesn’t use those instead.
94.140.14.49

94.140.14.59

2a10:50c0:0:0:0:0:ded:ff

2a10:50c0:0:0:0:0:dad:ff
Please note that if you use multiple WiFi connections, you must manually swap each connection over to ADGUARD DNS with these IP addresses. Chrome OS only uses ADGUARD DNS on.
Test your connection
To confirm that you are using ADGUARD DNS on your Chromebook, access the ADGUARD DNS Test page. Then, scroll down and locate “Adguard DNS.” If everything is working, you should see “Running.”
Enable other blocklists
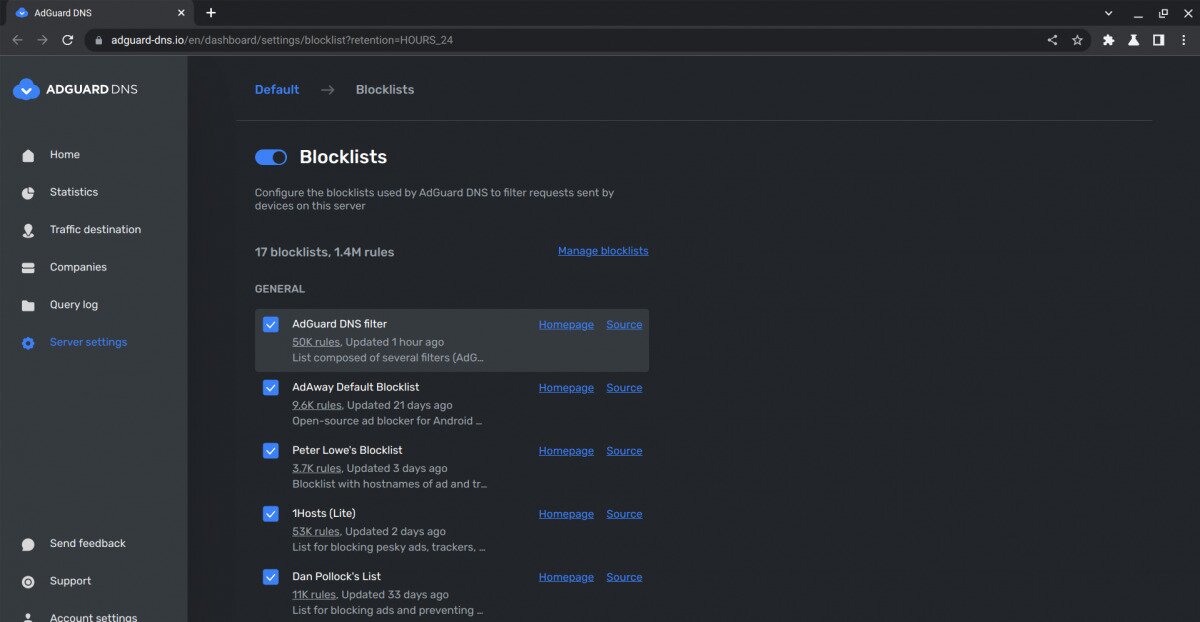
By default, you are just using the ADGUARD DNS blocklist. This list should remove some advertisements that you see. However, it won’t block all of them. Therefore, we recommend enabling as many lists as possible on the dashboard for the best results.
Other ways to block advertisements in Chrome OS
If changing your DNS settings on Chrome OS doesn’t do it for you, and you need to get away from advertisements, you may want to install an alternative browser on your Chromebook and keep Google Chrome as a secondary browser.
Why install another browser on your Chromebook? Google’s upcoming changes to Chrome’s browser code make it increasingly hard to block advertisements. That’s a violation of privacy. Instead, users should be able to control what their browser displays, even if Google disapproves.
If you wish to safeguard your privacy, we highly recommend installing a browser like Firefox or Brave on Chrome OS in the Chrome OS Linux container. These browsers support advertisement blocking, respect your privacy as a user and work on Chrome OS.
Install Firefox
To install Firefox on your Chromebook, you’ll need to enable the Linux container inside the Chrome OS developer settings. Once installed, you can launch the terminal from the Chrome OS app menu.
Once it is open, you can install Firefox with the following commands in a terminal window.
flatpak --user remote-add --if-not-exists flathub https://flathub.org/repo/flathub.flatpakrepo
flatpak install flathub org.mozilla.firefox
For more information on installing the Firefox web browser on your Chromebook, check out our post on how to install alternative web browsers on Chrome OS. It outlines in detail how to get Firefox and other browsers like Opera.
Install Brave
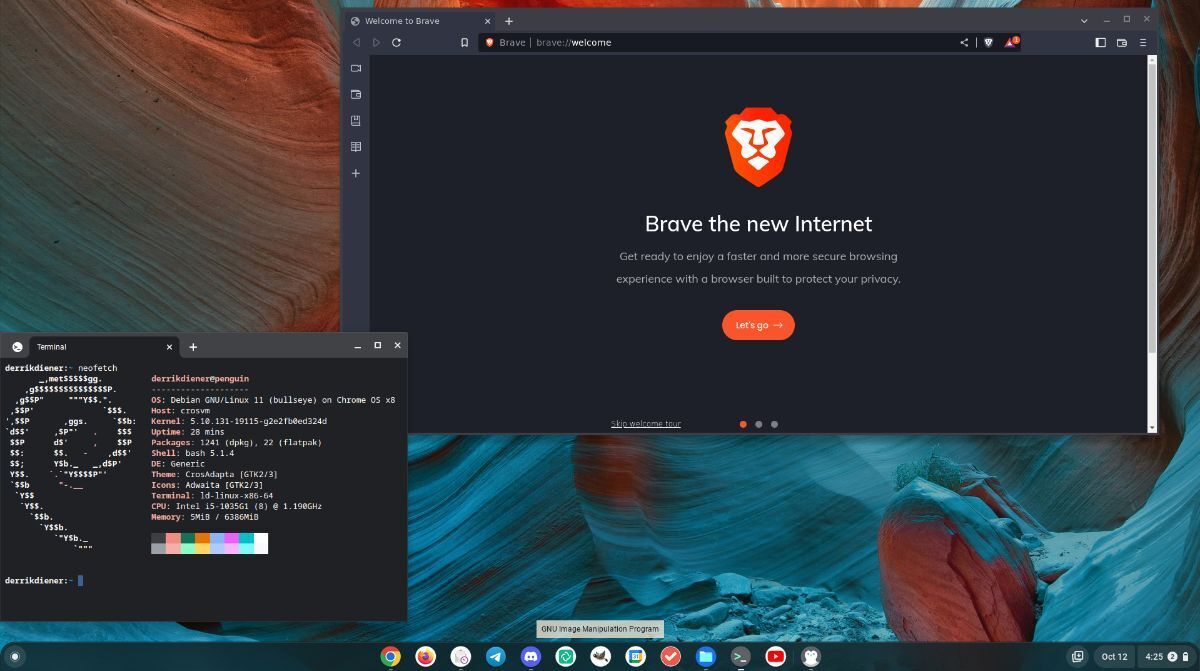
The Brave web browser is Chrome, but with some modifications. Mainly privacy additions. It works on Linux and thus can run on nearly any Chromebook. To get it working on your Chrome OS device, do the following.
First, open up the terminal via the Chrome OS menu. Then, enter the commands to get Brave working on your Chromebook.
flatpak --user remote-add --if-not-exists flathub https://flathub.org/repo/flathub.flatpakrepo

flatpak install flathub com.brave.Browser
For more information on how to set up the Brave browser on your Chromebook, check out our guide on installing alternative browsers on Chrome OS.
