Install CyanogenMod 7 Custom ROM On Sony Ericsson Xperia X8

As we told you earlier that the ROM is an RC1 release, the features are more of a give and take in nature. We shall list down what’s functioning and what’s not:
- Sound output is functional.
- Video player works.
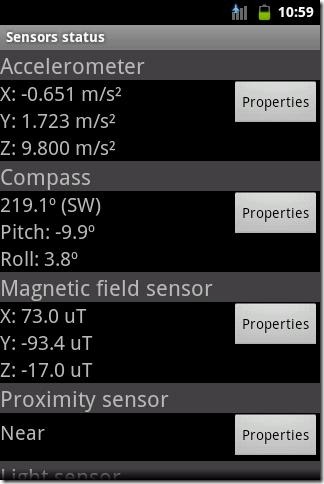
- Sensors are functioning.
- GPS works.
- 3D rendering is functioning.
- Calls – Incoming / outgoing are working.
- Data connectivity works.
- Wired headset works.
- Apps2sd (native with provided baseband and kernel).
- Audio and video streaming works.
- Tether functions do NOT work for now.
- The camera functions but the resolution is limited to VGA and the Video recorder is broken.
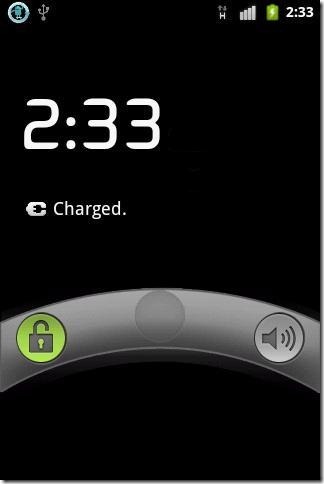
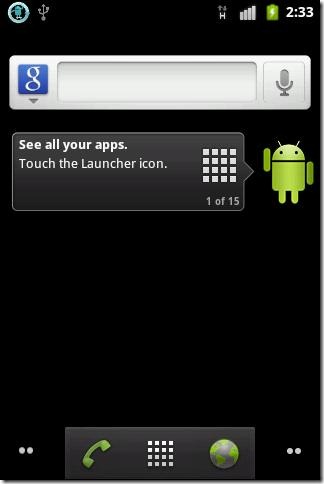
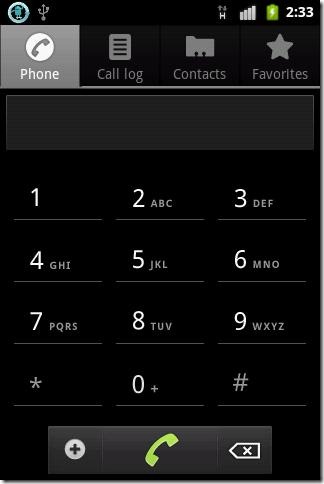
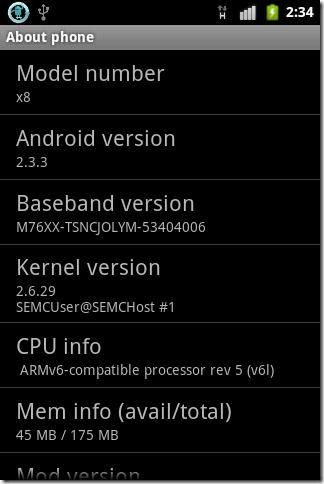
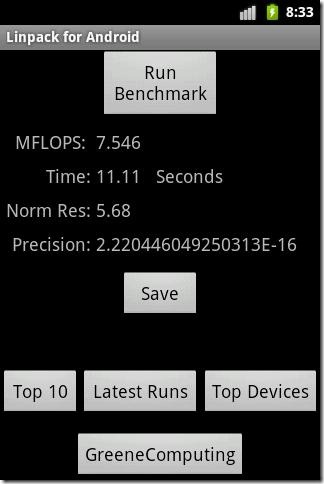
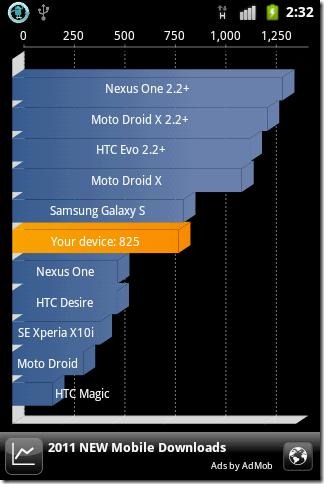
Here are a few screenshots of the ROM in action, courtesy of the developer.

Now that you know what this ROM is all about, lets install this ROM on your device!
Disclaimer: Please follow this guide at your own risk. AddictiveTips will not be liable if your device gets damaged or bricked during the process.
Requirements:
- Rooted Xperia X8. See our guide on how to root the Xperia X8.
- xRecovery installed on your device. See our guide on how to install xRecovery on your device.
- CM7 RC1 custom ROM. Download the file from this forum thread at XDA-Developers.
Instructions:
- To begin, you need to copy the ROM you downloaded from the link above to the root of your X8’s SD card.
- After copying the ROM on your SD card, reboot into xRecovery, and make a NANDroid backup. See our guide on how to perform / restore a NANDroid backup.
- Once the backup is made, wipe data/factory reset, wipe cache and Dalvick cache.
- Now navigate to install zip from sdcard > choose zip from sdcard and select the ROM you copied to the root of your SD card.
- After you select the ROM, you will be prompted with whether to install the file or not so choose Yes.
- The installation will start and take a min or two so wait patiently. Once the process completes, reboot your device.
Congratulations! You have installed CyanogenMod 7 on your Xperia X8. Easy eh? Let us know how this ROM faired for you, and for future updates and any queries you may have regarding this ROM, visit the forum thread at XDA-Developers.

i’ve tried this rom to my buddys x8, wifi doesn’t work, on notif bar it say connecting and disconnecting…again and again, never get joining into a single hotspot, i did everything exactly all the instructions said. what did i do wrong, was it my device or what???
once installed, how can i get out of it back to my main rom? just in case something happened?
That’s easy, I successfully managed this with SEUS (Sony Ericsson Update Software). This can be downloaded from the SE homepage, together with instructions.