Install Android 2.3 Gingerbread Custom ROM On Samsung Galaxy S I9000

According to the developer, the bugs are completely gone. Before we look into the installation of this ROM on your phone, take a moment to look the features of this ROM.
Features:
- Rooted.
- Deodexed system.
- ZipalignedMatted Blues Themed (Updated in v1.3).
- Modded Nexus LWP.
- AOSP Lockscreen included.
- Battery percentage mod added.
- AOSP Launcher and keyboard included.
- Widgets picker sorted.
- Extended Power Menu.
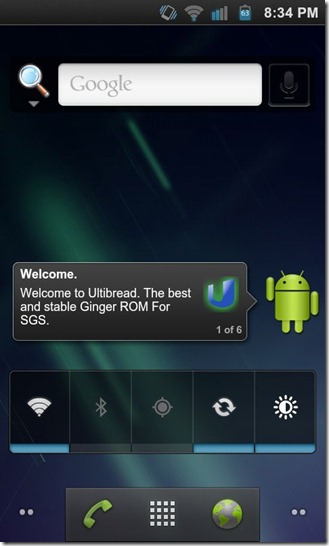
- Homescreen tips widget shows features of the ROM.
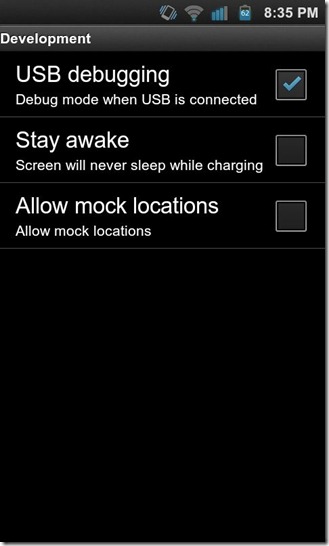
- Added option to Stay awake in development settings.
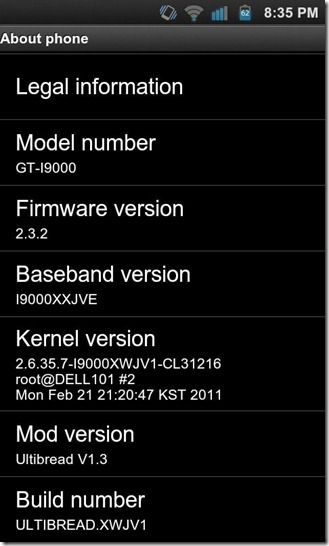
- Added Mod Version in settings > about.
- Renamed ‘Internet’ to ‘browser’.
Take a look at the screenshots below courtesy of the developer, webstar1.


Now then, let’s not keep you waiting and get on with the installation!
Disclaimer: Please follow this guide at your own risk. AddictiveTips will not be liable if your device gets damaged or bricked during the process.
Requirements:
- Rooted Samsung Galaxy S. See our guide on how to root the Samsung Galaxy S. Additionally, see our guide on how to root the Samsung Galaxy S on a MAC.
- ClockworkMod recovery installed.See how to install ClockworkMod Recovery on Galaxy S.
- ODIN installed on the PC. Download.
- Samsung USB drivers installed. Download USB drivers for 32 bit Windows | For 64 bit Windows.
- SpeedMod Kernel for Froyo. For instructions on how to install this kernel and to download it, please see our guide on the SpeedMod Froyo kernel.
- And finally, Ultibread v1.3. (https://ultimate.linuxgeeks.info/Ultibread-V1.3.zip) Download.
Instructions:
- To begin, copy the ROM you downloaded from the above link, to the root of your SD card.
- Once that is done, reboot your phone into recovery.
- When in recovery, make a nandroid backup. See our guide on how to perform a nandroid backup or restore.
- After making a nandroid backup, navigate to ‘Wipe data/factory reset’ with the help of the volume keys and select it by pressing the power button.
- Do the same for ‘wipe cache’ and ‘wipe Dalvick cache’.
- Then select, ‘install zip from sdcard’. Move to ‘choose zip from sdcard’ and select it.
- Now you can choose the ROM you copied to the SD card. Select it and the installation process will begin. Wait for the process to finish.
- Once the installation is complete, reboot your phone. Your phone will boot into the new ROM.
Congratulations! You now have a Gingerbread custom ROM running on your Galaxy S! Let us know how your experience with this ROM was. For updates and queries relating to this ROM, visit the forum thread at XDA-Developers.

i got the same message as holger…any tips?
hey, when i start the phone in to the recovery mode, select the file and it starts… but then this message comes: E:signature verification failed. is there something i am doing wrong?
Hi.Just wanted to ask something. Have heard that gingerbread has file system in ext4. RFS is the main villain for my urge to get gingerbread. Does this ROM address that issue? as in, ext4 is the format used by this ROM?
@ abhilash – Hi there, if you intending to convert to gingerbread which currently avail on the internet and also been configured to make custom ROMs is already been rooted thus will give you ext4 in most of the time…you could search thru XDA Forum which address these issues..have a gd day ahead with ur research..
Hi there I downloaded and uploaded the said ROM but there is some apps ‘File Manager ‘missing but that wasn’t an issue as I could download from market. When I checked the extended menu the ‘recovery’ isn’t functioning neither i reboot could do it manually. Thus I have got to go to download mode and do with alternate way…can fix the said bug..thanks…by the way it is an interesting ROM..