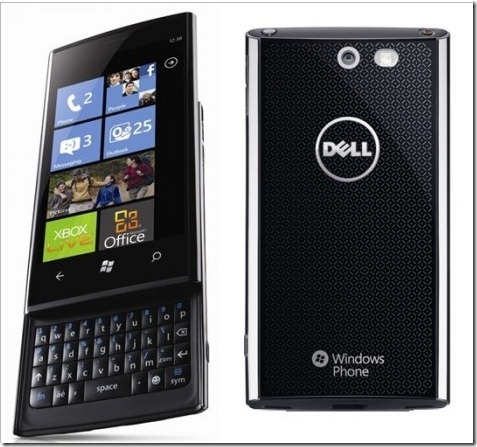
How To Unbrick Dell Venue Pro [Complete Guide]
Dell Venue Pro might not be the most popular Windows Phone 7 device, but it is one of the most unique ones, being the only WP7 device having a portrait sliding QWERTY keyboard. Their isn’t a lot of development going on for DVP, mainly due to its limited number of users, so it is always nice to see something new come along for this unsung hero. If you’ve bricked your Venue Pro, you should know that now, there is a way to bring it back to life. Read on past the jump for a step-by-step guide for the unbrick procedure.

As your device is already bricked, you have nothing to lose in trying this out. Note that the guide is intended to unbrick a DVP bricked by almost any method. We say “almost” because if your phone was physically damaged, or you monkeyed around with the touchscreen software using the EM tool, then these instructions won’t work. It must also be noted that following the procedure will wipe everything from your phone, and leave it on Nodo, instead of the current OS version, Mango.
Requirements:
- Your phone must have its stock SD card in it.
- Install the latest version of Zune.
- Download this file (VenuePro_flash_GLEOS2A_US_TMO_SIGNED_SWV0105_LP003 0_RV001_RETAIL.zip)
Instructions:
- Remove your phone’s battery and keep it in that state for a while. After about a minute, re-insert the battery.
- Enter the bootloader mode by holding the volume down, camera and power buttons simultaneously. Keep these buttons pressed until the FFU image appears on your screen, which is a laptop being connected to the phone.
- Make sure your PC is connected to the internet, and then plug in the bricked Venue Pro to it via a USB cable. If Zune launches, close it.
- Wait for the device to be recognized.
- After the drivers have been installed successfully, and your phone has been recognized, open command prompt (CMD) on your PC.
- In CMD, type this and press enter
cd C:\program files\zune\ - Enter “UpdateWp /list”
- Minimize the command prompt and copy the file downloaded in requirements. Paste it at the following location in your system
C:\program files\zune\ - In CMD, enter
updatewp /ffu VenuePro_flash_GLEOS2A_US_TMO_SIGNED_SWV0105_LP003 0_RV001_RETAIL.ffu
Now after your phone reboots in its stock state, you are free to disconnect it from the PC, and then update it to Mango via Zune. If the update doesn’t show up, you might want to take a look at our guide to force-update to Mango. If you face any problems in following this procedure, or would like more information on the subject, drop a comment or visit the source link provided below.

I have a problem with my dell venue pro, i have tried following all the steps above but i get stuck at step 7 because my device is not recognized. when the phone is switched on they ask me to try again in 16,500 minutes. Please i need some help on how to hard reset my device. Thanks
The downloaded file reports an error
Step #7 gives me an error message……
Need A Direct Link to download that file, can you please help?
File download link is bogus. Major fail here.