HighlightCam Social: Easy To Use, Feature-Rich Video Editor For Android & iOS
How much effort does it take to transform a dull and monotonous-looking photo collage or several random video recordings into a beautiful video montage? What if you were to add sound effects or your favorite music tracks in the background, capture fresh snaps or fetch pictures of your friends from the web, apply various video effects over the entire composition and share the result on Facebook, Twitter and YouTube straight from your smartphone? Normally, it takes loads of time just to gather resources and arrange them within the composition’s timeline, but here’s a free Android app that makes the process seem as easy as pie. Featuring quite a few handy video editing features, visual effects, option to add custom background audio and share edited video clips over the web, HighlightCam Social is a new, innovative video editing app for Android & iOS that shows much promise.
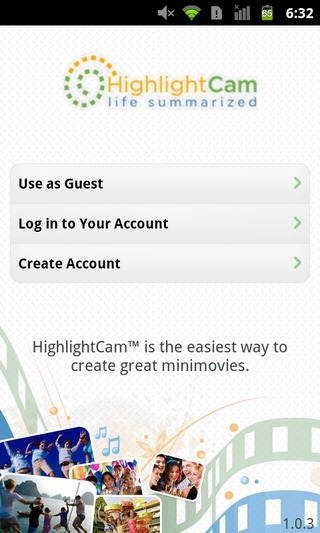
If recently reviewed AndroMedia HD, didn’t impress you with its video editing capabilities, HighlightCam Social just might. Although you can use this app as a guest (with limited access), it would be best to get yourself a HighlightCam account to avail all the editing and sharing features of the app. Registration is free and can be done from within the app.
The app’s interface is quite user-friendly, with all the editing features easily accessible from the homescreen. You can, however, tap the question mark (?) icon can at any instance, should you have problems in understanding the use of the options on a particular screen.
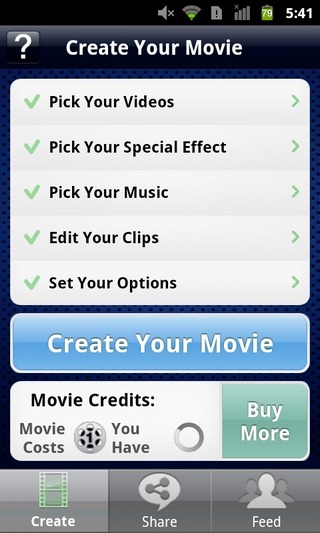
The options on the app’s homescreen, in itself, is a perfect step-by-step illustration of how simple it is to create video sequences within the app, where each option is a step in the creation of the final result. These options are as follows:
- Pick Your Videos
- Pick Your Special Effect
- Pick Your Music
- Edit Your Clips
- Set Your Options
Each step packs multiple options that help you personalize your “Mini-Movie”.
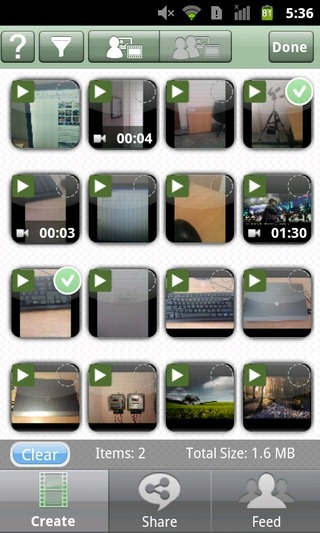
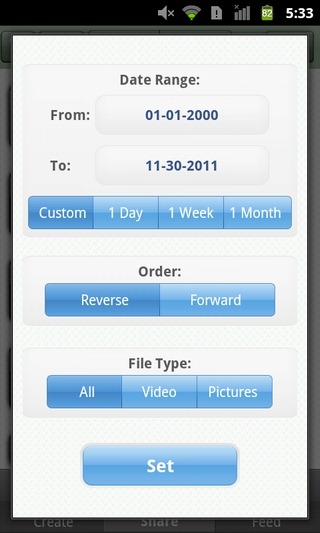
The very first tab lets you import videos and images. On the video selection screen, you have the choice to filter media files by date or type (video/image), pick media files from your local storage or those shared by your Facebook friends, and preview each file before adding importing it to the app. Just tap on the small circle in the top-right corner of each media file’s thumbnail to select it, and tap Done . To capture new photos or videos, tap Menu > Camera.
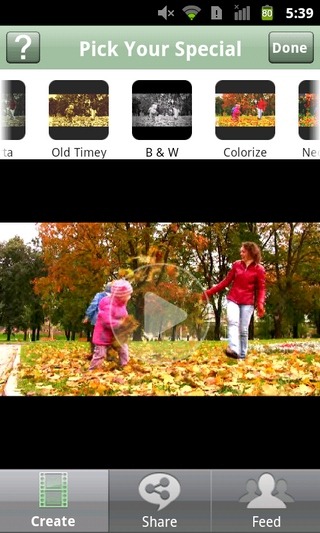
Next, it’s time to add some stylish effects to your video montage. For this, you need to tap the second tab on the app’s homescreen. You can swipe left/right on the thumbnails at the top of this screen to view all effects and tap on each to preview it on the video below. Tap Done to apply an effect of your choice.
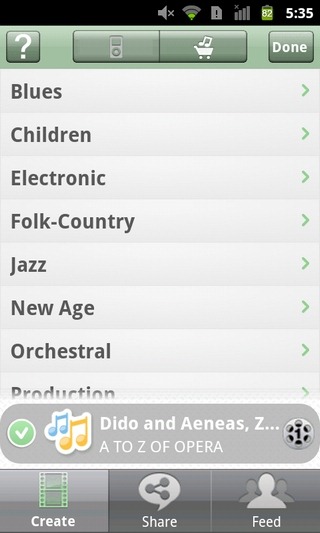

Then comes adding some background music to your clips. From the app’s homescreen, tap Pick Your Music. You have the choice of importing a locally stored music file, or you can simply tap the audio cart icon to select from no less than 40,000 splendid music bits, arranged under various music genres.
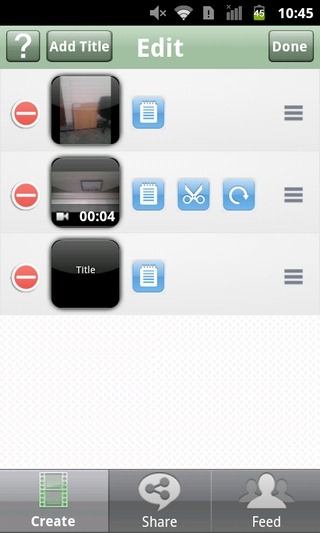
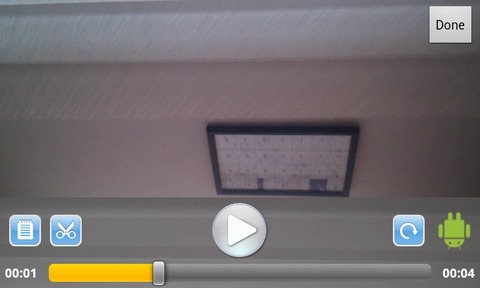
The Edit Your Clips tab is all about setting the order with which the selected media files appear within the video sequence, adding custom titles to each, trimming and rotating video files (for adjustment with respect to landscape/portrait orientation) or removing a file from the list selected media.
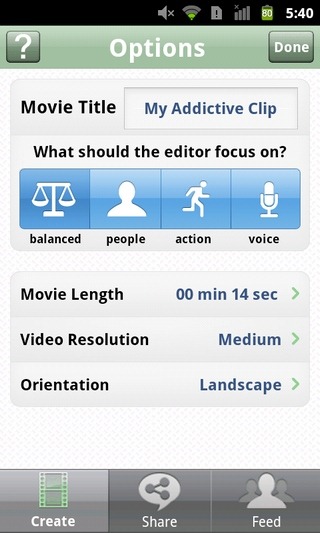
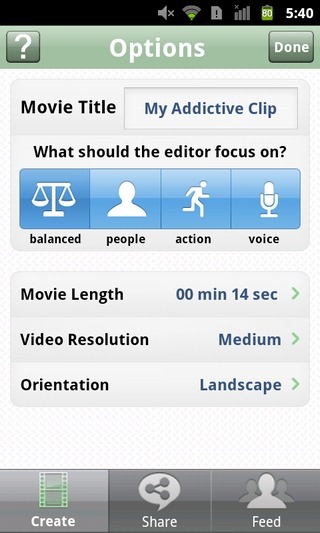
Next comes specifying settings for the rendered result, such as the movie title, length, resolution, orientation as well as the content that you wish to highlight in the video; you have the choice of setting the video to focus on People, Audio or Action as the focus point or you may simply opt to keep it all nice and Balanced.
Once you’re done putting the movie together, it’s time to render it (this could take some time). Tap the Create Your Movie button on the app’s homescreen to start uploading your project to the app’s online server for it to be rendered. The time required to upload will, of course, vary with respect to the amount of content that you’ve picked for your clips and the speed of your internet connection. The app displays the progress within the notification drawer.
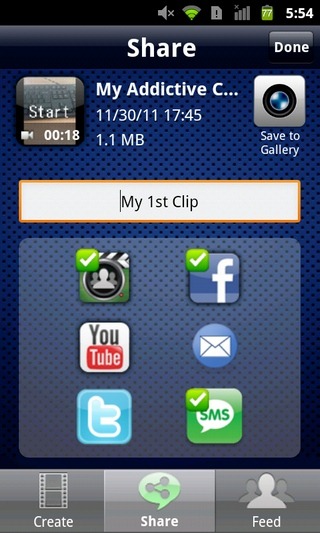
After a clip is created, you can pick all your preferred sharing services including the app’s own, Facebook, Twitter, YouTube, Email and even SMS (shares the video’s URL). There is also an option to download and save rendered videos to local storage. The entire select, edit, render, upload and share process might require some effort and time, but the end result proves to be well worth.
Each registered user gets 10 free credits for rendering movies. The cost of each render depends upon the chosen resolution. Once these credits run out, you can purchase more from within the app. Deals vary from a package of 10 movie credits to a 40+10 (bonus) offer.
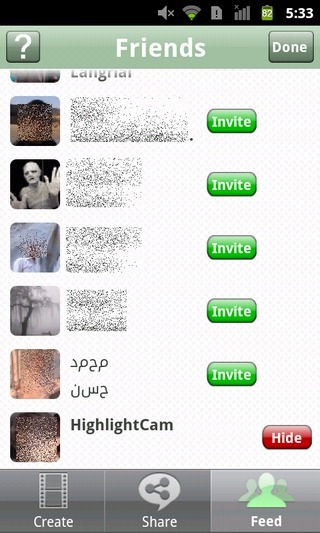
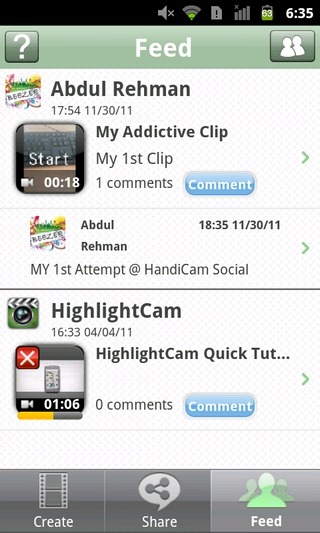
The Feed tab on the app’s homescreen carries all your rendered movies, complete with details and comments from your Facebook friends. There is also an option to invite your friends to use the app.
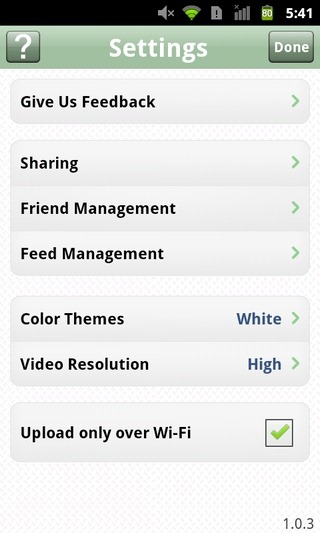
From the app’s settings screen (Menu > Settings), you can register services that you wish to share videos over, switch between the app’s multiple color themes and specify the default video resolution. You can also invite your friends to join the app’s network and enable/disable the option to upload content over Wi-Fi only. From within the Feed Management menu on this screen, you can specify the update method for the feed section (automatic/manual), specify how old the oldest feed item should be and the maximum amount of local storage that you wish to allocate to the app’s cache.
Download HighlightCam Social for Android
Download HighlightCam Social for iPhone, iPad & iPod touch
