Create Calendar Events On Android With Audio & Photos Using ClickCal
Creating calendar events and managing them on your Android device has been made a whole lot cooler, thanks to ClickCal. One often finds oneself in a hurry while adding an event on the go, only to end up in a tedious battle with the virtual keyboard. With ClickCal, not only can you add events simply by taking photos of any related documents or webpages etc., but you can record an audio and add it to your event as well, removing the need to enter descriptions or anything. Read on for screenshots and how to use the app.
ClickCal is one organizer that is surprisingly simple to use, especially considering the features at hand. A walkthrough of the app along with some screenshots will show you just how productive this app can actually be. It can prompt even the least organized people to consider some planning for fun’s sake at least, even if not seriously.
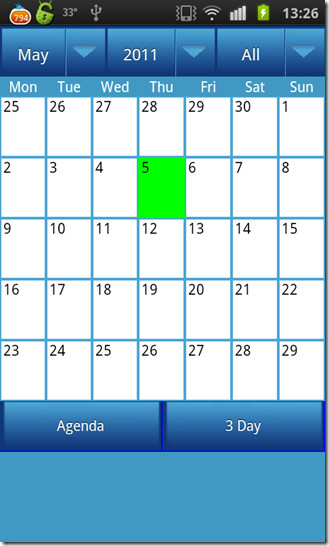
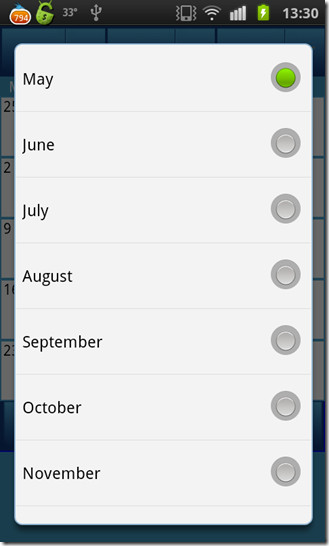
The app wears cool shades of blue with a calendar being the first thing you’ll see when you launch the app. You can move through the months by swiping left or right on the screen but if you want to jump a few months, you can do so by simply pressing the month button and a list of months will pop up. Simply select the desired month and the app will jump to that month.
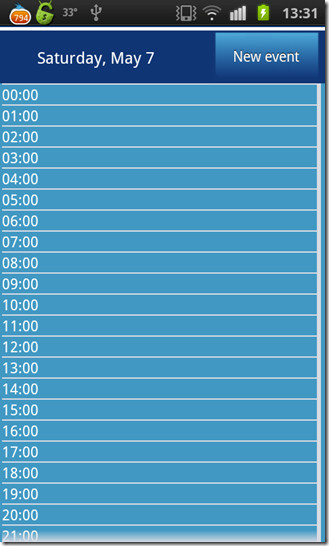
Selecting a date on the calendar will show you that day distributed in 24 hours. In our case, we had no events set up yet so the entire day showed up empty. Hit the New event button to add a new event and consequently you’ll be taken to the event setup page. As mentioned before, the app lets you take pictures and record audio to add to your event. Alternatively, you can add a location or description if you want via the virtual keyboard.
The app goes on to sync all your events with Google Calendar as well, but you wont be able to access the audio files or pictures from there. If you don’t want to sync the events you add in this app with Google Calendar, you can specify so by selecting My calendar in place of your Gmail account when adding the event.
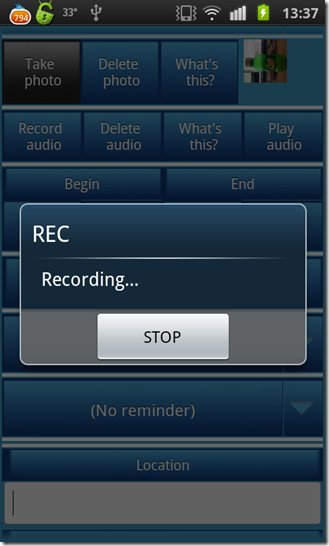
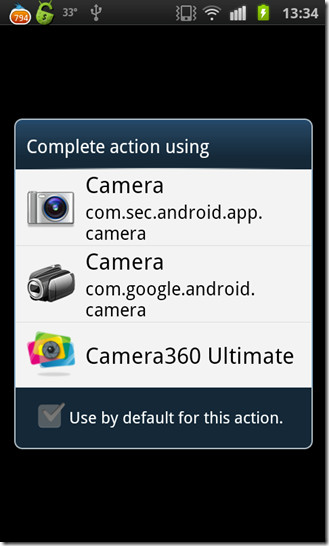
Simply hit the Take photo button and snap a photo to add, or hit the Record audio button to record your audio, which you can preview as well by selecting Play audio. In case you want to remove a photo or an audio file, hit the relevant delete buttons.
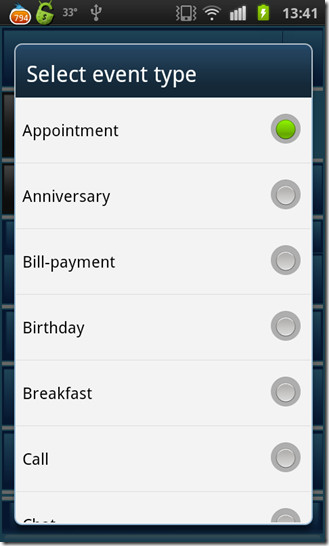
You can select when to receive the reminder, or if you need one at all. Furthermore you can select the event type as well to help identify the types of event you set up. Once you’re done setting up an event, simply hit the Save button.
When the event has been saved, you will be taken back to the main calendar. While the event can be seen under the relevant date of the month, you can hit the Agenda button on the main screen and the app will show you all the events that are lined up. If you want to see your events for the next three days, hit the 3 Day button and you’ll see something similar to the screenshot above on the right.
Clicking on an existing event will take you to a screen similar to the one above. Here you have the options to delete the event or edit it. Pressing the speaker icon will playback the audio file (if one is attached to the event) while selecting the picture will show you any photo that you took when adding the event. Excuse the Mountain Dew promotion, that’s purely unintentional.
The app is pretty powerful and helps you organize your events neatly without much effort being put in, with the best part being it’s totally free. So go ahead, this app 


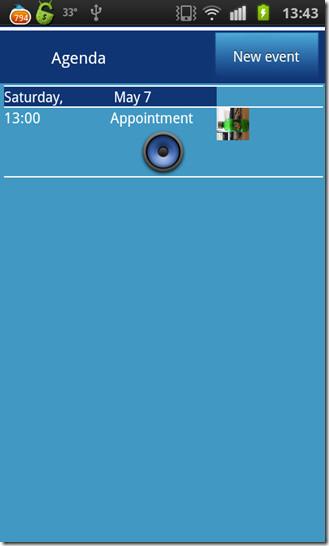

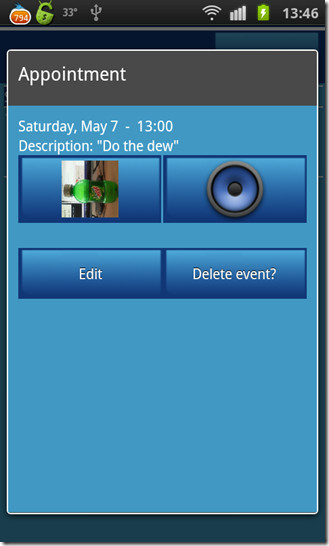

Just a note on the photo orientation: if you change orientation to take the photo the icon may end up sideways like on your screenshots since the event screen has another orientation than the camera view. If you need a photo in landscape mode tilt the phone before clicking the “Take photo” button.
Worked on this a bit earlier by checking the photo information and correcting the orientation, but this didn’t work consistently on every phone. Some phones seemed to have wrong information for the photo’s orientation.