Android Commander Is A Swiss Army Knife For Android Devices
The Android world is full of tools, hacks and guides that let you customize your device the way you see fit. Most of these utilize the official Android SDK tools provided by Google, but using these isn’t always the simplest of tasks. Enter Android Commander – a free app for Windows that is basically a front-end for the core Android tools laid out in such a way that enables even a novice to use them without much hassle. For our detailed review and screenshot tour of this gem of an app, continue reading.
We at AddictiveTips love Android and we know you do too. That’s the reason we do our best to bring you apps and tools to help you make the best out of your Android phone or tablet. While most of the apps are pretty straight-forward to install and use, other more advanced modifications to your device often involve the use of command-line utilities and complex methods that can be intimidating to those used to GUI tools, and although we try our best to make our guides the safest possible for you, there is still a relatively high risk involved with using such methods that can result in potentially bricking your device due to any mistakes being made in entering the commands. That’s why when we came across Android Commander, we were delighted at the way it provides a well laid-out graphical front-end for several standard Android tools in one package that makes the process of using these tools a breeze!
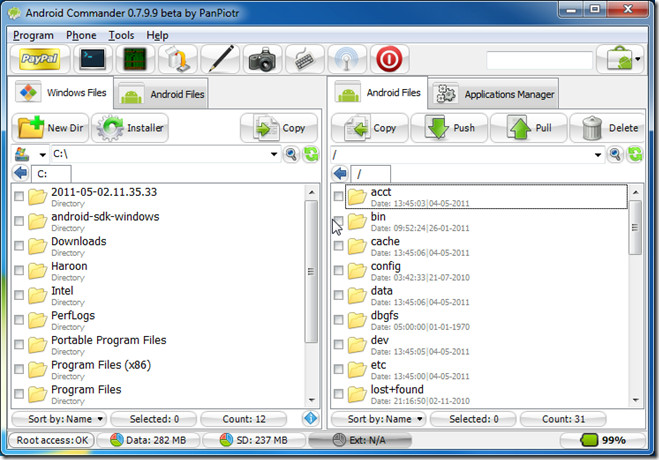
When you first launch Android Commander, you will see what appears to be just a dual-pane file manager but don’t let that fool you! Although it does provide very convenient dual-pane file manager access for transferring files between your PC and your Android device, it is filled with a plethora of other options to allow you to do pretty much everything with your Android device that would otherwise require using ADB commands. Let’s take a closer look at the features offered by the program.
Let’s first review the file manager before moving on to the more advanced features. By default, your computer’s local file system is shown in the left pane and the Android device’s file system in the right pane, both with multiple selection available using check boxes. However, tabs available in each pane let you switch the left pane to show the Android device’s file system and the right pane to the Applications Manager (more on this in a while). This is a handy option, as you can use it to drag and drop any of the apps installed on your device to not only your computer but also directly to a location on your phone’s storage. The Android Files tab presents you with a few handy features as well. You can easily transfer files between the computer and the device using the Copy, Push and Pull buttons, as well as delete any files from your phone.
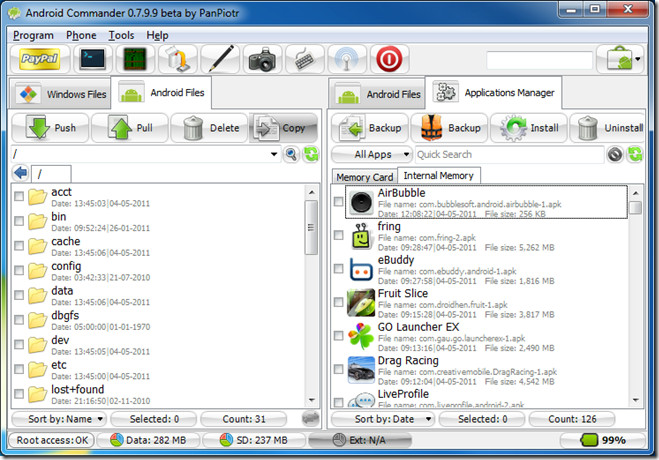
One of the most useful main features of the program is the Applications Manager found as a tab in the right pane. This section lets you manage all the apps that are installed on your phone. These apps are organized by internal memory and memory card, depending on whether you are using App2SD, Data2ext or any similar hacks, with support for sd-ext partition as well, if one exists on your phone. Using the Applications Manager, you can backup your installed applications to the location on your phone or PC open in the left pane by using the first Backup button, or to any other location on your PC using the second Backup button. Furthermore, you can install applications from selective APK files present on your PC by using the Install button. Lastly, you can also uninstall any applications from your phone.
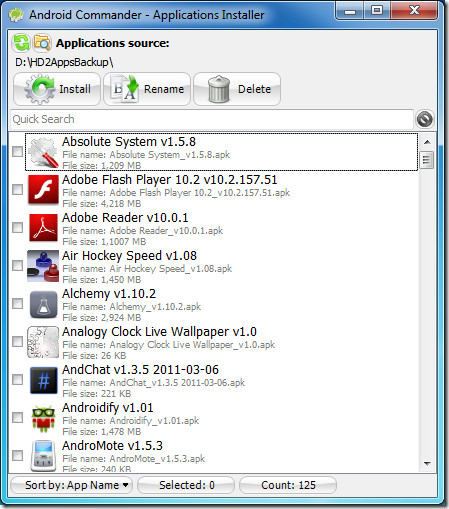
Under the Windows Files tab, you can browse to any location on your computer where APK files are located and click the ‘Installer’ button to bring up the integrated Applications Installer. This handy tool will load the necessary metadata for the APK files (including the app name and version) in that location and present them to you in a list, ready to be installed to your device, simply by selecting the ones you want to install and clicking ‘Install’. Sideloading multiple apps to your phone couldn’t be easier!
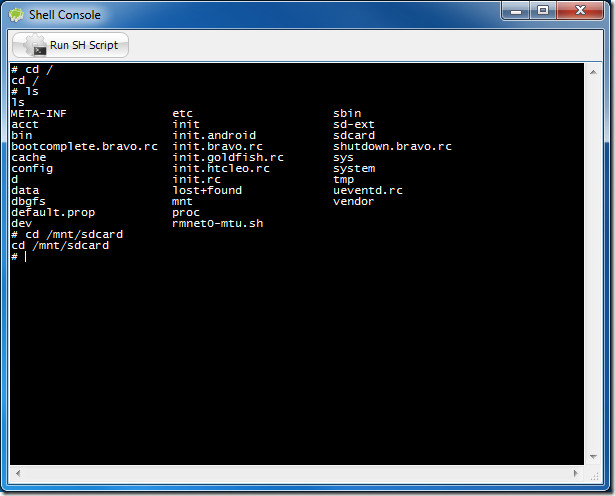
One would think the feature list ends here but that is far from the truth. So far, we haven’t explored the menus and the main toolbar so let’s take a look at what we have there. Firstly, there is the ever-handy Shell Console that provides you with a command-line shell access to your phone just like adb shell does. Though an added benefit this one has over the standard adb shell command is the ability to run shell scripts stored on your computer directly by using the Run SH Script button.
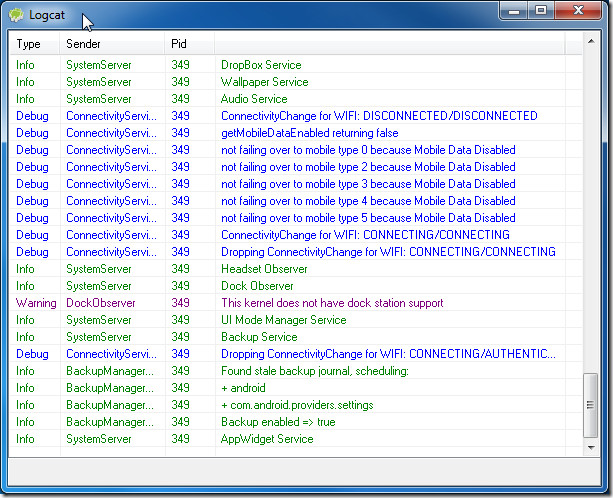
Next, there is Logcat – the handy Android feature that lets you log the activity on your phone, which can be of immense help when debugging your apps or sorting out problems and figuring out reasons for crashes etc. The log is presented in a color-coded, spreadsheet-like view with a very convenient Active check box to start or pause the logging.
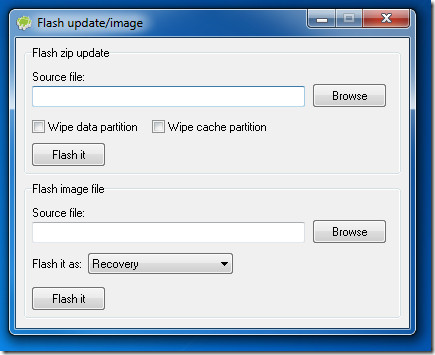
Then we have one of the most handy features of the app – Flash update/image. This lets you flash apps, ROMs, kernels etc. in a zip format to your device from recovery with the ability to choose whether to wipe data and cache or not. You can also flash individual partitions on your phone directly using flash image files but do this only if you are absolutely sure about what you are doing since flashing a wrong image to your phone’s critical partitions can easily turn it into an expensive paperweight. The partitions flashable using this method include /boot, /recovery, /system, /data and /cache.
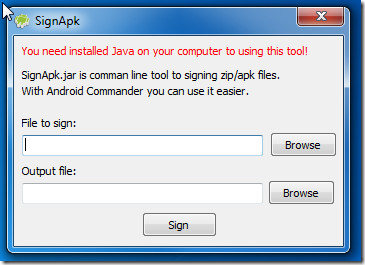
Ever wanted to flash a zip file from recovery but found you couldn’t because it wasn’t signed? Android Commander has a decent feature called Sign File, which can be accessed by clicking the pencil button on the toolbar. It lets you choose any flashable zip file on your computer and output it as a signed zip file. It uses the official SignApk.jar Android tool to do this but without having to use the command line. This feature requires Java installed on your computer.
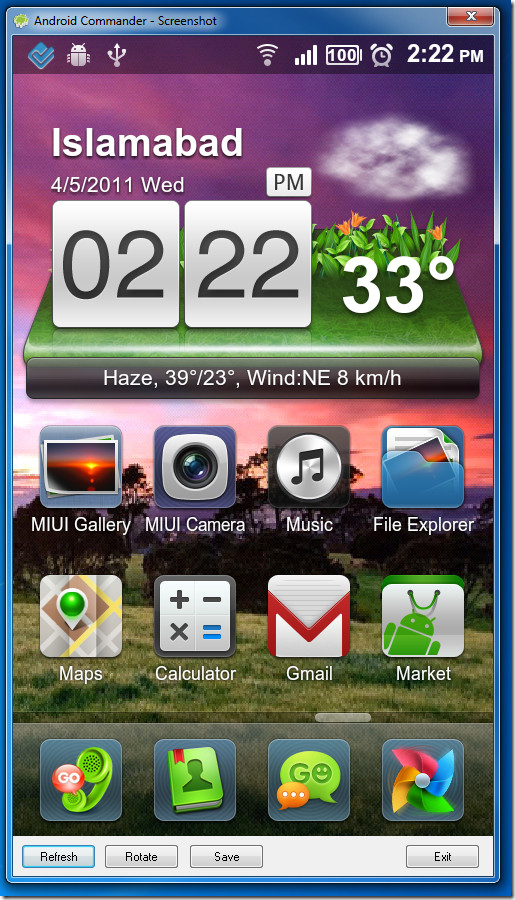
Want to take a quick screenshot of your phone without having to use any app on your phone and then transferring the screenshot to your computer? Android Commander has you covered. Click the camera icon in the toolbar and you can save the screenshot to your computer.
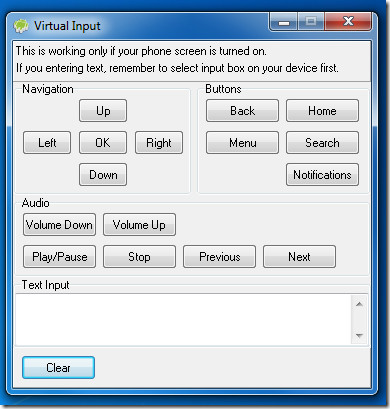
Don’t feel like typing out long text using your phone’s tiny keyboard when you are already using your computer’s larger keyboard? Click the Keyboard icon on the toolbar and you will be presented with the Virtual Input window, where you can not only input text into your phone but also navigate your phone, invoke its hardware buttons and even control the phone’s audio player!
There is also a power menu accessible from the toolbar that lets you power your phone off or reboot it normally, into recovery or into its bootloader, without having to use any hardware button combination.
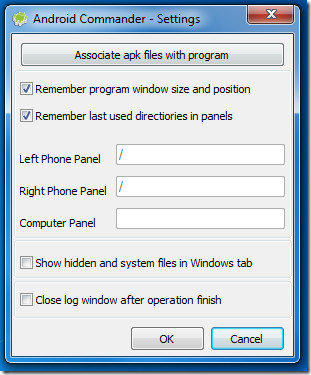
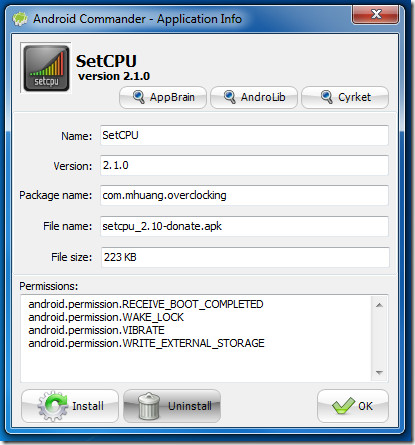
The program’s settings can be found under the Program menu, where you can select default paths to open in the panes, show/hide hidden files and even associate APK files with the program. Once associated, the Application Info window that appears on double-clicking any APK files from your computer not only lets you install the app directly to your phone but also shows you detailed information on the application, the permissions it requires as well as links to visit the app’s pages on AppBrain, AndroLib and Cyrket, More options in the settings pane allow you to specify default paths in the panes and choose whether to show or hide Windows hidden and system files.
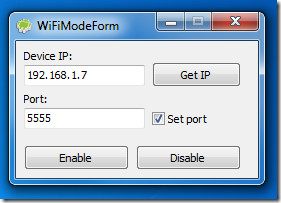
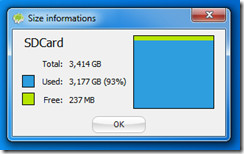
Android Commander has been brought to us by XDA-Developers forum member PanPiotr for free, works on most Android phones and tablets, and requires ADB up and running on your computer. To learn how to install ADB, see our guide on what is ADB and how to install it. Furthermore, root access is required on the device to make the best use of the program. To root your phone or tablet, see our guide on how to root your Android device. Needless to say. You must have USB debugging enabled on your phone in Settings > Applications > Development, to be able to use it with Android Commander.
The program is in active development and you are encouraged to contact the developer at the XDA-Developers forum links provided below for feedback, bug reports, feature requests etc. Android Commander is donationware so if you enjoy using the tool and find it useful, consider supporting the developer by making a donation through the program itself or at the forum thread.
The latest stable Windows version can be downloaded from the official website while the latest Windows beta and Linux alpha versions can be found at the corresponding XDA-Developers forum threads.
Android Commander Website
XDA-Developers Forum Thread (Windows)
XDA-Developers Forum Thread (Linux)

Can i root phones without wiping data?
awesome review for an awesome app, cheers! could you please tell me what launcher etc you are using in that screen shot above? I didn’t know you could get that awesome iPhone style navigation bar!
It’s called MIUI Launcher but it isn’t available standalone. The only way to get it is to install MIUI ROM. We have featured this ROM for several phones here at AddictiveTips and doing a search for MIUI and your phone’s name in our site’s search box should help you, provided there’s a version available for your phone.