AfterFocus Makes Photos Look As If Taken With A DSLR Camera [Android, iOS]
One of the most amazing aspects of modern-day mobile devices are their powerful cameras, which allow users to capture images good enough in quality to be made to look, with the help of an app, as if they were captured using a DSLR camera. Developed by MotionOne, AfterFocus is one such app that has recently been running hot among iOS users for its DSLR-like lens and motion blur effects that can be applied to user defined areas of a photo, the ease with which this is achieved and the amazing results that it produces coupled with a unique set of filters. Well, the app is now available in the Google Play Store as well, and it doesn’t come as a surprise that it is, unlike its iOS counterpart, available for free (AfterFocus for iOS has a price tag of $0.99).
AutoFocus lets you choose the region of an image on which you wish to set focus. How this works is that you roughly paint over the desired region and the remaining portion of the image separately. The app automatically judges and adjusts your selection accordingly, much like Adobe Photoshop’s Magic Wand tool, and then applies a lens/motion blur effect (of a user-defined intensity) to the background. After that, you can adjust various aspects of the effect, apply filters and add stickers to further mold the final result to our liking.
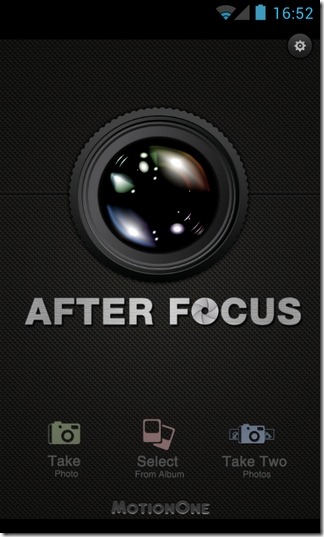
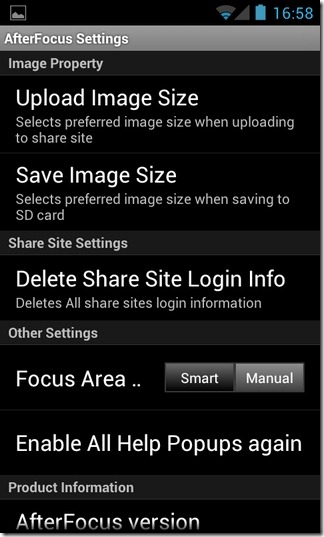
Using AfterFocus may seem hard at first, but it really isn’t; it just needs a little getting used to. You can start by capturing a new image, or importing one from the Gallery/Camera Roll. Mastering the app’s usage and various controls might have required the user take a few coaching classes, but for the detailed video tutorial that guides you through the process in no more than a couple of minutes.
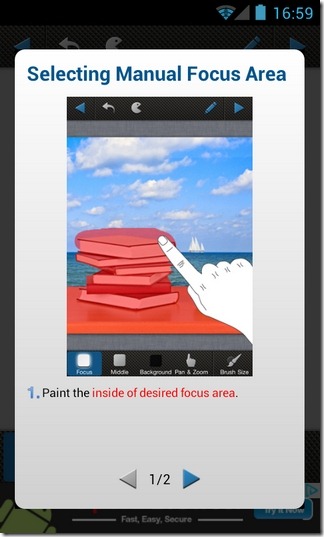
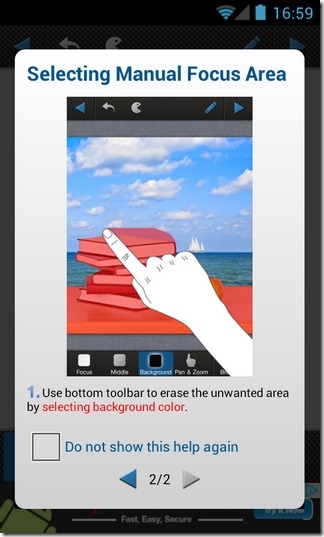
AutoFocus features three main image focusing modes: Smart Focus, Manual Focus and Double Photo (comparison). The Double Photo mode automatically adjusts the image focus on your behalf; all you need to do is snap a couple of images in tandem – with just a minute difference of position between the two – to have AutoFocus analyze and focus on the desired object in the image.
Manual Focus is perhaps the most tedious method of the three, as it requires you to go through the hassle of manually painting over the portion of the image that you want to focus on.
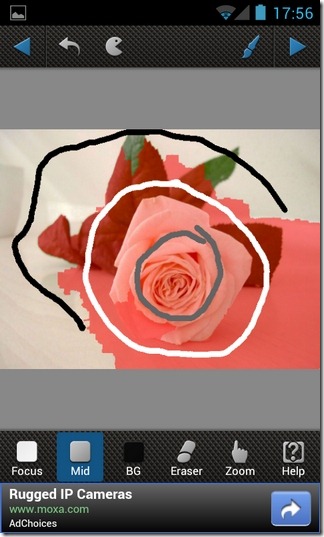
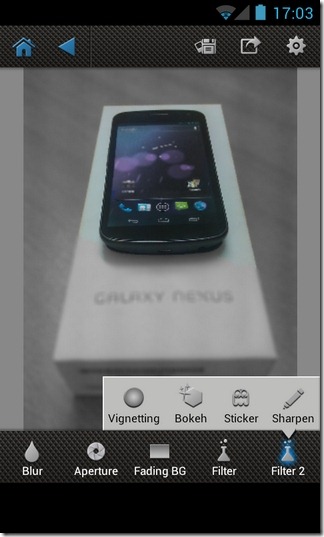
Smart Focus, on the other hand, is much easier to use, since it only requires you to paint a roughly around the edges of the required object, the portion around the object where you want the focus to have slightly less intensity (so as to avoid an abrupt change in focus around the edges of the object), and the section that you wish to set as the (blurred) background.
Good thing is, you have the option to undo previous actions in case you make a mistake, and an eraser tool to manually wipe away errors. Once the required selections are made, simply tap the arrow in the top-right corner of the screen to head over to the app’s effects and filters screen. From within said screen, you can select the preferred aperture style, intensity of lens/motion blur effect, toggle fading background effect on/off (fades the intensity of the blur effect from top-down), and last but not the least, apply filters.
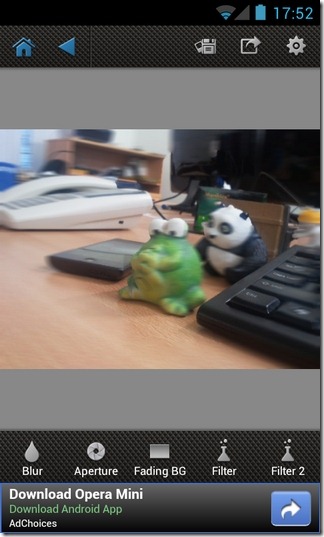
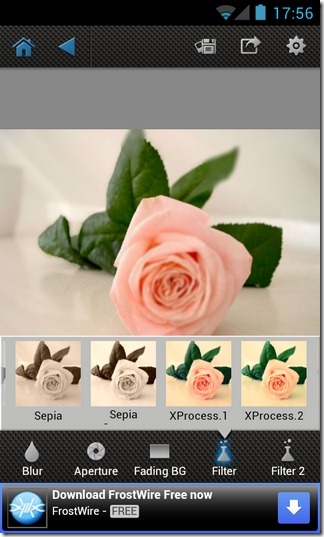
Using the app might prove to a bit intimidating at first, especially if you’re a photography neophyte, but once you get a hold of the controls, you will find yourself returning to the app again and again.
To avail the aforementioned Double Photo feature, you’ll need to upgrade to the Pro version of AfterFocus from within the app for $0.99. All other features are available in the free variant of the app.
Install AfterFocus for Android (Free)
Install AfterFocus for iOS (Paid)

where are the blurred photos saved on the Mac?
Could you guys give me a hint on what the aperture funcion does? i know what aperture is but it does not seem to do nothing on the android app, tks!