How To Change Page Orientation Of Word 2010
Setting page layout of MS Word 2010 document is easy, and one only needs to know the print requirements to set the page margins and orientation. For example, if you are planning to print a rich text document, containing images and text, then you may want to change the default orientation (Portrait) to Landscape in order to properly adjust the content of your document. Likewise, if you’re working on a graph or long data set, it’s recommended to switch to Landscape orientation. Unlike previous Word versions, Word 2010 offers a wide range of page layout settings, allowing users to customize the page length, width and right, left, top and bottom margins. You can choose to change the orientation of a single page or set same page orientation across the document. Along with page layout settings, it lets you quickly switch between page orientation to check which orientation fits the document content. Just like other Office 2010 suite applications including Excel, PowerPoint etc., Word 2010 page orientation is set to Portrait, but you change it from the Page Layout tab –> Orientation drop-down menu. From Page Layout, you can change page-specific settings for both Portrait and Landscape orientations including Gutter and Gutter position, top, left, right and bottom margins etc.
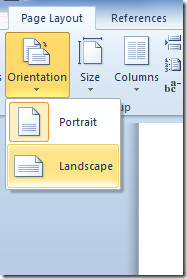
In order to change the default orientation, open the Word document, and head over the Page Layout tab on the ribbon. Now, click Orientation button present in the Page Setup group, and choose the Landscape option.

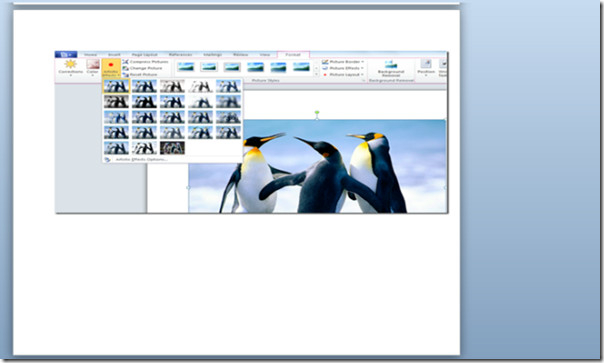
This will change the orientation of the document to Landscape. It’s advisable to open the print preview of the document to check whether the page content suites the current orientation or not.

