Excel 2010 Remove Row & Column Headers
For sharing out Excel spreadsheets, sometimes you need to hide the main headers to give it more tidy and professional look. In this post we will let you know how to hide the main row and column headers.
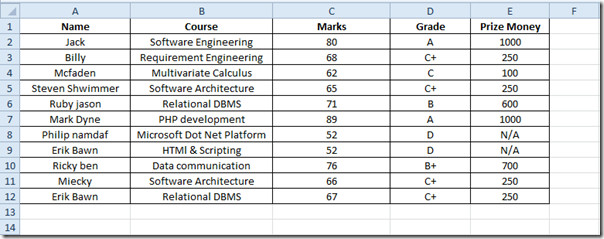
Launch Excel 2010 spreadsheet on which you want to hide row and column headers. For instance we have included a spreadsheet which we will be sharing online.

Now on File menu and click Options.

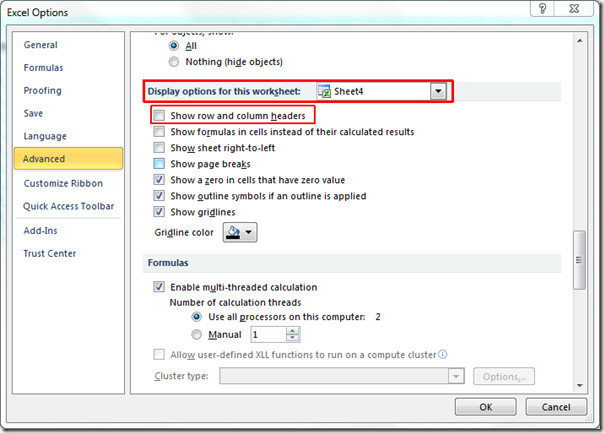
Now from left side bar select Advanced and from right pane scroll down to Display Options for this worksheet section, choose sheet on which you want to apply settings. Disable Show row and column headers option. Click OK to continue.

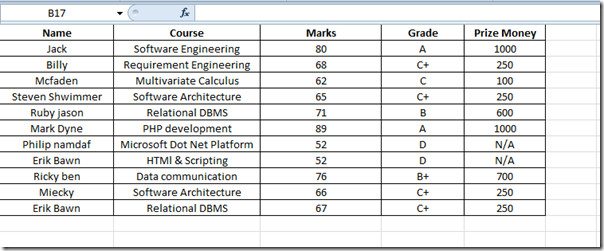
You will see that the row and column headers are removed from the worksheet window.

You can also check out previously reviewed guides on Covert Excel Spreadsheet into Graph Paper & How to Change, Remove and Print Gridlines in Excel 2010.

It’s easier to use the View menu and deselect the check box.
I need to do the opposite (turn the headers on) for files that have them off by default.
Is there any way to set Excel so that they are ALWAYS on?
There needs to be a shortcut to show/hide the headers.
How do you remove them independently? Excel 2003 had that option.