Embed Visio Drawing In Word 2010 Document
Microsoft Office 2010 suite apps have an intrinsic intra-working capability. Word 2010 provides an easy way to link Visio drawings, while working on Word document you can easily embed Visio drawing in the document and modify them with few clicks. On opening link it will open drawing in Visio where you can add and delete shapes, data graphics and modify them as required.
To start off with, launch Word 2010 document in which you want to embed Visio drawing.

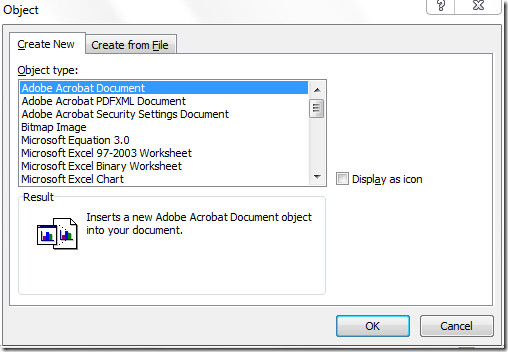
Head over to Insert tab and under Text group, click Object.

It will bring up Object dialog, here you can link new Visio drawing from the list, but since we are linking to an existing one, we will switch to Create from File tab.
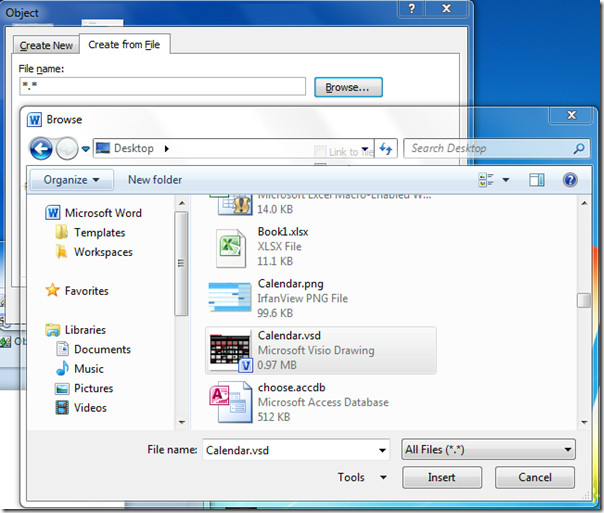
Click Browse and navigate through folders to select desired Visio drawing fie. Click Insert in Browse dialog to insert it as an object.
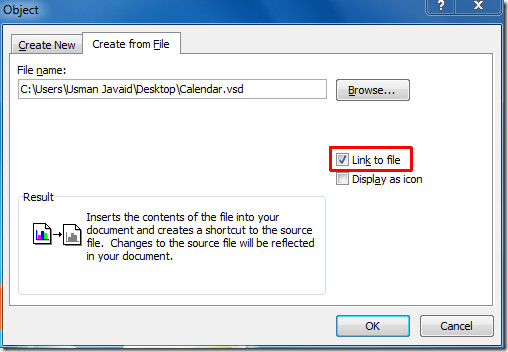
The Visio drawing will be successfully inserted in the Object dialog, now enable Link to file option and click OK.
It will insert selected Visio file as an object in Word document.
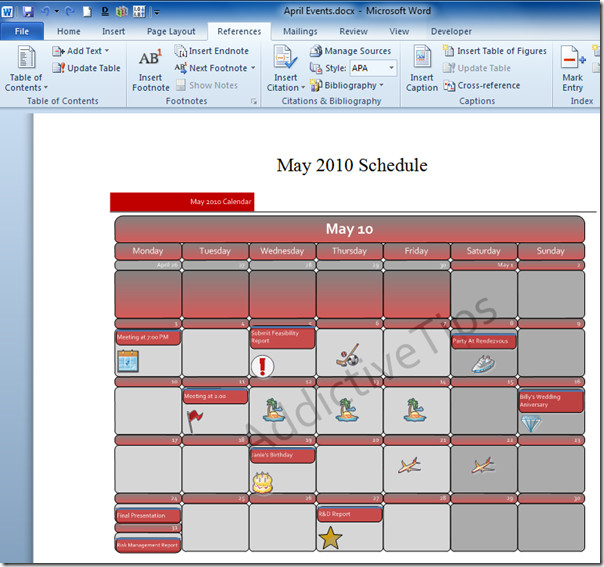
As the object is linked (synced) with the Visio drawing file, thus, any changes in the Visio drawing file will be reflected in Word document. Right-click the Visio drawing in Word document and from Link Visio Object sub-menu, click Open Link.
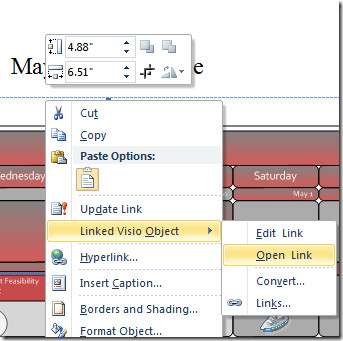
It will instantly open drawing in Visio 2010, allowing you to insert, modify, edit graphic data and shapes.
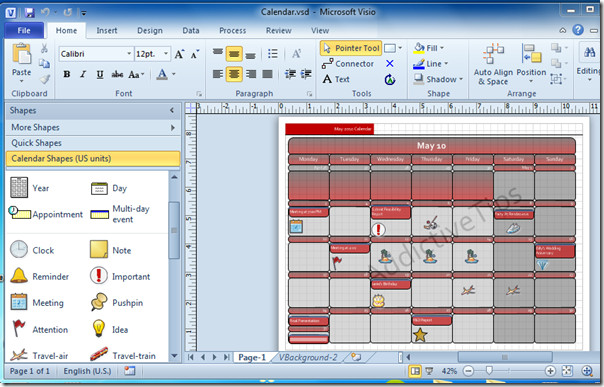
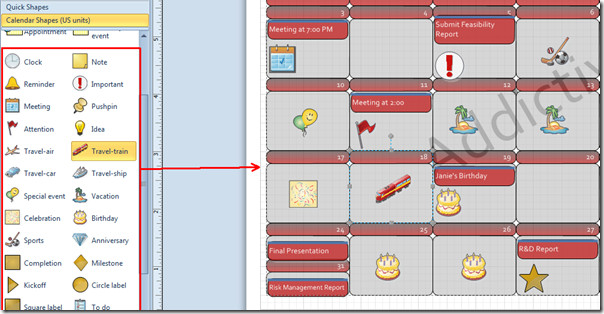
Start shaping up the drawing according to the needs of document. You can add shapes by dragging shapes from left side bar in to diagram. For editing, deleting shapes or text, select the box and remove the box or edit it as required. Under Design tab, you can change; background, design, and layout of the drawing.
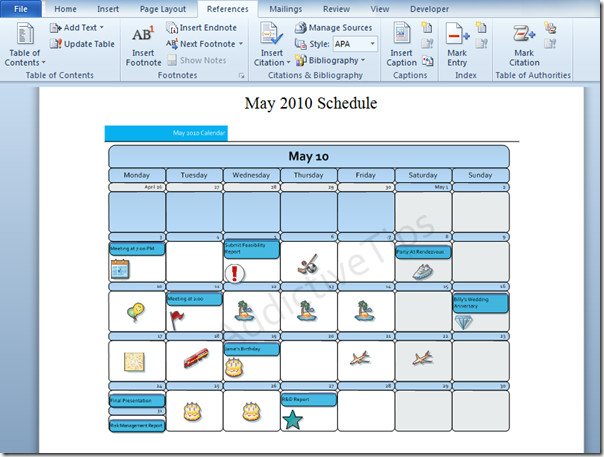
Once done with modifying drawing, move to Word document and right-click in the embedded drawing to select Update Link.

It will instantly update & show all the modifications in Word document.
You can also check our previously reviewed guides on How to Merge multiple documents in single Word 2010 document and How to link Excel spreadsheet to create Visio drawings.

It works for me. But my question is how do link a diagram in a visio drawing in word 201? i dont want the background in my word document, i just want the diagram.
Is it possible to use a relative path instead of an absolute path? It doesn’t make sense to use absolute paths if people need to read the document in different machines with different directory structures.
In Word 2010 I have inserted (they way described above)…visio files – linked. 160 pages worth. Save the file….open and all is well. All 160 are there, and can be edited and links updated. Then I save and close it for the night. When I open it the next morning the file only has 82 pages…and most of the links are corrupted. Is this a Word 2010 problem????
How do I link to second, third or other than first tab in Visio?
E.g. In my word document I want section 1 to show first tab from my Visio document and in section 3 I want to link to the third tab from my Visio document.
For those like me who stumble across this thread
1. In Visio, open the page you want to copy, right click in white space and Copy
2. In Word (2013) on Home menu, Paste/Past Special, select Paste Link and As Visio Drawing Object
If you afterwards inspect the field codes you will see something like {LINK Visio.Drawing.15 “C:\Work\Design\UC AU.vsdx” “Drawing\~Page-1” a p} – so if the above copy/paste approach does not insert the “Drawing” directive you could try doing so manually.
Another approach is to use the Links dialog (in Word right click on diagram, then select Linked Visio Object/Links). You can use “Change Source” and the “Item” option to specify the required visio page as “Drawing~Page-2” for example.
Excellent, thank you! Works like a charm. I didn’t know the syntax for the “item in file” part. This was helpful. The “paste special” is really easy.
This is a great help! Thank you! Good job!