How to Setup and Watch MLB on Kodi: Best Add-ons of 2025
Kodi makes it easy to stream everything from movies to music, sports, documentaries, and TV shows. The free software functions as a hub that lets you access a variety of content, all you have to do is install the right extras and you’ll never run out of things to watch.
The most powerful part of Kodi’s design is the ability to use both official and third party add-ons. These seamless extensions unlock even more content, providing streams for things like sporting events, movie releases, or even live MLB games! To get the most out of your Kodi enabled device, follow the guide below to install the best add-ons for streaming live baseball.
Before You Begin: Install a Reliable VPN
Kodi is free, open source, and completely legal to use. Some unofficial add-ons may have the ability to access videos in unconventional ways, however, and that can place you in a compromised position. When you use the internet, information about your location and the data you’re accessing is collected by ISPs, which can then be sold or shared with third parties. If you watch a stream flagged as unlawful, those details can be used against you. Fortunately there’s an easy way to protect your privacy without sacrificing content freedom.

It isn’t easy choosing a good VPN, but IPVanish is a great place to start. The service offers fast downloads with no traffic or bandwidth restrictions, a strict zero-logging policy, and it has over 750 servers in 60 different countries (at the time of writing).
The IPVanish apps are lightweight and work well on any device, giving you the freedom to use Kodi on phones, tablets, laptops, and PCs. IPVanish is a great companion to the Kodi experience, freeing you up to enjoy all the movies and MLB games you can handle.
EXCLUSIVE READER DEAL: Addictive Tips readers can save a massive 63% here on the IPVanish annual plan.
How to Install Kodi Add-ons
Installing Kodi add-ons is a multi-step process, but once you get the hang of it you can do it with your eyes closed. The software comes with a selection of official add-ons you can browse and install right from the main menu. Third party extensions can be accessed in a similar manner, you just need to add repositories to make the add-ons available.
Before you can install anything from an external source, you need to toggle an option within the Kodi interface. This allows the software to retrieve and install add-ons that aren’t natively part of the program.
- Launch Kodi and click on the gear icon to enter the System menu.
- Go to System Settings > Add-ons
- Toggle the slider next to the “Unknown sources” option.
- Accept the warning message that pops up.
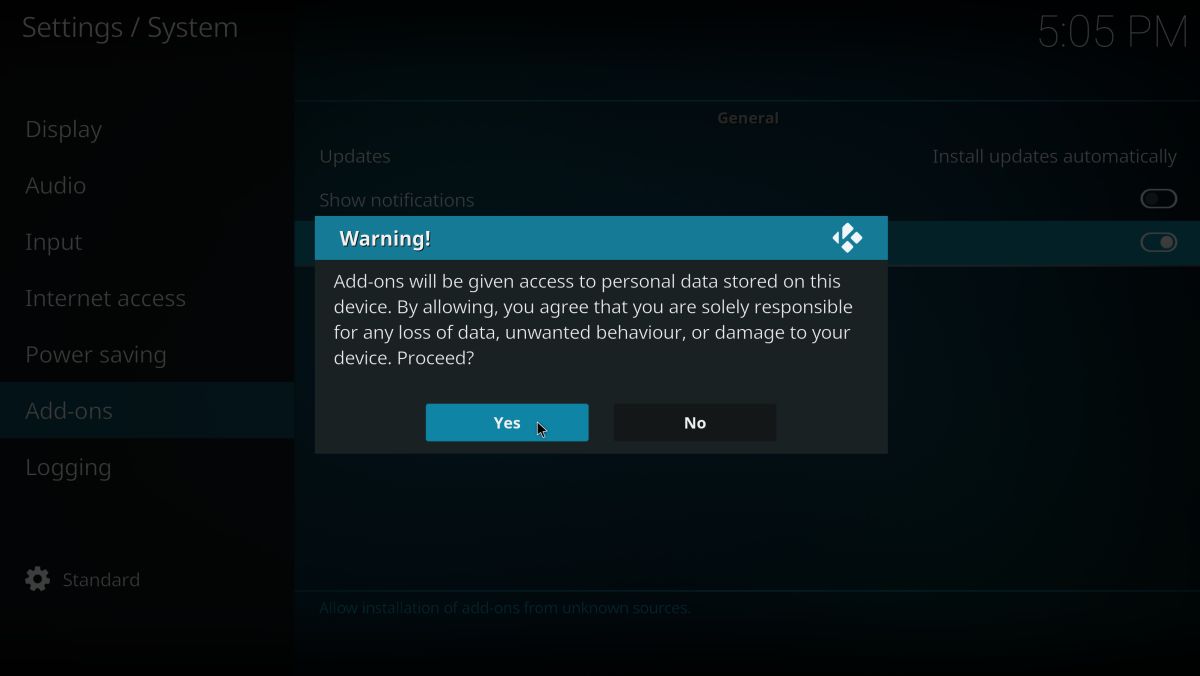
Now that Kodi can install external files, you’re ready to retrieve some add-ons. Most third party extensions come bundled in repositories stored as zip files on external servers. Tell Kodi where these zip files are, then unpack and install individual add-ons at your leisure.
Overview of how to install Kodi add-ons:
- Open Kodi and click the gear icon to enter the System menu.
- Go to File Manager > Add Source. You may need to click the double-dot at the top to move to the beginning of the directory.
- Type the URL of the add-on repository into the window that opens.
- Type a custom name for the repository and click “OK”.
- Go back to the Kodi main menu and select “Add-ons”.
- Click the open box icon at the top of the menu bar.
- Choose “Install from Zip File”
- Select the repository you just added.
- Wait for the repository to install. A notification will appear when it’s ready.
- Go back to the Add-ons menu and click the open box icon again.
- Choose “Install from repository”
- Find the add-on you’d like to install from the repository.
- Install the add-on and wait for the confirmation notification.
- Access your add-on from the main menu and enjoy your new content!
Watching the MLB on Kodi – Official Add-ons

Kodi’s repository comes packaged with a number of enhancements that make your media center a smoother experience. Everything from new skins to language packs, free music streams, video sources, and sports channels are there, all installable with just a few clicks. You’ll even find a couple of default add-ons that give you access to MLB content right out of the box!
To install the following official add-ons, go to Kodi’s main menu and select Add-ons > Download. Browse the video add-ons list and click extension you’d like to install.
MLB.tv
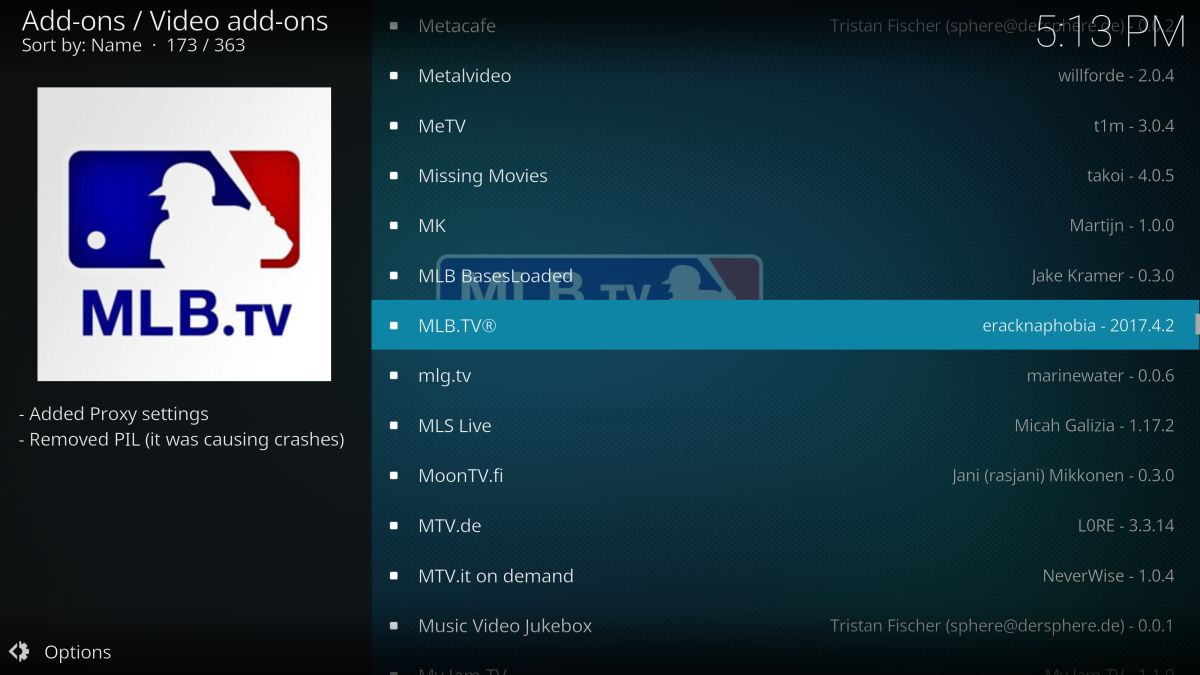
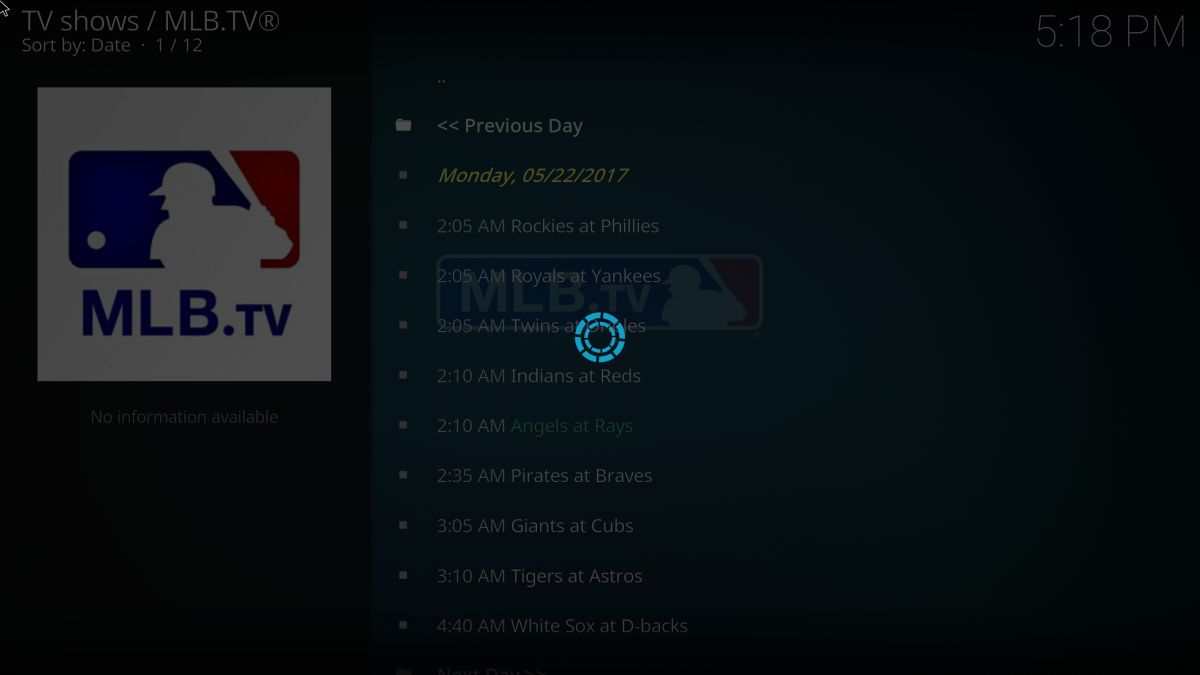
Watch out of market regular season MLB games on any Kodi enabled device. The interface is sorted by date and features highlights, recaps, condensed versions and even full versions of all the games. Note that you’ll need an account at MLB.tv to access some of the content.
MLB BasesLoaded
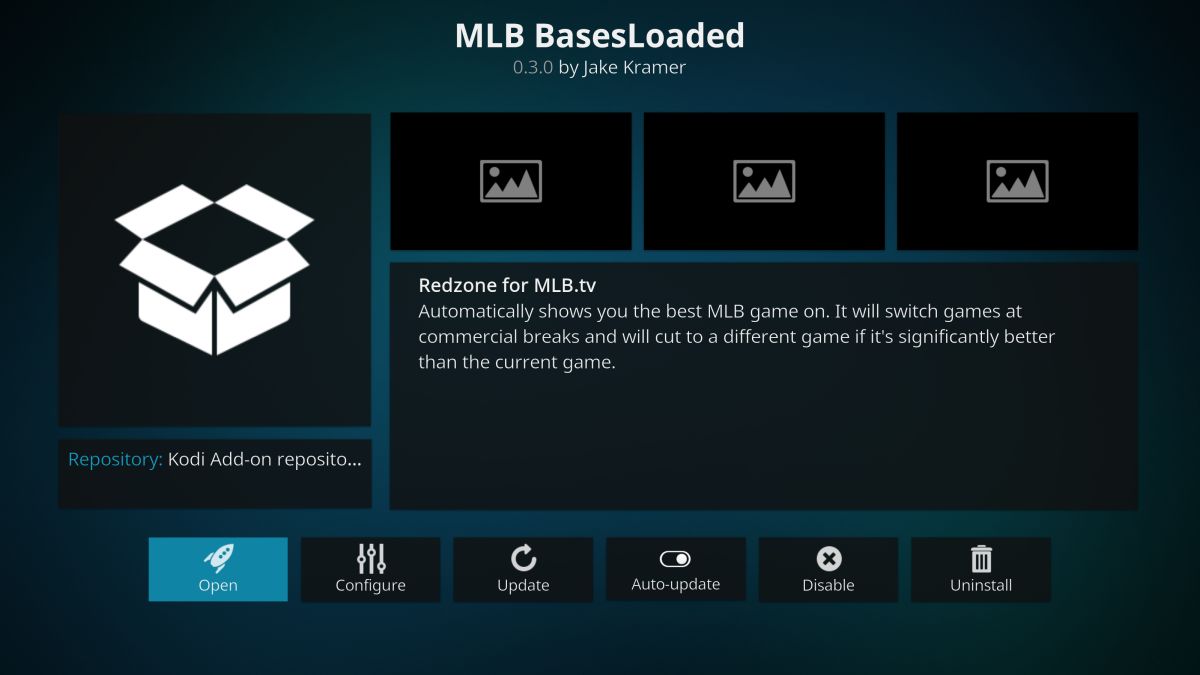
A Redzone streaming channel for content posted to MLB.tv, featuring high quality interviews, highlights, live broadcasts, and summaries. You’ll need an active account with MLB.tv to use this add-on.
Watching the MLB on Kodi – Third Party Sports Add-ons
The streaming power of Kodi really shines when you start installing third party add-ons. While the pack-in options leave something to be desired for baseball fans, unofficial extensions more than make up for the lack of MLB content.
One quick note before you dive in. Third party Kodi add-ons are generally safe and easy to use, but that doesn’t mean you won’t encounter problems. Reliability can be an issue, as are vanishing stream sources and content that spontaneously disappears. The add-on selections below are some of the most reliable in the Kodi ecosystem, but be prepared for a few hiccups on your road to MLB streaming.
1. Pro Sport
Pro Sport is a powerful contender in the battle for most inclusive professional sports streaming add-on. The extension divides its videos and streams between NBA, NFL, NHL, and MLB content, followed by recently completed games and games still in progress. Streams aren’t always archived, but if you’re looking for a live MLB event, Pro Sport should definitely be your first stop.
Pro Sport is included in the SuperRepo package. If you already have SuperRepo installed, skip to step seven below.
How to install Pro Sport on Kodi:
- Open Kodi on your local device.
- Click on the gear icon to enter the System menu.
- Go to File Manager > Add Source (you may need to click the double-dot to move to the top of the directory)
- Type in the following URL exactly as it appears: https://srp.nu
- Name the new repository “SuperRepo”
- Click “OK”.
- Go back to the Kodi main menu.
- Select “Add-ons”
- Click the open box icon at the top of the menu bar.
- Choose “Install from Zip File”
- Select “SuperRepo” followed by your version name of Kodi.
- Select “All” to install the entire SuperRepo set of add-ons.
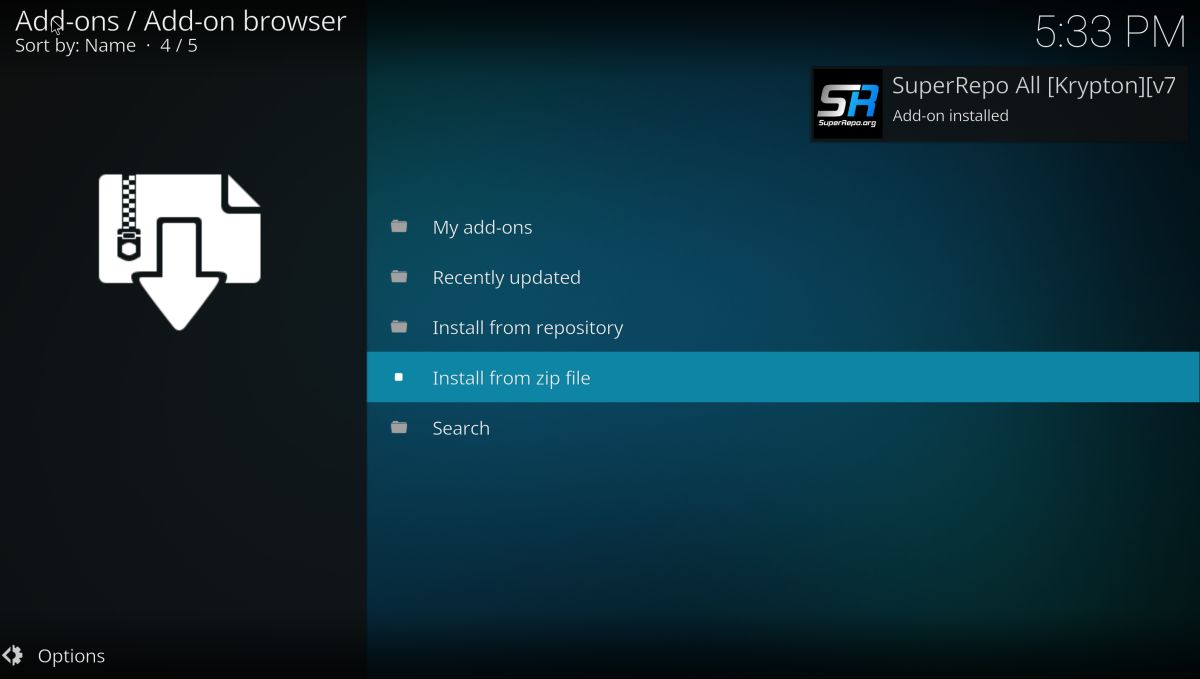
- Go back to the Add-ons menu and click the open box icon.
- Choose “Install from repository”
- Find and click “SuperRepo All”
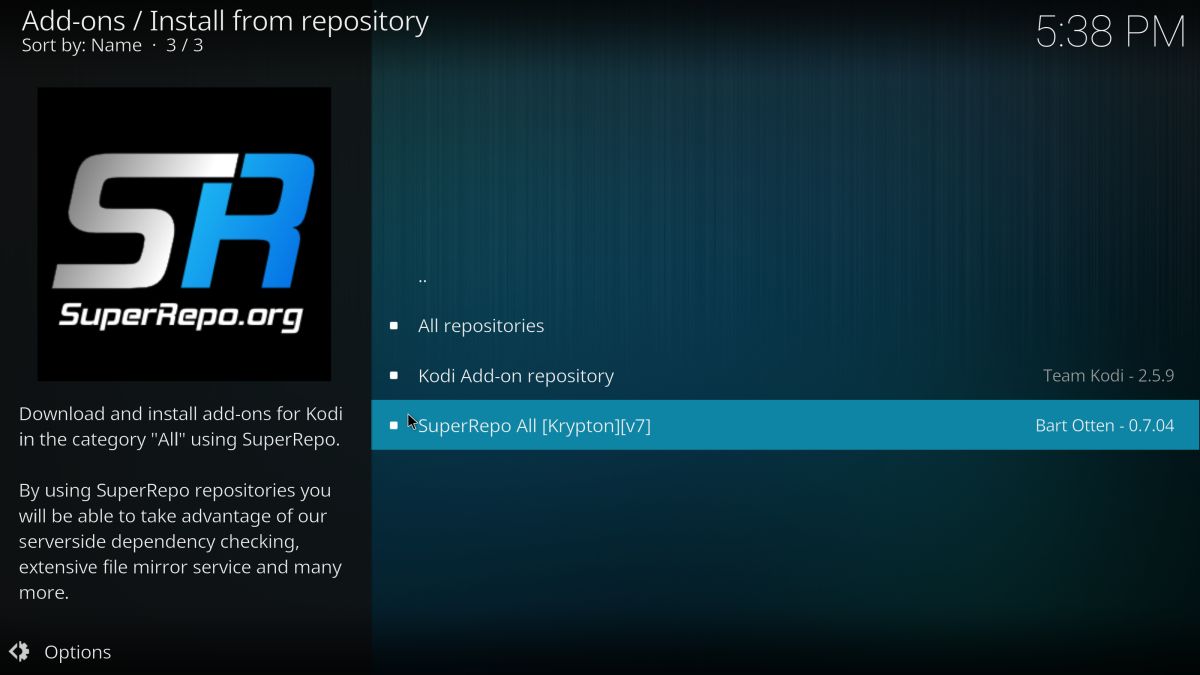
- Scroll down to “Video Add-ons”
- Locate “Pro Sport” and install
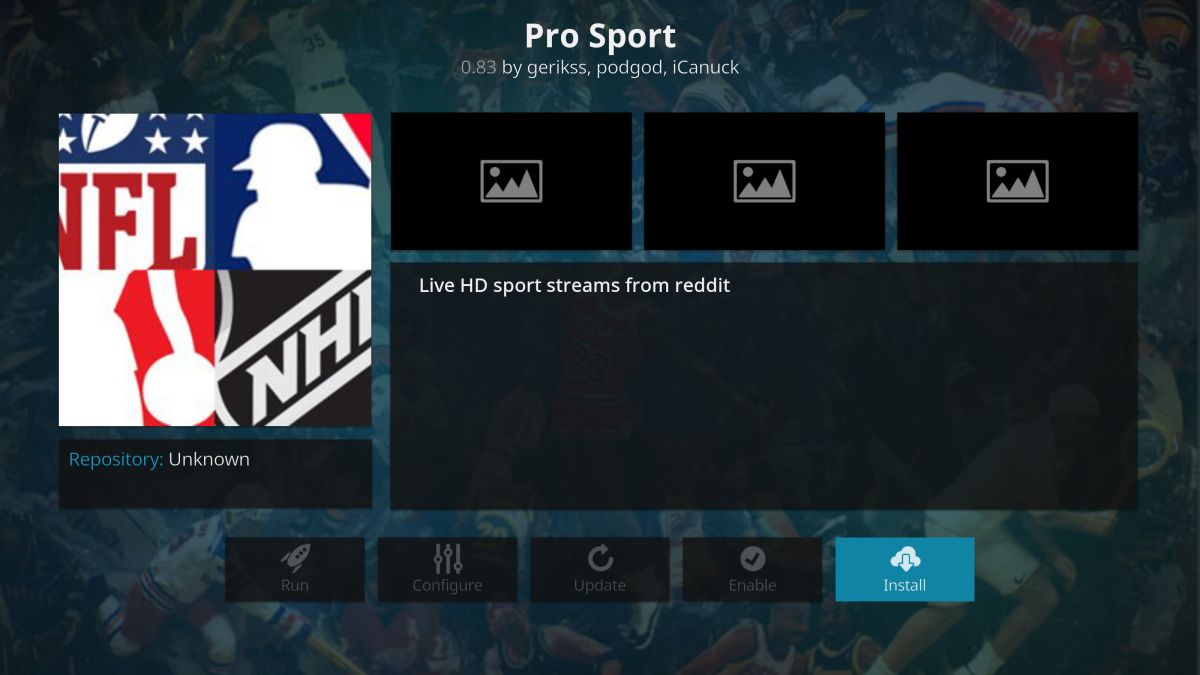
- Access Pro Sport from the main menu when the installation is complete.
2. Made in Canada
This unusual Kodi add-on focuses on delivering Canadian IPTV channels complete with locally sourced content in high definition. One of the surprising side benefits of this is a robust sports section that includes both live and archived MLB games available on demand, most of which are 480p or 720p quality.
To install Made in Canada, you’ll need to add the Koditips repository to your device. If you already have Koditips installed, skip to step seven.
How to install Made in Canada on Kodi:
- Open Kodi on your local device.
- Click on the gear icon to enter the System menu.
- Go to File Manager > Add Source (you may need to click the double-dot to move to the top of the directory)
- Type in the following URL exactly as it appears: https://repo.koditips.com
- Name the new repository “Koditips”
- Click “OK”.
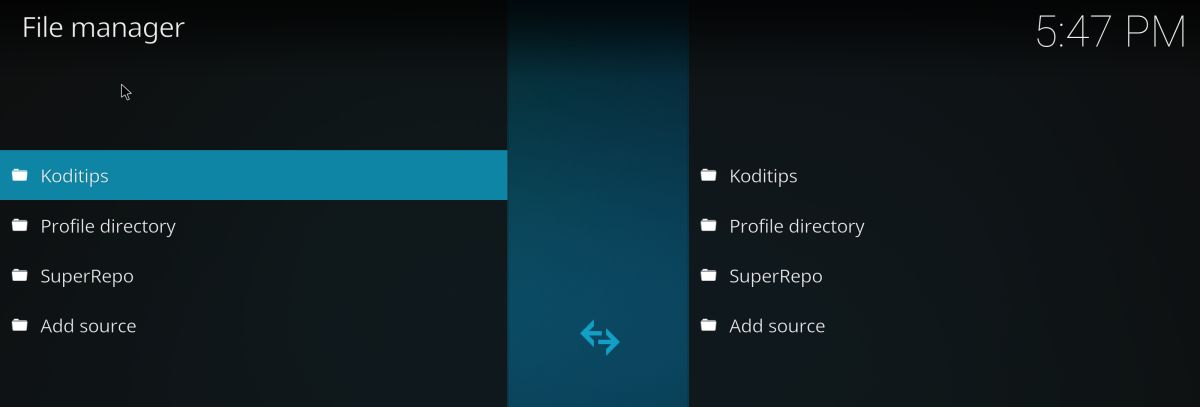
- Go back to the Kodi main menu.
- Select “Add-ons”
- Click the open box icon at the top of the menu bar.
- Choose “Install from Zip File”
- Select the Koditips file.
- Install the file named repository.koditips-1.0.0.zip (The version numbers may be slightly different.)
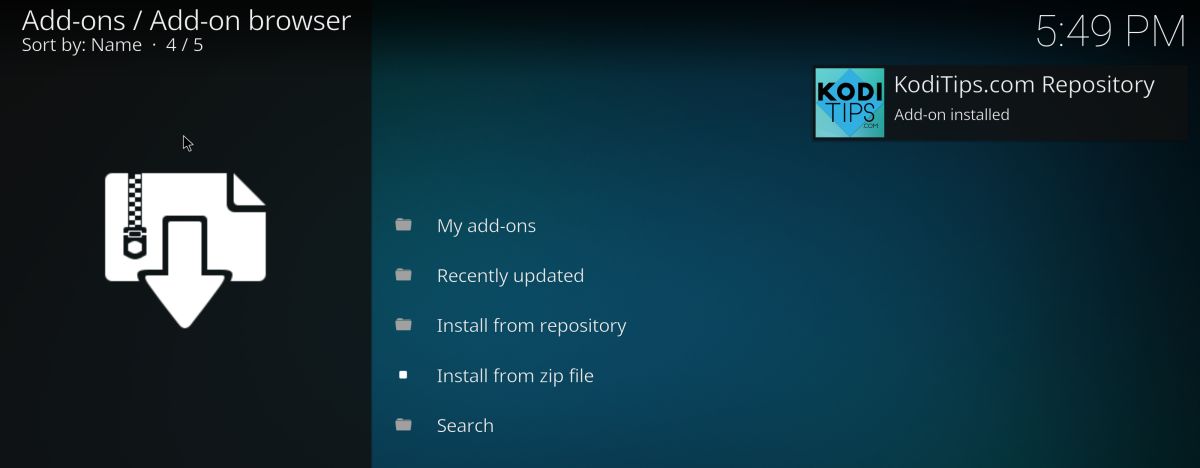
- Go back to the Add-ons menu and click the open box icon.
- Choose “Install from repository”
- Find and click “KodiTips.com Repository”
- Scroll down to “Video add-ons”
- Locate “Made In Canada IPTV” and install.
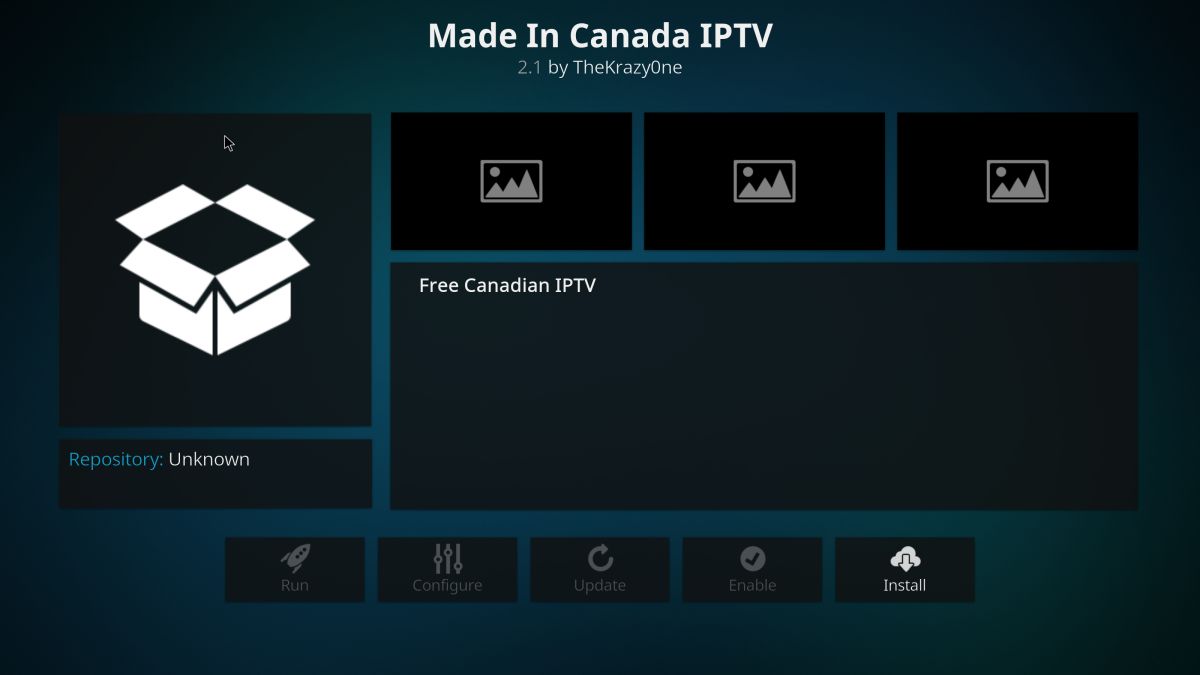
- Access your new add-on from the main menu when the installation is complete.
3. SportsAccess
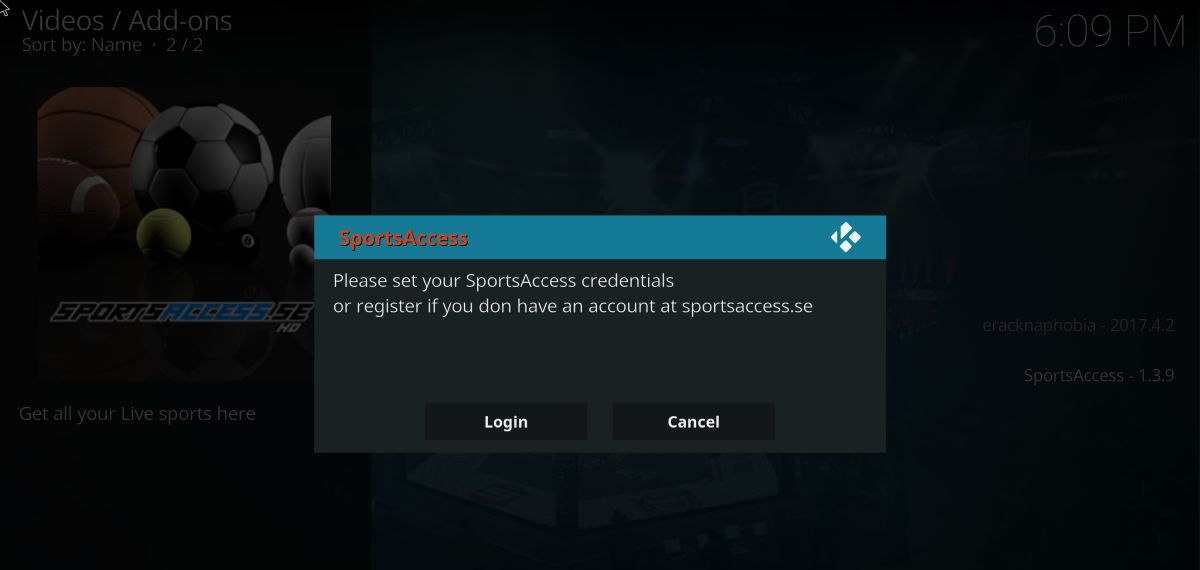
SportsAccess is an extremely popular HD sports streaming site with a handy add-on for Kodi. The service shows games and matches from every major sport, including golf, hockey, tennis, wrestling, and UFC. They’ve also made the lofty promise of featuring every live MLB game each season, so if you want your baseball fix, SportsAccess is the way to go.
The SportsAccess add-on connects to the SportsAccess website, which is a paid service. You’ll need to sign up there before using the Kodi extension. Multiple plans are available, including low priced options for anyone who just wants access for the day.
How to install SportsAccess on Kodi:
- Open Kodi on your local device.
- Click on the gear icon to enter the System menu.
- Go to File Manager > Add Source (you may need to click the double-dot to move to the top of the directory)
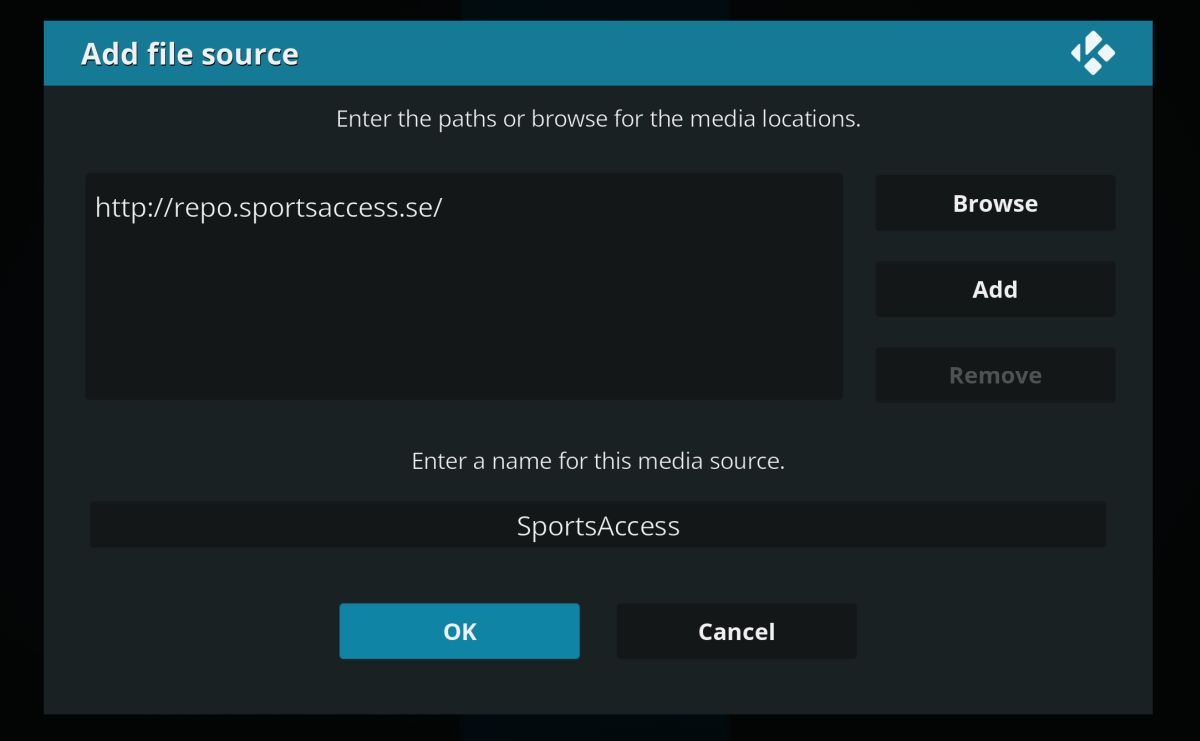
- Type in the following URL exactly as it appears: https://repo.sportsaccess.se
- Name the new repository “SportsAccess”
- Click “OK”.
- Go back to the Kodi main menu.
- Select “Add-ons”
- Click the open box icon at the top of the menu bar.
- Choose “Install from Zip File”
- Select “SportsAccess”
- Choose the file named repository.sportsaccess.zip
- When the installation completes, go back to the Add-ons menu and click the open box icon.
- Choose “Install from repository”
- Find and click “Sportsaccess XBMC Addons”
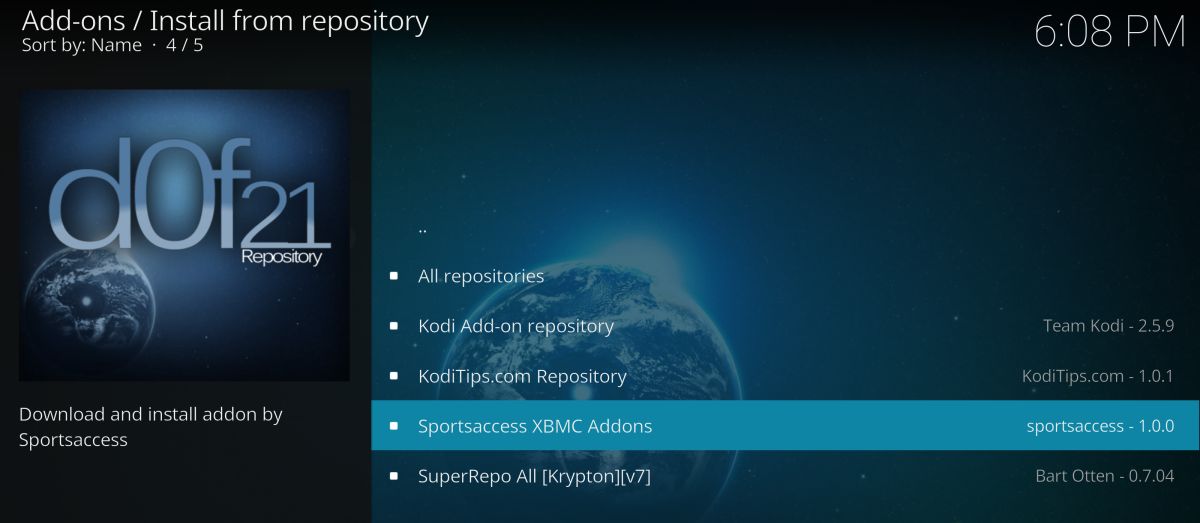
- Scroll to “Video add-ons” then choose “SportsAccess” and install.
- When the installation is complete, SportsAccess will be available on your main Kodi menu.
4. Castaway
A superb multi-purpose streaming solution that delivers a wide array of content, including a healthy variety of pro sports and MLB games. The baseball content is largely archived, not live, and most streams are hidden under the “other sports” category. The offerings are so incredibly varied you won’t mind the extra steps, however.
Castaway is easily installed through the Indigo channel, which is part of the Fusion repository. If you already have Fusion on your device, skip to step seven. To learn how to install and use the Kodi Fusion repository, check out our detailed guide on Kodi Fusion installation and Indigo setup for hassle-free add-on management.
How to install Castaway on Kodi:
- Open Kodi on your local device.
- Click on the gear icon to enter the System menu.
- Go to File Manager > Add Source (you may need to click the double-dot to move to the top of the directory)
- Type in the following URL exactly as it appears: https://fusion.tvaddons.ag
(please note that https didn’t work for us. but it did with https://) - Name the new repository “Fusion”
- Click “OK”.
- Go back to the Kodi main menu.
- Select “Add-ons”
- Click the open box icon at the top of the menu bar.
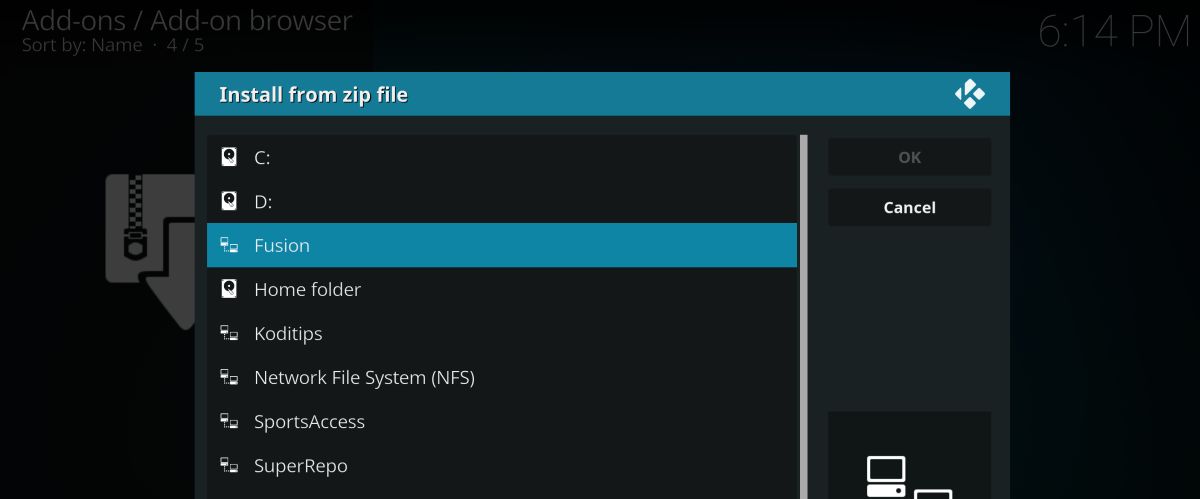
- Choose “Install from Zip File”
- Select “Fusion” followed by “begin-here”
- Select the file named plugin.program.indigo-1.0.4.zip (Note that the version numbers may change.)
- Install the zip file.
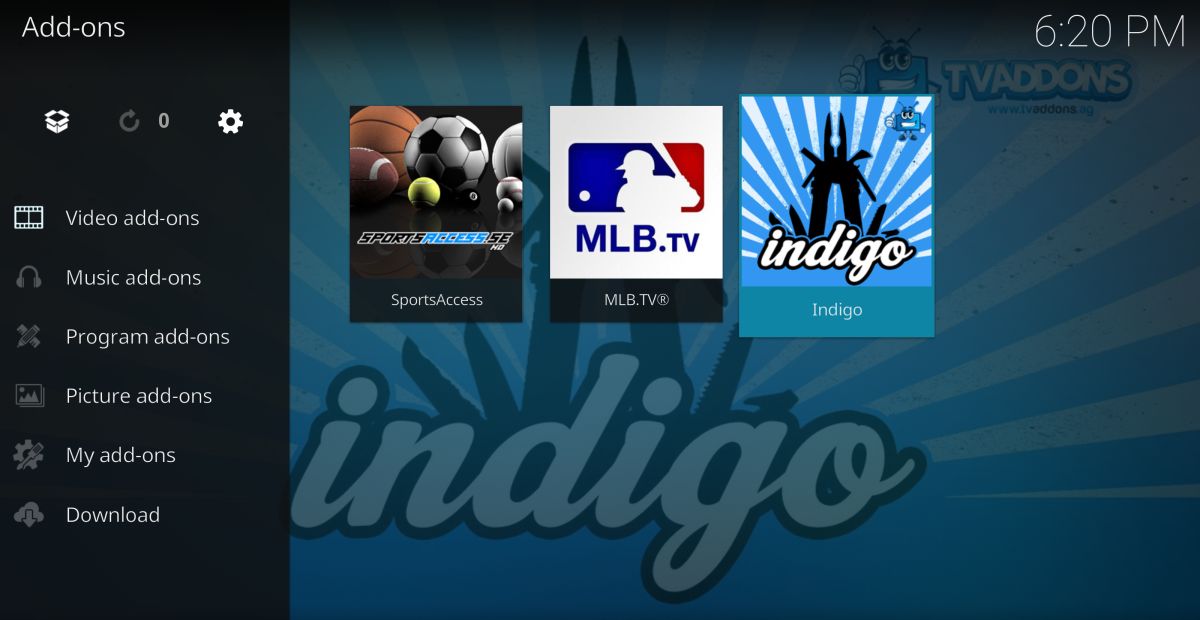
- Go back to the Add-ons menu and select the icon for Indigo.
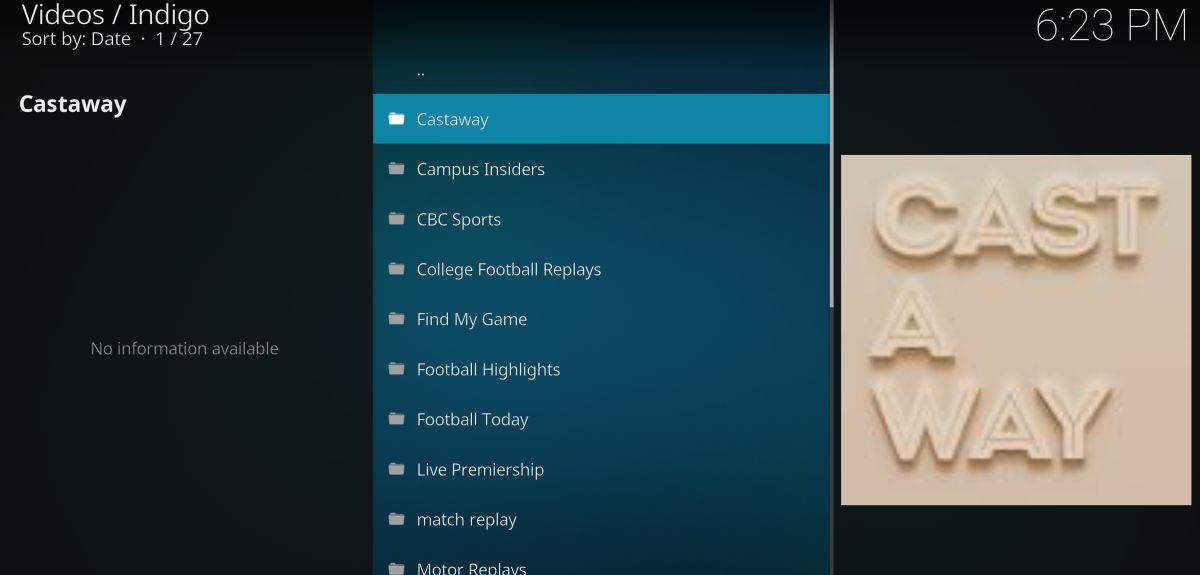
- From within Indigo, navigate to Addon Installer > Sports Addons
- Choose “Castaway” from the top of the list.
- Wait for the installation to complete, then access Castaway from the main menu.
5. Phoenix
The multi-purpose Kodi add-on supports a large variety of TV, movie, and sports streaming services from both the US and the UK. Two of the most noteworthy are Sports Demon LIVE and Sports Replays. These resources offer tons of live streams and archived highlights for NBA, NHL, NFL, and MLB games, all neatly organized and ready to watch.
The Phoenix add-on is available from the Fusion repository. If you already have this repo, skip to step seven.
How to install Phoenix on Kodi:
- Open Kodi on your local device.
- Click on the gear icon to enter the System menu.
- Go to File Manager > Add Source (you may need to click the double-dot to move to the top of the directory)
- Type in the following URL exactly as it appears: https://fusion.tvaddons.ag
- Name the new repository “Fusion”
- Click “OK”.
- Go back to the Kodi main menu.
- Select “Add-ons”
- Click the open box icon at the top of the menu bar.
- Choose “Install from Zip File”
- Select “Fusion” followed by “kodi-repos”, and then “english” or “international”
- Search towards the bottom of the list for this file: repository.xmbchub-1.0.7.zip (Note that the version numbers may change.)
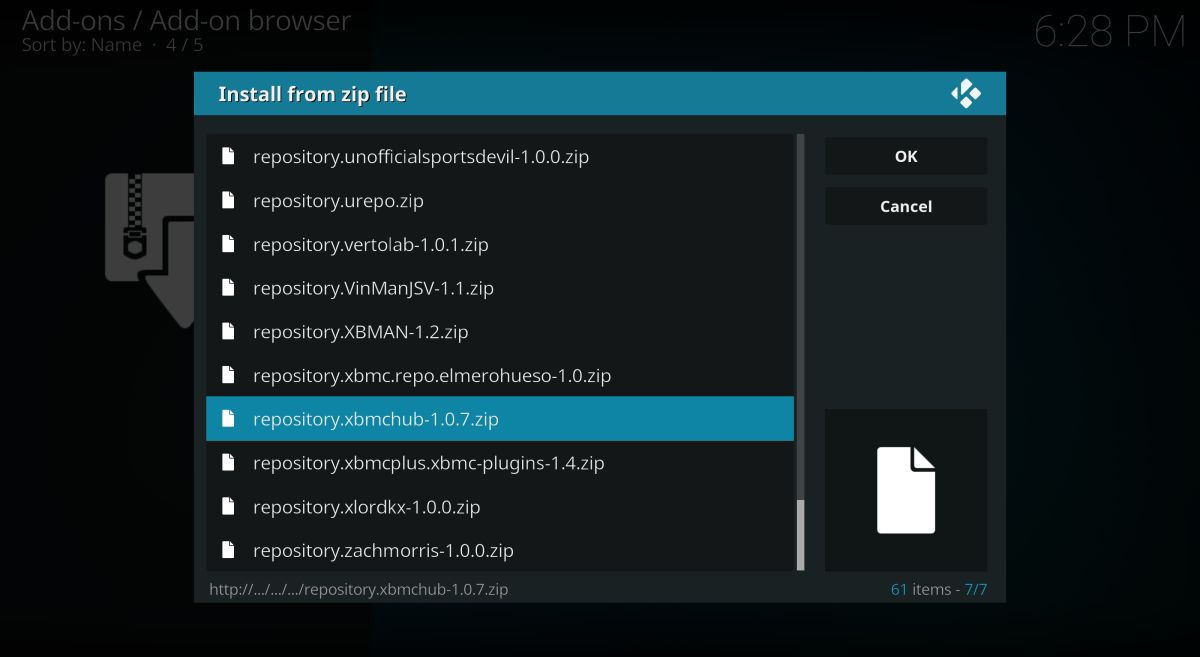
- Install the zip file.
- Go back to the Add-ons menu and click the open box icon again.
- Choose “Install from repository”
- Find “TVADDONS.ag Add-on Repository”
- Scroll down to “Video Add-ons”
- Select and install Phoenix.
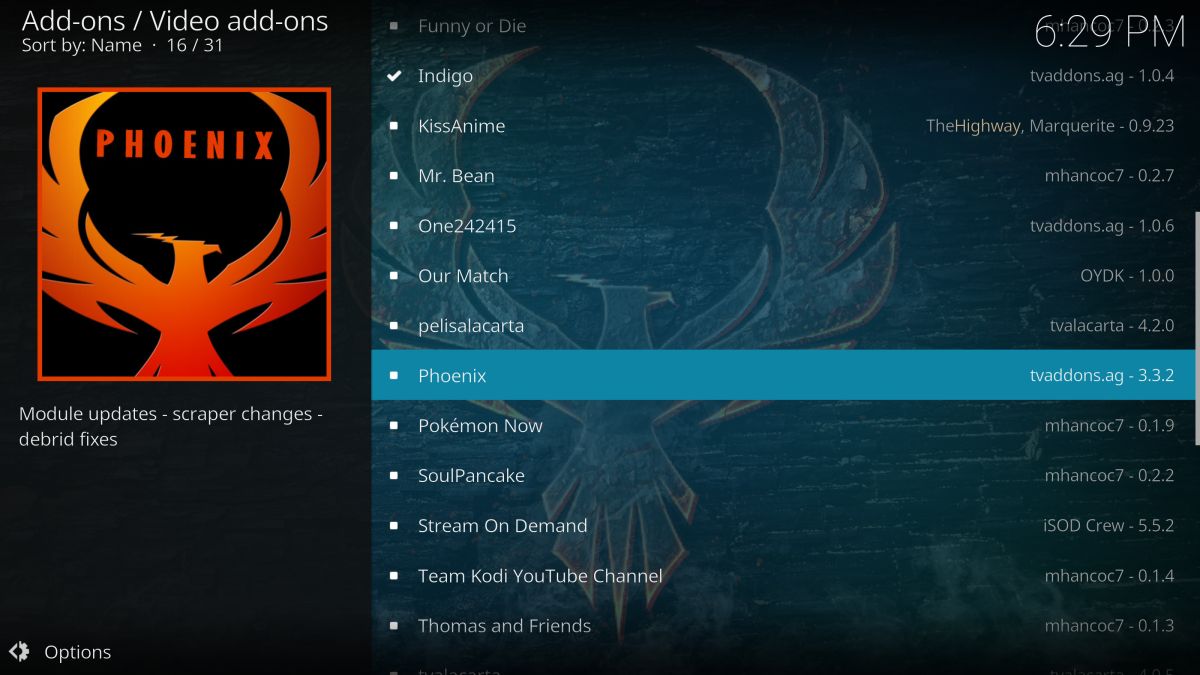
- When the installation is complete, access Phoenix and all of its channels from the main menu.
6. SportsDevil
SportsDevil has a reputation for being up to date and reliable, something few third party Kodi add-ons can claim. The service features content and live games for several professional sports organizations, including the NBA and MLB. Streams are easy to watch and surprisingly high quality, as well.
SportsDevil is available through the SuperRepo add-on repository. If you already have it installed, skip to step seven.
How to install SportsDevil on Kodi:
- Open Kodi on your local device.
- Click on the gear icon to enter the System menu.
- Go to File Manager > Add Source (you may need to click the double-dot to move to the top of the directory)
- Type in the following URL exactly as it appears: https://srp.nu
- Name the new repository “SuperRepo”
- Click “OK”.
- Go back to the Kodi main menu.
- Select “Add-ons”
- Click the open box icon at the top of the menu bar.
- Choose “Install from Zip File”
- Select “SuperRepo” followed by your version name of Kodi.
- Select “All” to install the entire SuperRepo set of add-ons.
- Go back to the Add-ons menu and click the open box icon again.
- Choose “Install from repository”
- Find and click “SuperRepo All”
- Scroll down to “Video Add-ons”
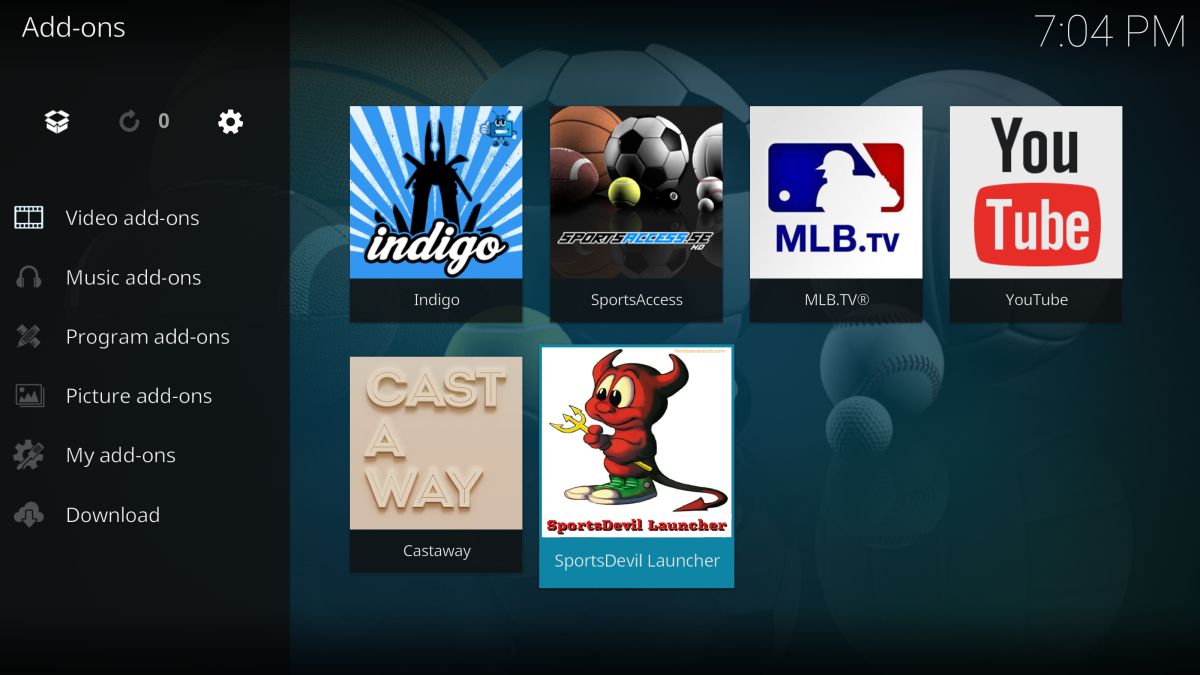
- Locate “SportsDevil Launcher” and install.
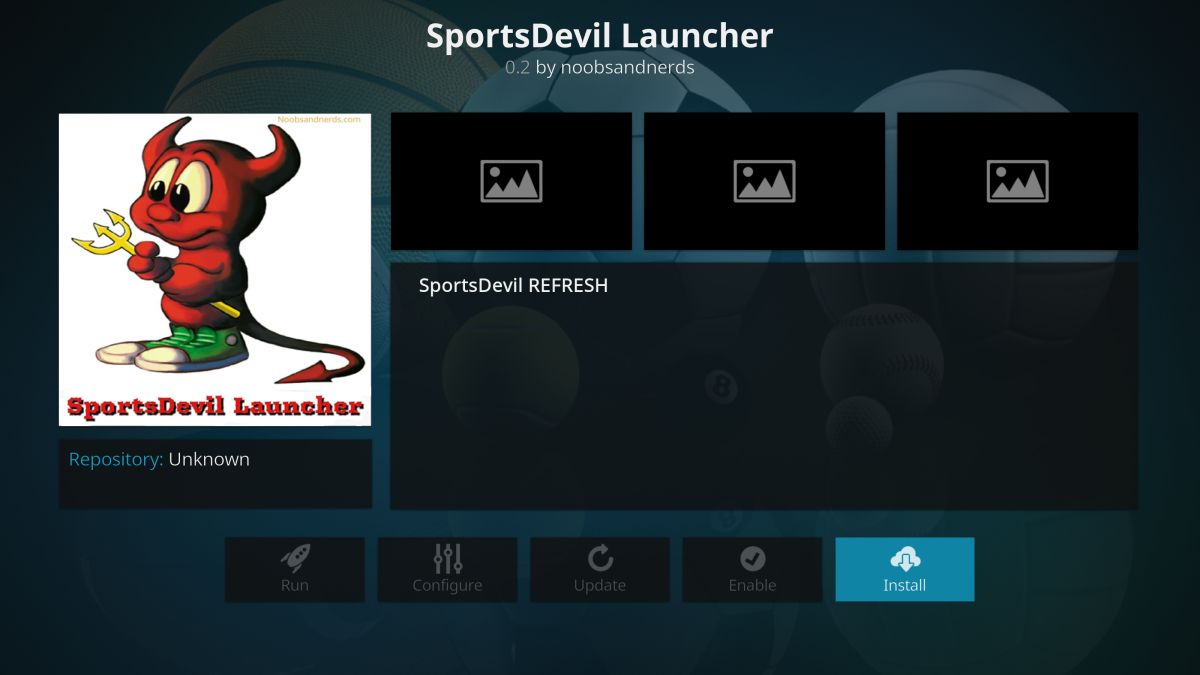
- Access SportsDevil from the main menu when the installation is complete.
Using a VPN to Access Geo-Blocked Content on Kodi
Kodi is completely open source and region free. You can install it on any device and use it in any country to access the same content, no exceptions. The add-ons follow a similar model, but the content those add-ons link to can be a different story. Known as “blackouts,” some streams are simply unavailable in certain regions, which can be a huge letdown when you’re trying to catch a live MLB game.
A VPN can help circumvent these frustrating content restrictions. In addition to protecting your privacy, VPNs feature the ability to change your virtual location with just a few clicks. If a game or a stream doesn’t show up for some reason, switch VPN servers and try again. This is especially handy if you’re traveling and don’t want to miss a live event.
Is it Legal to Watch Baseball on Kodi?
Kodi and its various add-ons operate in an unusual manner. When you stream a TV show or a live MLB game, Kodi plays a video located elsewhere on the internet. The source of the file may be in question, but what keeps Kodi in a relatively safe legal gray area is that none of those files are hosted or stored on Kodi’s servers. Neither the viewer nor Kodi knows how the source file was obtained, which makes it difficult to claim copyright infringement against the viewer.
Legal or not, everyone who streams content on Kodi should be using a VPN. This simple measure of protection can make all the difference by hiding personal information and routing your traffic through foreign servers, protecting your identity no matter what the local laws happen to be.

Thank you Ipvanish for this informative post. It clearly defines the process and explains explicetly every step. Aside of using Ipvanish i am inclined towards ivacy which is also a nice vpn.