Raspberry Pi Plex Server – How to Install Plex on a Raspberry Pi
If you’re looking to power up your media streaming game, installing Plex on a Raspberry Pi is definitely the way to go. Plex is a Kodi-like media center that focuses on a few unique features that make it worthwhile, including remote streaming and more reliable add-on support. Pairing a Plex server install with a Raspberry Pi gives you instant access to your entire movie collection no matter where you are or what device you’re on. Best of all, you can get your Plex server ready to go in just a few minutes, no complicated installation methods required!
Before Using Plex, Get a Good VPN
If you’re streaming data across the internet, you’ll want all the privacy you can get. Because Plex servers are tied to your Plex account it’s possible to watch videos remotely even with a VPN active, which is perfect for anyone who wants to stay safe and private at all times. Running a VPN on your Plex client device will protect you from local threats as well as lock down your connection so you can stream on public networks without divulging your identity.
Not sure how to pick the best VPN? We’ve provided a recommendation below. We made our selection based on the following criteria, ensuring your connection stays safe, private, and secure at all times.
- Fast downloads
- Zero-logging policy
- No bandwidth restrictions
- Unmonitored traffic
- App compatibility
The Best VPN for Streaming – IPVanish
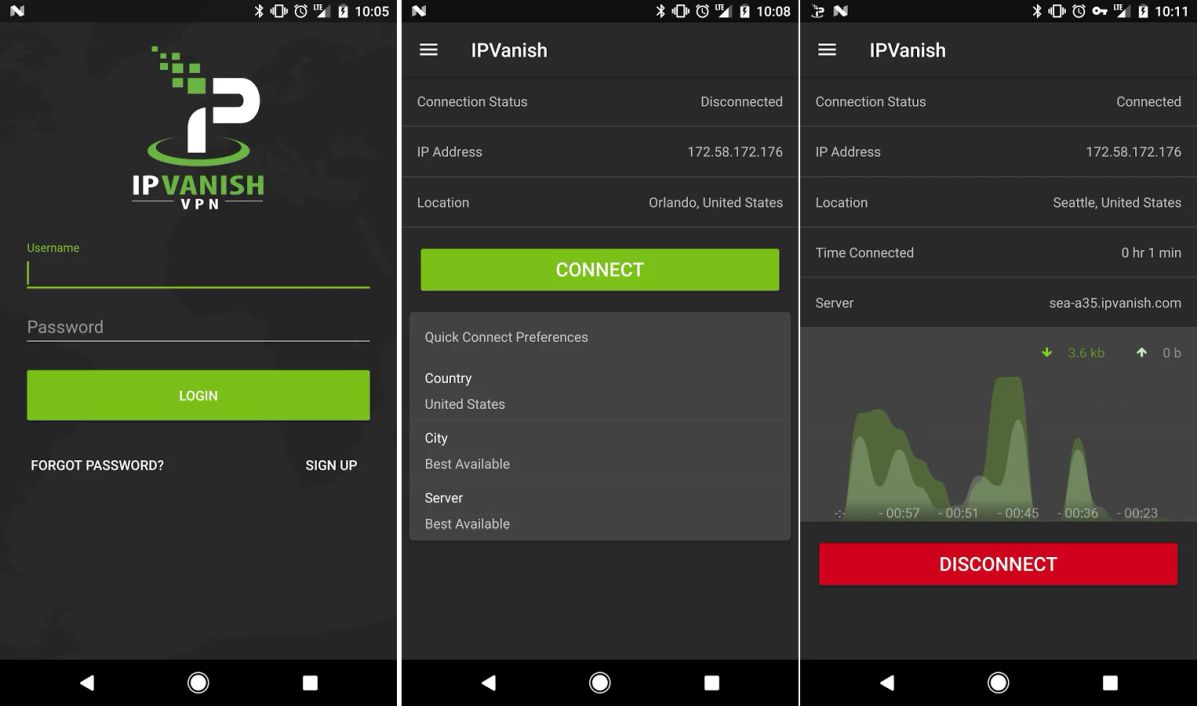
Out of all the VPN services on the market, IPVanish has the best balance of speed, privacy, and anonymity. The service offers strong 256-bit AES encryption to lock down your data, has a massive network of over 850 servers in 60 different countries, and delivers a zero-logging policy on all traffic. Backing these privacy features is DNS leak protection as well as an automatic kill switch, ensuring your identity never sneaks through, even if you get disconnected from the VPN by accident.
IPVanish keeps your internet useful by featuring unlimited bandwidth and absolutely no speed caps or throttles. Both P2P network traffic as well as torrent downloads are allowed, as well, which gives you the freedom to stream movies from any source you like.
EXCLUSIVE for Addictive Tips readers: Get 60% off when you sign up for 12 months IPVanish, just $4.87 per month! Every plan is covered by a seven-day money back guarantee, ensuring a risk free trial for your new, private internet connection.
Raspberry Pi Plex Server – Requirements
Before you dive into the media server installation process, check the requirements below to make sure you have the hardware and peripherals necessary to get it done. You’ll also need some very basic Linux command line knowledge, or at the very least be familiar with the concept.
Requirements:
- Raspberry Pi 2 or 3
- Raspbian (Jessie) operating system installed
- 8GB micro SD card (larger is ok)
- Network cable or Wi-Fi dongle (the cable is better)
- Monitor, keyboard, and mouse
- Hard drive, secondary SD card, or USB drive to store your media
Raspberry Pi Plex Server – Initial Setup
There are dozens of free, lightweight operating systems custom built for the Raspberry Pi environment. You can install any that you like, but with the guide below we stick with Raspbian (Jessie). Depending on where you purchased your Pi you may have an SD card with some software pre-installed. Otherwise, you’ll need to run through the setup process to make sure Raspbian is ready to go.
The best way to install the newest version of Raspbian is to follow the official guide. It’s as user-friendly as possible, though you will need a little command line knowledge to get it done. Once Raspbian is running you can continue using the guide below.
Run the following commands in a terminal window to ensure your Pi’s software is up to date:
sudo apt-get update
sudo apt-get upgrade
Enable HTTPS transport package for secure apt-get installations:
sudo apt-get install apt-transport-https
Add a crypto key from the Plex server download site:
wget -O - https://dev2day.de/pms/dev2day-pms.gpg.key | sudo apt-key add -
Add the Plex server repository to our sources list:
echo "deb https://dev2day.de/pms/ jessie main" | sudo tee /etc/apt/sources.list.d/pms.list
Once those steps are complete, run another update just to make sure everything is ready to go:
sudo apt-get update
Raspberry Pi Plex Server – Installing Plex
With the background work complete we can start installing the Plex server software itself.
Run this command to install the media server:
sudo apt-get install -t jessie plexmediaserver
Next we need to change Plex to run under the Pi user name to avoid any permissions errors. Run this command to open the config file for editing:
sudo nano /etc/default/plexmediaserver
Find the following line and replace “plex” with “pi” (without the quotes):
PLEX_MEDIA_SERVER_USER=plex
Save and exit the config file, then restart the media server so your changes take place:
sudo service plexmediaserver restart
That’s it! Your Plex media server is ready to go.
How to Add Movies and TV Shows to Your Raspberry Pi Plex Server
You’ve got the software set up, now it’s time to stock it with things to watch! You can use a variety of different storage media to hold your movies, photos, and music, everything from external hard drives to USB sticks. One of the simplest methods is to plug in an SD card filled with content. Raspbian (Jessie) will automatically detect and mount the media and make it available to Plex.
With your movies physically available, next you’ll need to add the source as a library so the Plex media server can stream them.
- Open the Plex media server on your Raspberry Pi.
- Choose “Add Library” from the menu to the left.

- Select the content type then create a name for the library.
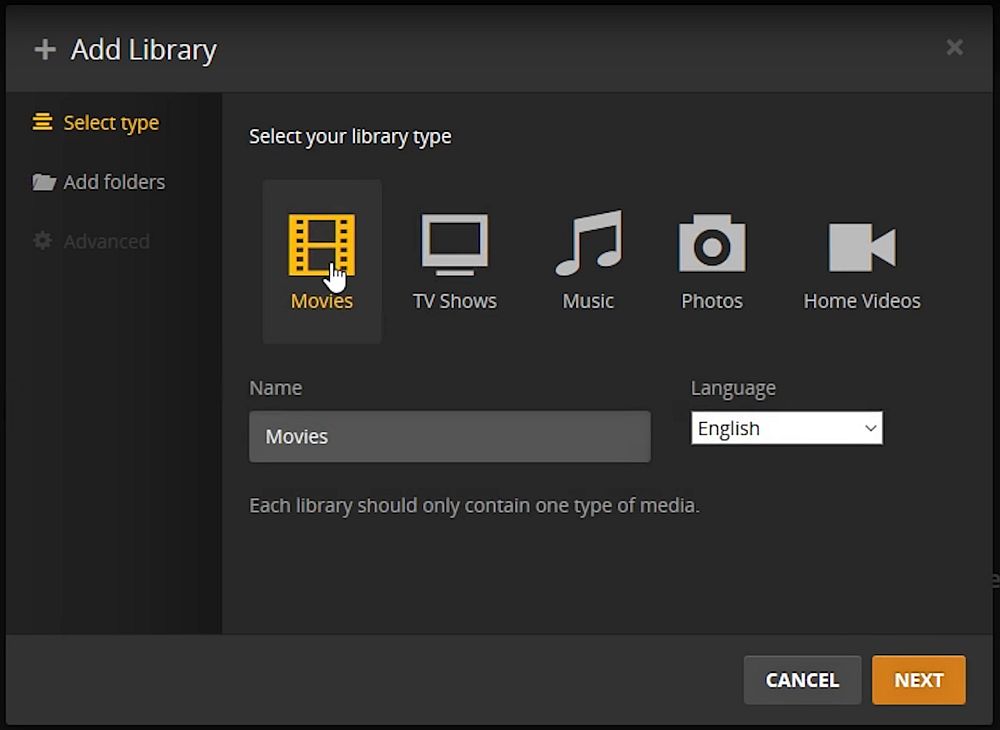
- Browse and add the specific folder/drive.
- Click “Add” and Plex will index the content right away.
How to Connect a Client to Your Raspberry Pi Plex Server
Once you’ve got your hardware ready to go, the next step is to connect other devices to test out the stream. Plex has apps for a massive variety of devices, including smartphones and gaming consoles. Some of them are behind a paywall, unfortunately, but if you’re serious about streaming from your Pi server you won’t mind dropping this tiny bit of cash, especially since the paid apps are reliable and easy to use. Once you have your app installed, follow the steps below to access your movie streams.
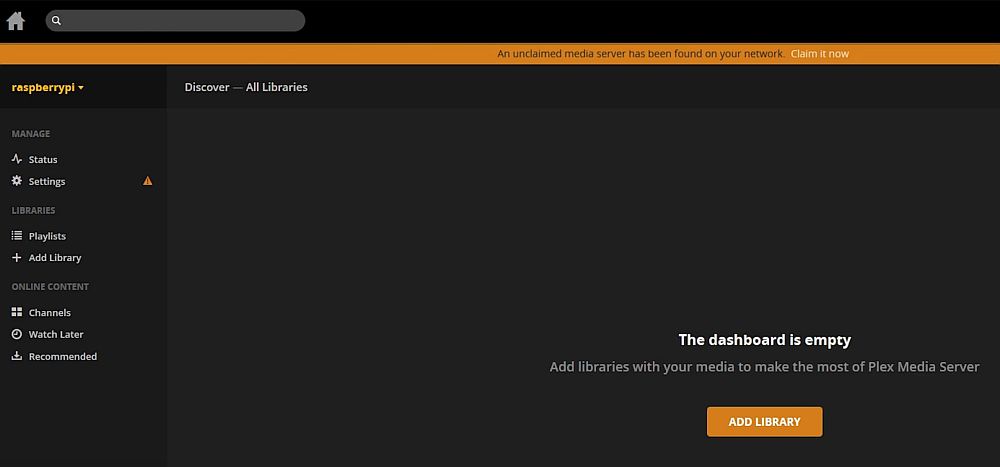
Configure your Raspberry Pi Plex server for remote access:
- Create a free Plex account.
- Open Plex on your Raspberry Pi, sign in, and click “Settings”
- Make sure you’re in the “Server” tab, then choose “Remote Access”
- Click “Enable Remote Access”
- It may take a few moments, but Plex will eventually confirm that remote access is available.
With the above steps complete you can now stream your movie library from any device in any location, including in your own home. Follow the steps below for every client device you want to watch movies on.
- Open the Plex client on your favorite device.
- Select “Add Library” on the menu to the left.
- Choose the type of media that’s in the folder (movies, TV shows, etc.)
- Select the folder where your media is stored, then click “ADD”
- Plex will take a moment to organize your media to make it easy to access.
- Choose a video and start streaming!
What is RasPlex?
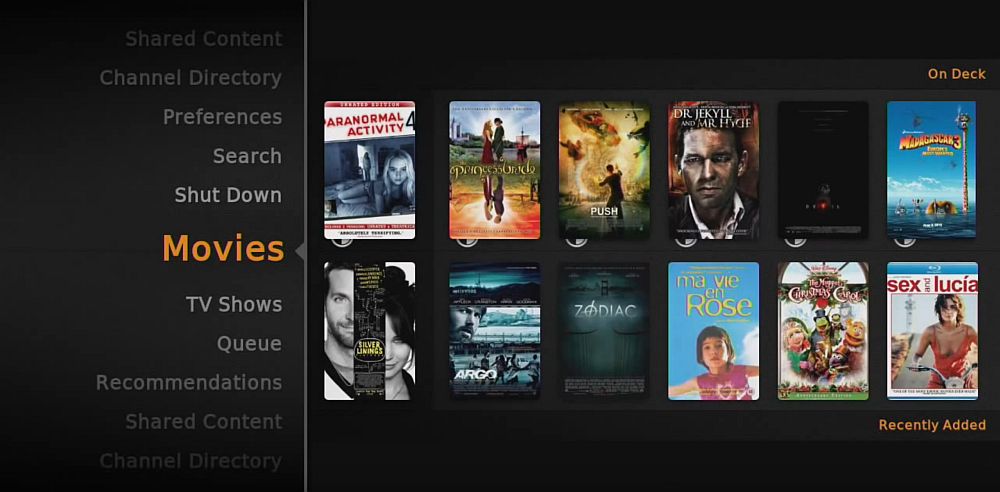
There’s more than one way to use Plex with your Raspberry Pi device. RasPlex is a custom Plex client built specifically for the Raspberry Pi that keeps everything as lightweight as possible. RasPlex is a client, not a server, which means it relays streaming information from a host to your TV. You can’t use it to host movies or music on your Pi, just pass a stream from your PC to a connected device. Think of it like an Apple TV or Android TV box specifically for Plex content.
If you just want a convenient method of streaming content from your PC-based Plex Media Server to any TV in your house, RasPlex is definitely the way to go. Download the official build and follow the installation instructions and you’ll be streaming in no time.
Plex vs. Kodi – What’s the Difference?
Any conversation about media center software or do-it-yourself video streaming will inevitably turn into a Plex vs Kodi debate. Both apps have their ups and downs, with the key difference being Plex’s focus on remote streaming. In other words, you can’t really set up a long distance media server with Kodi, while Plex makes it surprisingly simple. Below are a few of the main differences between Plex and Kodi.
- Add-ons – Kodi has a ton of official and unofficial add-ons, while Plex has a limited selection.
- Device Availability – While both media centers support the same number of platforms, Plex is often easier to install with certain devices.
- Ease of Use – The vanilla versions of both Kodi and Plex are extremely easy to use.
- Price – Kodi is always free, but some versions of Plex are paid.
- Safety – Both Kodi and Plex are secure by default, but with Kodi it’s possible to stumble into pirated and unsafe add-ons.
- Streaming – Kodi allows same-network streams but not remote. Plex lets you do both with ease.
- Theming – Plex doesn’t offer a lot of visual customizations, while Kodi is completely flexible.
Plex and Pi Discussion
Plex has been around for years and has a ton of official and unofficial uses. If you’ve got a favorite Plex hack or add-on, know a few awesome Plex tips, or just want to share your experience using the Plex Media Server with Raspberry Pi, let us know in the comments below!
