How to Create and Use a TV Database API Key: Kodi Developer Tips
The Kodi software is free and open-source, meaning it’s possible for anyone to check out the code or even contribute changes to the core workings. The real power behind Kodi is its community, however. The software was designed to interface with user-made add-ons that provide a massive variety of content, things Kodi’s core team could never implement on their own. These are called unofficial add-ons, and they’re so easy to make, you can start your own in an afternoon!
One incredibly useful service provided to Kodi add-on developers are TV database indexers, sites like TheTVDB.com or Trakt. Both resources scrape metadata from around the web and provide the information to the public for free. This means you can build an add-on that finds different TV shows and use TheTVDB to categorize, label, and sort them all. No need to fetch information yourself, and no need to build your own tracker. Simply grab an API key from a TV database and plug it into your add-on, then you’re set. Our guide below walks you through the process from beginning to end.
Reminder
If you’re developing an add-on for Kodi, you’re well aware of the position the software holds in the public eye. Kodi itself is safe, and most of its add-ons are, as well. ISPs and content creators often think otherwise, which means the minute you stream something on Kodi, your account could be under scrutiny. It doesn’t matter if your add-on is legitimate or not, you’re still at risk of being throttled or having your account tracked.
The good news is virtual private networks are an easy way to defeat these invasions of privacy. With a VPN your data will be encrypted before it leaves your device, making it impossible for anyone to see what sites you’re visiting or which Kodi streams you’re accessing. VPNs also make it difficult to discover your identity or location, bringing a measure of anonymity back to the world wide web.
The Best VPN for Kodi – IPVanish
IPVanish hits all the right spots for the perfect VPN to use with Kodi. It’s fast, offering over 950 servers in 60 different countries so you can always nab a low latency connection no matter where you live. It’s also secure, delivering 256-bit AES encryption, DNS leak protection, and an automatic kill switch for all devices. You’ll also take advantage of a great zero-logging policy on traffic and be able to download torrents and P2P network content with full anonymity. With IPVanish, all you have to do is run the app and your connection is secure.
More IPVanish features:
- Easy to use apps for Windows, Mac, Linux, Android, and iOS.
- Unlimited bandwidth with no speed caps or throttling.
- Full, anonymous access to all of Kodi’s add-ons.
IPVanish offers a 7-day money back guarantee which means you have a week to test it risk-free. Please note that Addictive Tips readers can save a massive 60% here on the IPVanish annual plan, taking the monthly price down to only $4.87/mo.
Before You Begin
Just like any good developer, you do your research before diving in head first. Read the following sections to clear up any misconceptions you might have, then feel free to grab your API and start testing.

What Is a TV Database?
If you’re developing a Kodi add-on, it’s likely you plan on indexing a significant amount of movie or TV show content. The sites that provide most of these files usually only deliver videos, not accompanying data that helps identify the content. The file name probably contains the show, season, and episode number, but what about the actors or the episode’s actual title? That’s where indexing databases come into play.
By plugging your Kodi add-on into a good database you can easily name and categorize all the content your program accesses from the web. Episodes will be easy to sort and search on your add-on, and they’ll be much easier on the eyes thanks to the metadata scraped from the indexing service.
What Information Does a Database Include?
This can vary depending on the service you use, but most indexers focus on a core set of data that includes the following:
- The show’s complete title and original air date.
- Episode names and numbers.
- Genre information.
- Data on actors, directors, writers, etc.
- Box art, both fan-made and official.
- User ratings and critic review scores.
- Metadata translated into other languages.
Where Does the Information Come From?
A variety of sources that may surprise you. Because accurate information is important, database scrapers go as close to the source as possible. This usually means referencing official sites like Amazon or IMDB, both of which get their show titles and related pieces of information from the studios themselves. Failing this, other indexers cross reference their content with other open trackers or rely on user submitted data to tag show releases.
API Keys
API stands for application programming interface. API keys are either small permission files or strings of randomized letters and numbers that grand a program access to a specific service. If you’re building an app to use with Twitter, for example, you need an API key so the website will allow your code to interface with Twitter’s content. Keys for TV database indexes work in much the same way. By adding an API key to your Kodi add-on, you’re giving it the credentials it needs to pull data from the external website and use it within Kodi.
Which Database to Use
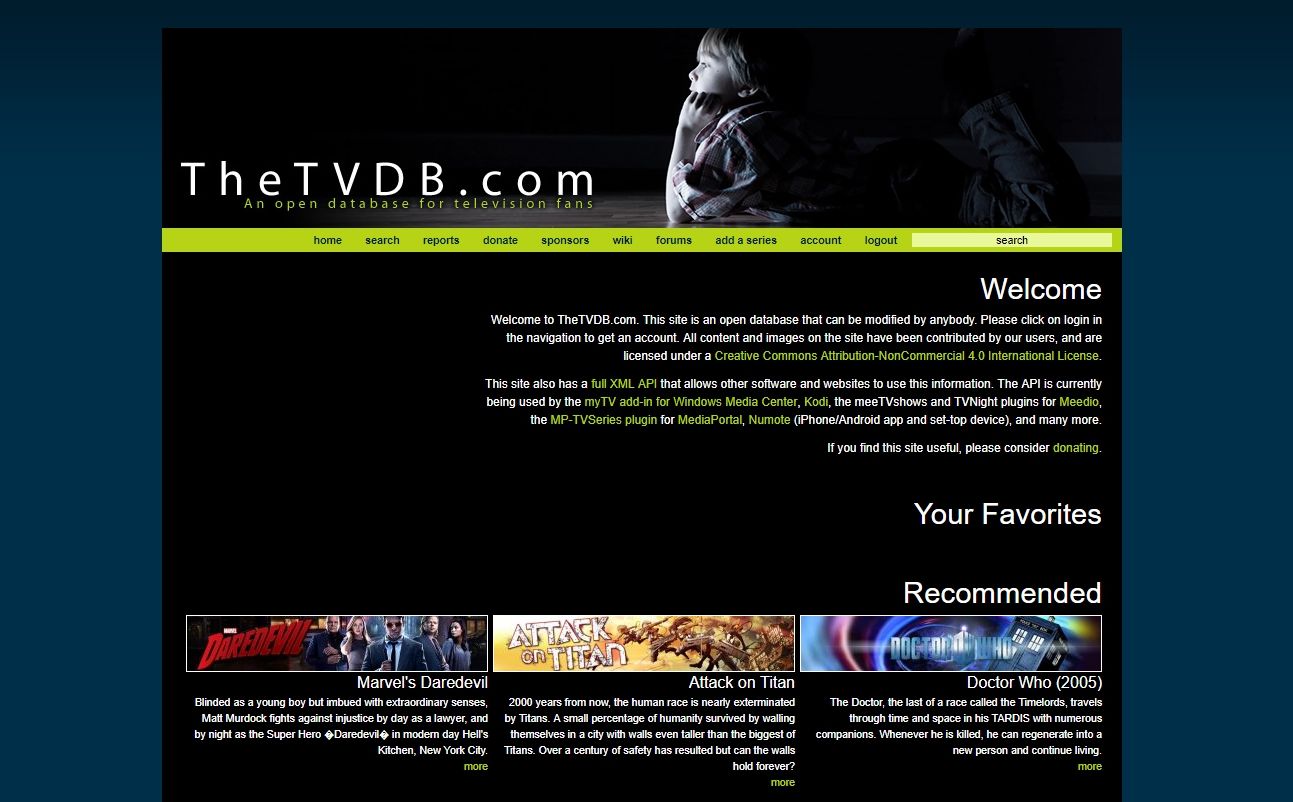
There’s more than one indexing database floating around the world wide web. Some of them are easier to use than others, and some are simply more up to date than their competition. For our guide below, we’ll cover the API creation process for TheTVDB.com, which is an open database for television fans. It’s one of the more complete resources and is easy to set up and deploy.
Are Metadata Indexes Legal?
They certainly are. Indexing services like the TV database we’ll be using below only access the metadata surrounding a piece of content, not the file itself. You can’t use them to stream anything, nor do they contribute to piracy in any way. They’re also usually licensed under Creative Commons for free distribution. It’s the digital equivalent of organizing your DVD collection on the shelf. Completely safe and 100% legal.
Creating a TV Database API Key
Once you’ve got your Kodi add-on project in a working state, you can grab an API key and start using it to test things out.

Step 1 – Create an Account
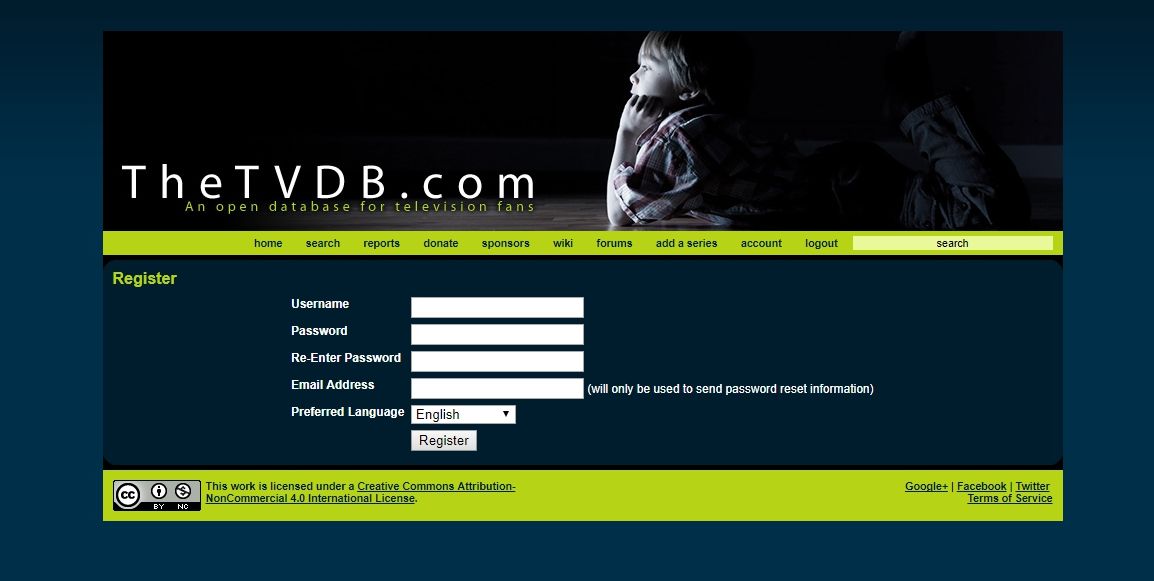
Visit TheTVDB.com and create an account with the service. Use your coding handle or even the add-on’s title for consistency. Once you register you’ll need to log in, then agree to the terms and conditions by scrolling down and ticking the box at the bottom of the page.
Step 2 – Generate the Key
Once you have an account, head to the API key registration page. At the bottom you’ll need to enter your project’s name along with its official website. Click “Retrieve API Key” once you’re done.
Step 3 – Save the API Key
TheTVDB will display your key code on a separate page. Copy this somewhere secure, and don’t share it with anyone else, as it was generated just for your application. You’ll need to reference this later, so keep it close by.
Using an API Key in Your Kodi Add-on
Once you’ve generated an API key with TheTVDB or any other metadata indexing service, it’s time to plug it into your add-on code to make sure it works. This process can vary depending on how you’ve structured your add-on. We’ll be using the Jen Template, a widely used method of combining trackers with Kodi add-ons.

Step 1 – Download the Jen Template
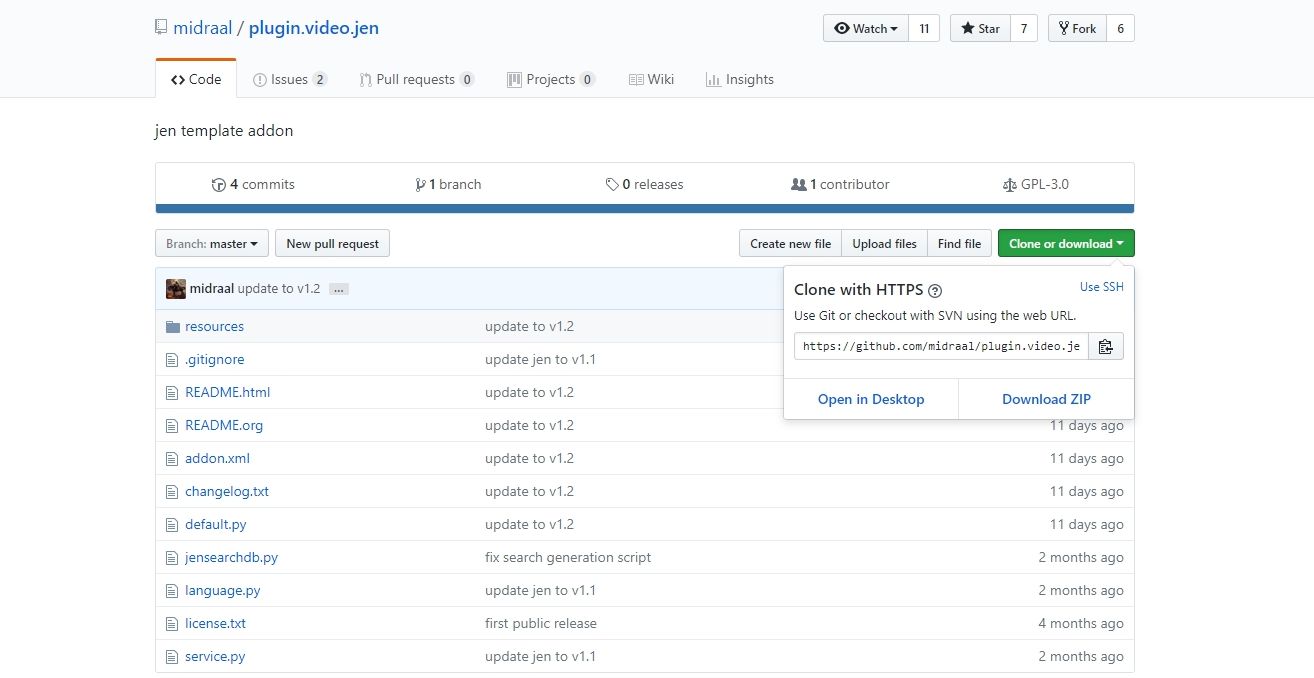
Visit the Jen Template’s github page. Click the green button in the top right that says “clone or download”, then download the zip file to your desktop. Extract it into its own folder, then get ready to do some editing.
Step 2 – Edit Addon.xml
Just inside the plugin.video.jen-master folder you just unzipped, you’ll find a file called addon.xml. Open this in your code editor. You’ll need to make a few edits to some of the lines to customize the data the template references. Start by filling in the information in the second line of the file, referenced below. Remember to use only letters and numbers, no spaces or non-standard characters, and don’t forget to set the version number, as well.
<addon id=”plugin.video.YOUR ADDON” name=”YOUR ADDON’S NAME” version=”0.01″ provider-name=”YOUR NAME”>
Next, edit lines 19 and 21 to give a little more information about your add-on.
<summary lang=”en”>ADDON SUMMARY</summary>
<description lang=”en”>LONGER ADDON DESCRIPTION</description>
You may see duplicate lines referencing other languages. You can leave those alone or remove them as you see fit.
Save the addon.xml file, you’re done editing it for now.

Step 3 – Edit Default.py
This is where we start getting into the API key information. In the same top level folder, look for the file named default.py. Open it in your code editor, then scroll down until you see the line referenced below. It should be around line 25.
__builtin__.tvdb_api_key = “PASTE API KEY HERE” # tvdb api key
Insert your TV database API key where indicated above. The actual line will just have two quotation marks with nothing in-between.
Save default.py and exit for now. Your API key has been entered!
Step 4 – Edit Settings.xml
One last file to edit, then it’s back to testing. Enter the resources folder located in the plugin’s working directory. Open settings.xml in your code editor, then scroll down to about line 27. There are a few pieces of information we’ll need to enter here to finish setting up the Jen Template.
Check for the following line in the file’s code. It should appear three times at lines 27, 31, and 36.
action=”RunPlugin(plugin://plugin.video.jen/?mode=ScraperSettings)”/>
See where it says plugin.video.jen? Change this to the same plugin name you entered in the addon.xml file. If you entered plugin.video.addictivetips, for example, the line would look like this:
action=”RunPlugin(plugin://plugin.video.addictivetips/?mode=ScraperSettings)”/>
Save this file and exit.
Step 5 – Rename and Test
Now that the API and customization data has been entered, you’re ready to wrap things up. Make sure all the files you edited are saved, then exit out of them and go back to your desktop. The folder we’re working in should be titled something like this:
plugin.video.jen-master
Change this to reflect the name you entered in the addon.xml file, followed by the version number you entered in the same section. Using our example above, the file would now be named this:
plugin.video.addictivetips.0.1.zip
That’s it! You’ve now added the TVDB API data into your add-on and are ready to start scraping metadata from the web.
Other Add-on Customizations
Once you’ve got the Jen Template and your TV database API key taken care of, why not jump in and add a few more customization features to help brand your release? These are quick and simple steps that can go a long way to making your add-on more recognizable.
Add an Icon
Icon images are displayed in Kodi on the left side of the screen each time your add-on is highlighted. Adding one makes it easy to spot your content without having to read the titles, which can be more useful than you think! To use an icon, all you have to do is create a 256×256 PNG file, preferably with no text or Kodi branding, then add it to the top level of your folder named icon.png. That’s it!
Use Fan Art
Similar to the icon above, fan art is a splash background that shows up behind the selection text in Kodi whenever users highlight your content. This can be related to your icon branding or it can be something themed to your add-on content. For example, if the plugin delivers TV shows, create an original fan art banner with characters from How I Met Your Mother. To add this to your release, just make a 1280×720 JPG image, name it fanart.jpg, then stick it in the top level folder of your add-on.
Conclusion
Developing an add-on can be a confusing and complicated process. The community provides a ton of helpful resources to give you a hand along the way, however. Adding a TV database API key is just one example of the user-made content that’s ready to interface with your add-on without jumping through all kinds of hoops to make it work. Got any tips to help out budding Kodi developers? Share your knowledge in the comments below!
