8 Minimalist Skins for Kodi With Modern Influences to Keep Clutter Away
You already know that Kodi is an ultra-customisable piece of media centre software. But did you know that you can easily change its appearance as well as its functionality? It’s dead easy to change how Kodi looks by installing a new skin which changes the layout, fonts, colours, and images of your Kodi without changing any of your add-ons, library files, or personal settings.
Best of all, you can keep a library of skins and switch from one to another whenever you get bored or fancy a new look. Installing skins is one of the easiest and most fun ways to customise your Kodi build and it’s dead quick. Read on for instructions on how to install and change skins in Kodi, and for recommendations for the best skins for Kodi.
Why You Should Install a VPN Before Using Kodi
Before we get to the skin recommendations though, we should address an important issue for Kodi users: security. The Kodi software itself is open source and totally legal to use. However, many Kodi users choose to expand Kodi’s functionality by installing add-ons. These add-ons are not officially sanctioned by Kodi and are created by third party developers. This means that, even though the add-ons may be very useful, they could land users in trouble as they allow the accessing of copyrighted content like movies, music, or TV shows. Users can face fines or even prosecution for using these add-ons over an unsecured internet connection.
You can mitigate these risks significantly by using a virtual private network, or VPN. There are many services out there to choose from, but we’ve narrowed the field down to our top pick using the following criteria:
- Good connection speeds
- Plenty of servers in many countries
- Strong encryption
- Support for various operating systems
- A no logging policy
We Recommend IPVanish
Having considered all these factors, the VPN provider that we recommend is IPVanish. They meet all of our requirements, and have bonus features like a kill switch to prevent you from accidentally using an unsecured connection, and auto reconnect so that you needn’t fiddle with the software when a server goes down. In addition, they allow up to five simultaneous connections and have no data caps, so they’re the perfect provider for heavy users.
If all of this sounds appealing and you want to try out IPVanish for yourself, then we have a special money-saving offer which is exclusive to Addictive Tips readers: You can pick up the yearly package and get a huge 60% off. That works out to only $4.87 per month. And to give you peace of mind to buy in confidence, there’s a seven-day money-back guarantee if you’re not happy with your purchase.
Now that’s sorted, we can move on to the skins.
How to Install New Skins on Kodi
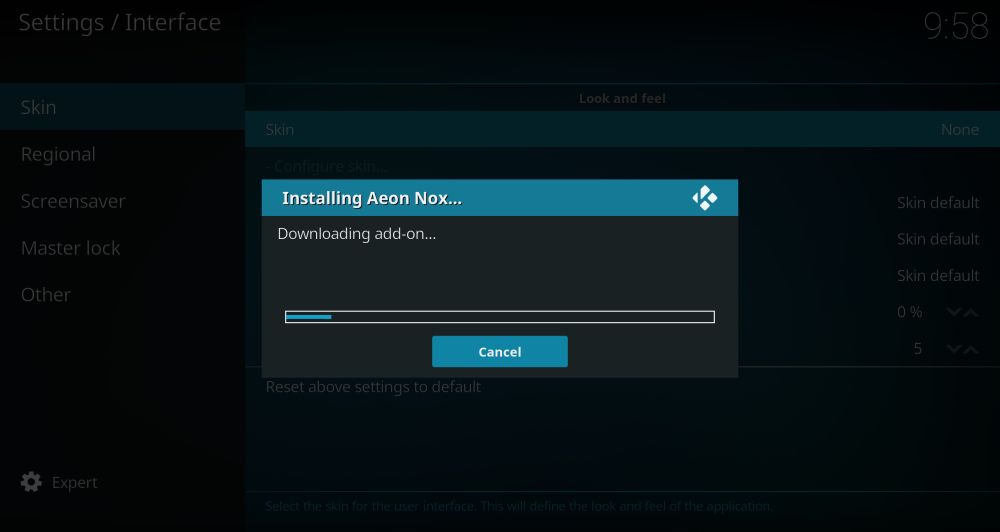
When you want to try out a new skin to change the look of your Kodi, you can simply download one from the Kodi repo. Here’s how to do that:
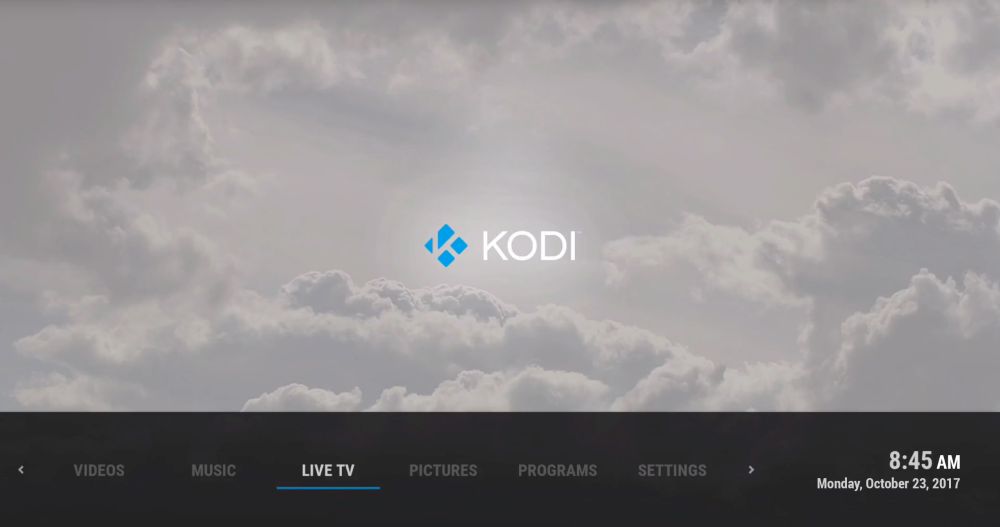
- Start on your Kodi home page
- Go to Settings
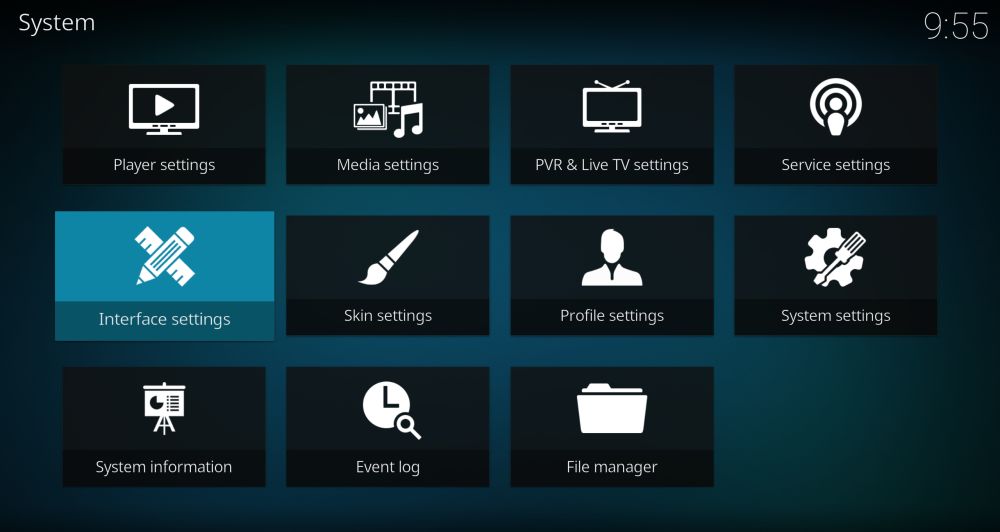
- Go to Interface settings
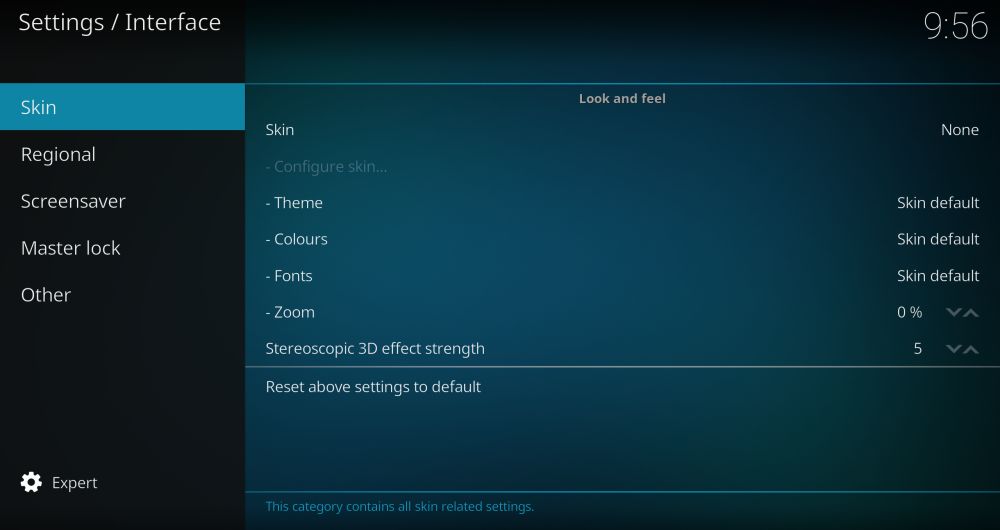
- Select Skin from the menu on the left
- Find the entry for Skin in the box on the right
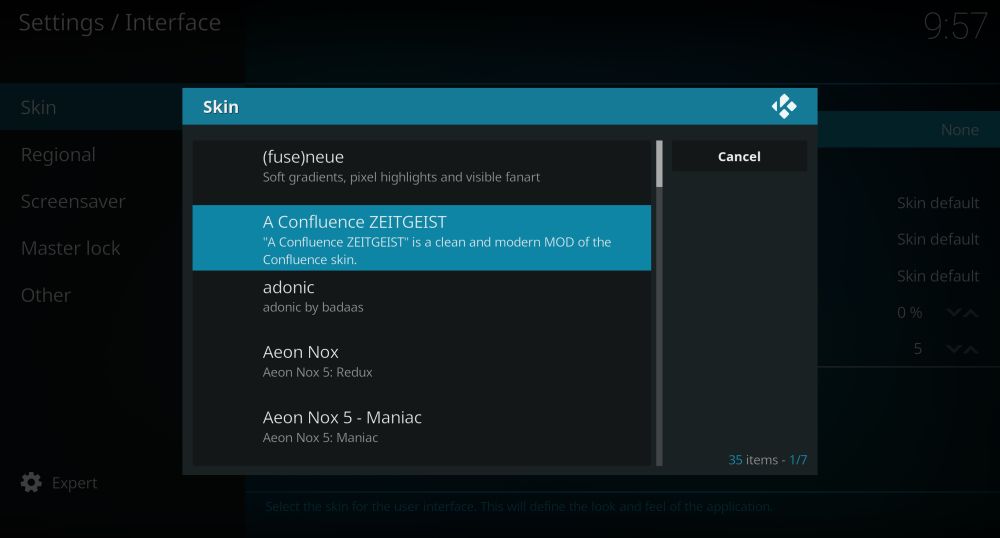
- Click on Skin and a popup will appear showing all of your currently installed skins
- Now click on the Get more… button on the right
- You’ll see a list of skins. Click on any skin and it will start to install
- Wait a minute until the installation is complete
- Confirm that you want to keep the change
- Now your Kodi will have a new look and feel.
How to Change Skins on Kodi
If you’ve already downloaded your skins, then you can change your Kodi look whenever you want. Changing skins on Kodi is very easy. All you need to do is this:
- Start on your Kodi home page
- Go to settings
- Go to Interface settings
- Select Skin from the menu on the left
- Find the entry for Skin in the box on the right
- Click on Skin and a popup will appear showing all of your currently installed skins
- Click on any skin
- Confirm that you want to keep the change
- Now your Kodi will have a new look and feel
The Best Kodi Skins
Now that you know how to change and install Kodi skins, we can get to the recommendations for the best skins to make your Kodi build look amazing and work even better.
Confluence
If you’re running on Kodi v17, then this skin will make it look like Kodi v16. Lots of users like the functionality of v17 but miss the older interface, as it was cleaner and somewhat easier to navigate. By installing this skin, you can have the old look back with just a few clicks. It’s smooth, clutter free, and easy to see.
Aeon Nox
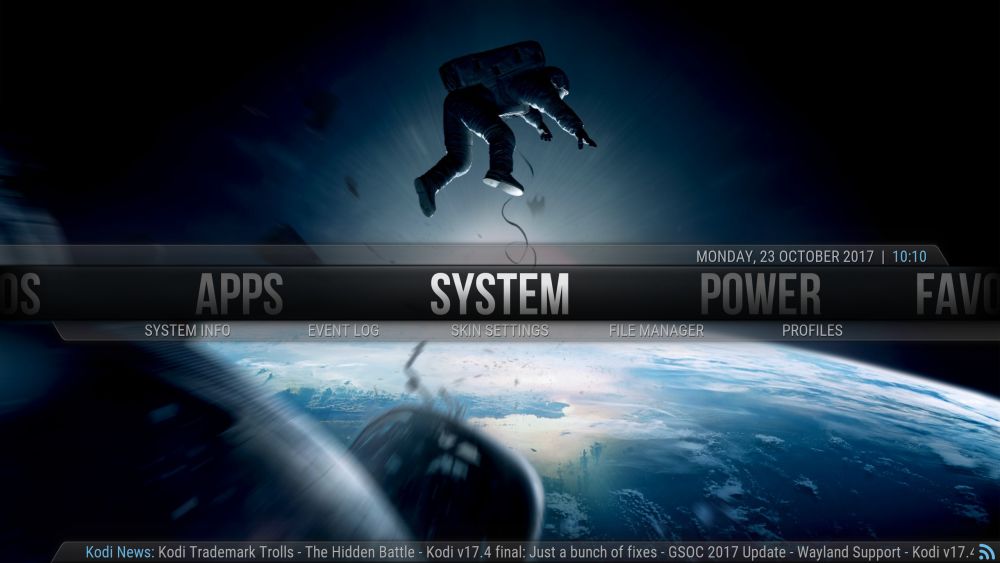
For sci-fi fans, check this out! It’s a gorgeous space theme. The fonts are easy to read and the colours are a pleasing mix of grey, white, and blue. It’s similar to Confluence but a little bit more distinctive, and it’s not too image heavy so it will run even on basic devices like a Fire TV stick.
Amber
Amber is a simple and light weight skin that is extremely easy to read and to use. It has a smart colour scheme of white, yellow, and grey, and well-chosen fonts. The background for each main menu option is a large, colourful, high-quality image, and transitioning from one to the other looks nice. This is a very practical skin which is also good for basic devices.
Omni
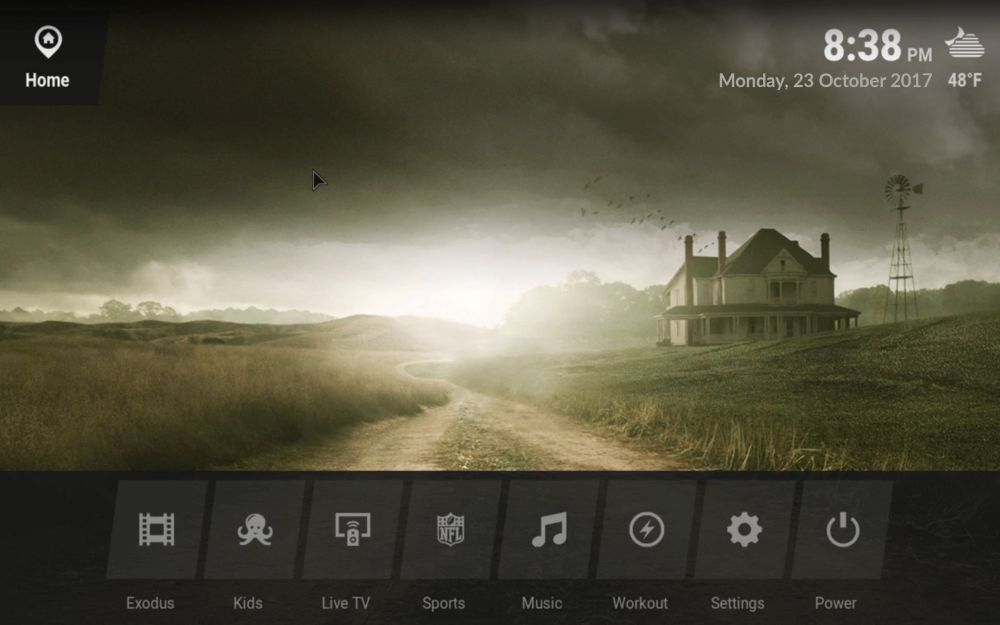
Omni stands out for its omni-present menu system – hence the name. If you find it a hassle to navigate through Kodi menus and you find yourself wishing that menus were consistent across pages, then this skin will help. It has a simple, clean look in black, white, and grey. This might not be the most exciting skin, but it’s extremely useful for navigating through your build quickly.
Xperience1080
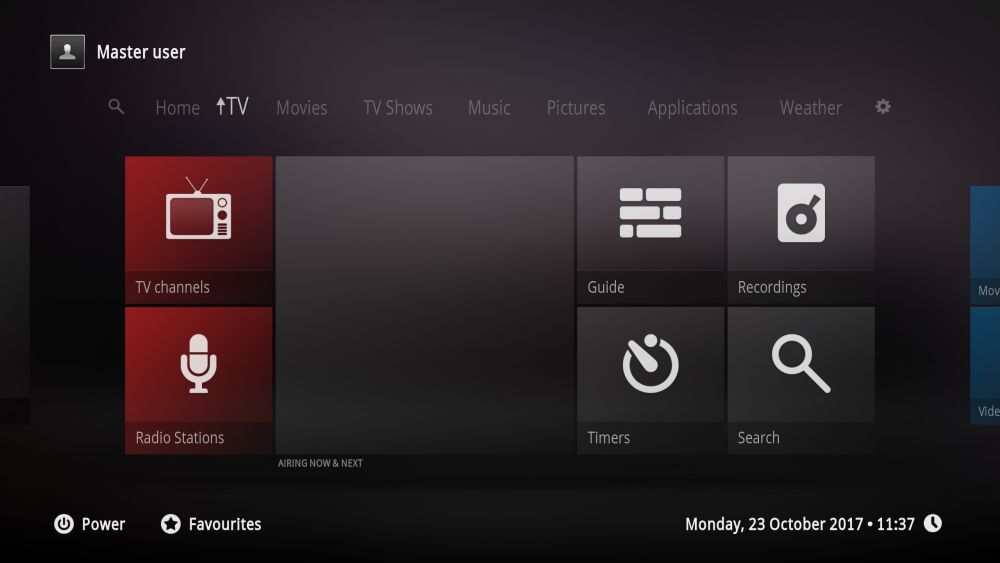
If you use Kodi on a large, high-definition screen like a TV then you might like Xperience1080. This is a panel-based skin and it looks terrific stretched across a large screen. It looks rather similar to the Xbox system, so gamers will feel right at home. It also has a version called Xperience1080x which is optimised for even larger screens.
Chroma
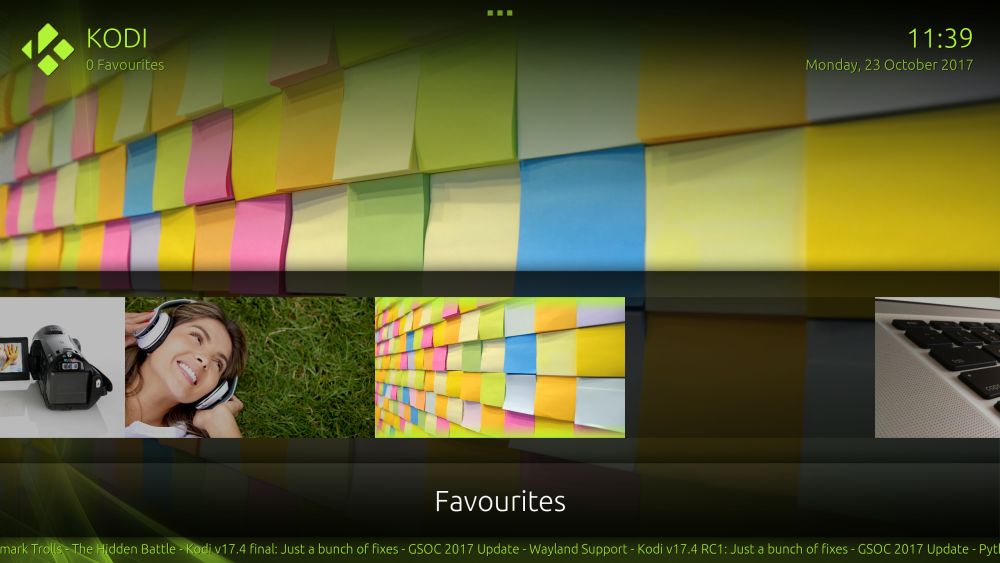
Another option for large HD screens is Chroma. This one is in colours of green, grey, and white and stacks menu items in boxes from left to right, to make the most of large screen real estate. The skin is elegant and functional, however, the font can be difficult to read. If you have a large screen this shouldn’t be a problem though.
Arctic: Zephyr
Clean, crisp, and white: this is a very visually pleasing skin. If you like the look of Apple products but hate the restrictiveness of using them, then you might like this one! The monochromatic colour theme and clear text and icons make this one of the classiest and most elegant skins out there. The only downside of this skin is that mouse control is not supported, so you’ll need to use a keyboard or gamepad to control it instead.
Eminence 2.0
Another smart and monochromatic skin that leans more towards grey and black compared to Arctic: Zephyr’s white. Eminence is designed to put all your content right on your home page, so when you open Kodi you’ll see a slideshow of movies in your library with their cover art forming the background for the system. This makes it personal and fun, and it’s neat to see all of your films displayed like a physical library. One downside is that some people might find the constant movement of the slideshow to be distracting, but it’s worth trying to see if it works for you.
Conclusion
These skins can make your Kodi system look more individual and function more effectively. It’s so easy to install and swap skins that we recommend all Kodi users try it out! Which skin is your favourite? Let us know in the comments below!
