Best Navi-X Alternatives for Kodi to Deliver Great Streaming Experience
The Kodi media center environment makes it easy to watch movies, TV shows, sports, and live events all from one piece of software. Third party add-ons extend Kodi’s functionality even further to deliver a massive variety of streams straight to your computer. You can install it on just about any device you own, and best of all, it’s completely free.
Navi-X was one of the best Kodi add-ons for all the latest TV shows and movies. Unfortunately, the Navi-X team decided to end the project in early 2017, citing fears of copyright litigation as the main reason. This left Kodi users with a huge content hole that needed to be filled. Fortunately there are plenty of other add-ons that deliver a streaming experience almost as good as Navi-X.
Before Using Kodi, Get a Good VPN
Kodi is open source, safe, and legal to use, but some of the add-ons you can install bend those rules a little bit. Because Kodi users are often put under close scrutiny by government agencies and internet service providers, you’ll want to take a few measures to protect yourself before diving into TV and movie streams. The best and easiest way to do this is by installing a virtual private network.
VPNs work like a tunnel between your computer and the internet. Normally the traffic you send is easy to intercept and read, making it possible for hackers and local ISPs to view your activities with very little effort. This can lead to data theft as well as copyright infringement notices or even fines. With a VPN in place, however, traffic gets encrypted before it leaves your device, making it unreadable to anyone except the VPN. This lets you browse the internet and stream videos through Kodi with complete privacy.
Choosing the Best VPN
You can’t be too careful when it comes to online privacy. A good VPN can help protect your identity by encrypting traffic as well as supplying an IP address that isn’t associated with your location or home address. These two features add up to an incredible amount of online security and anonymity. If you end up with a sub-standard VPN service, however, you’ll find your connection slows to a crawl, and in some cases Kodi could be blocked entirely.
Keep the following criteria in mind when researching a potential VPN. There are hundreds of providers on the market, so if you’re still having trouble choosing the right one, we’ve made some suggestions below to help you find the best VPNs for Kodi.
- Zero-logging policy – Logs are one of the biggest vulnerabilities when it comes to VPN services. Traffic that passes through a VPN can be catalogued and saved, making it possible for government agencies or third parties to eventually gain access to your data. If a VPN doesn’t keep logs, however, your privacy is guaranteed. You should never use a VPN that keeps logs, plain and simple.
- Allowing all types of traffic – Some VPN services throttle certain types of traffic or even block it altogether. Many Kodi add-ons use P2P and torrent networks to deliver smooth video streams, which are two of the most commonly blocked traffic types on VPNs. Make sure your VPN provider doesn’t restrict network traffic of any type, otherwise you might not be able to use Kodi.
- Fast speeds – VPNs can be a bit on the slow side, all thanks to encryption adding extra data to each packet. To combat this, a number of high quality VPNs have developed workarounds that provide extremely fast speeds without sacrificing encryption strength. These are ideal for Kodi use, as you’ll need a lot of bandwidth to keep HD streams running smoothly.
Best VPN for Kodi: IPVanish
IPVanish has a great balance between features and usability. The service delivers lightning-fast speeds along with a great privacy policy, including zero traffic logs, an automatic kill switch on Windows and Mac, DNS leak protection, and 256-bit AES encryption for all data. When combined with IPVanish’s network of 850 servers in 60 different countries, you’ve got the perfect recipe for a strong and secure VPN for all of your Kodi needs and beyond.
IPVanish also features:
- Extremely easy to use apps for all major operating systems and mobile devices.
- Defeat geo-blocking and website censorship with over 40,000 IP addresses.
- Unlimited P2P traffic and anonymous torrenting.
EXCLUSIVE: IPVanish packs all of these features and more into its easy to understand plans. Sign up for a full year and you’ll get an incredible 60% off, costing you just $4.87! It also backs all of its plans with a 7-day money back guarantee.
Recommended VPN: ExpressVPN
ExpressVPN is an aptly-named service. The company provides consistently fast connections to servers around the world, featuring a network of over 145 in 94 different countries. No matter where you live and no matter where you want your IP address to be from, ExpressVPN can give you a reliable and speedy connection. This is backed by a great no-logging policy as well as other security features, including an automatic kill switch and DNS leak protection for the desktop versions of its software.
More features from ExpressVPN:
- Chrome and Firefox extensions for ultra-convenient VPN protection while web browsing.
- Wide variety of software and apps, including Android and iOS support.
- No bandwidth restrictions and no blocks on P2P or torrent traffic.
- Unblocks American Netflix, iPlayer, Hulu
- 3,000+ super fast servers
- OpenVPN, IPSec & IKEv2 Encryption
- No personal information logs kept
- 24/7 Customer Service.
- Expensive month-to-month plan.
ExpressVPN features several competitively priced plans that offer great discounts for longer subscriptions. Each one is backed by a 30 day money back guarantee. Get 3 Months Free with the 12-months package. Best value with prices as low as
$8.32$6.67 a month with our exclusive offer.
Recommended VPN: NordVPN
NordVPN is fast, easy to use, and has an incredible privacy policy that keeps you safe online. The well-established service provides double encryption for many of its servers, wrapping data in 2048-bit encryption to ensure nothing can crack it, not even a supercomputer. This is strengthened by the company’s stellar zero-logging policy. With NordVPN nothing you do is ever logged, not traffic, DNS requests, or even time stamps. The great privacy policies along with top notch speeds make NordVPN an ideal service for streaming movies through Kodi.
Other great features from NordVPN:
- Custom apps for Windows, Mac, Linux, Android, and iOS devices.
- A huge network of over 1,000 servers in 59 different countries.
- Unmonitored traffic that allows P2P and torrent downloads.
- Extremely fast speeds for servers around the world.
- SPECIAL OFFER: 2-yr plan (70% off - link below)
- 5,400+ servers globally
- Connect up to 6 devices at once
- Extra-secure Double VPN for data encryption
- Money back guarantee policy.
- Some servers can be unreliable
- Refund processing can take up to 30 days.
EXTENDED: NordVPN delivers all of these features with equally impressive discounts. Visit NordVPN trough this link and you save up to 66% on the 2 year plan which includes a 30 day money back guarantee so you can try it risk free.
How to Install Kodi Add-ons
There are multiple ways to install most third party Kodi add-ons, including direct downloads, grabbing files from a source URL, and installing through Kodi’s interface. It’s extremely convenient for power users, but if you’re just getting started with Kodi it can be confusing. The guides below walk you through the process step by step, but there are a few things you should know before you get started.
Kodi has the ability to retrieve files from external sources, allowing you to insert URLs of add-on repositories and stepping back for Kodi to handle the rest. Before you can install these add-ons, however, you need to give Kodi permission to access external media. Follow the steps below to enable the setting:
- Open Kodi and click on the gear icon to enter the System menu.
- Go to System Settings > Add-ons
- Toggle the slider next to the “Unknown sources” option.
- Accept the warning message that pops up.
Now that Kodi can install external files, you’re ready to begin. The basic process of installing a third party Kodi add-on involves adding a repository source URL, installing that repository from the zip file Kodi automatically downloads, then digging into the repository to install an individual add-on. It sounds convoluted, but once you do it a few times it feels like second nature.
Exodus – Movies, TV Shows, and More
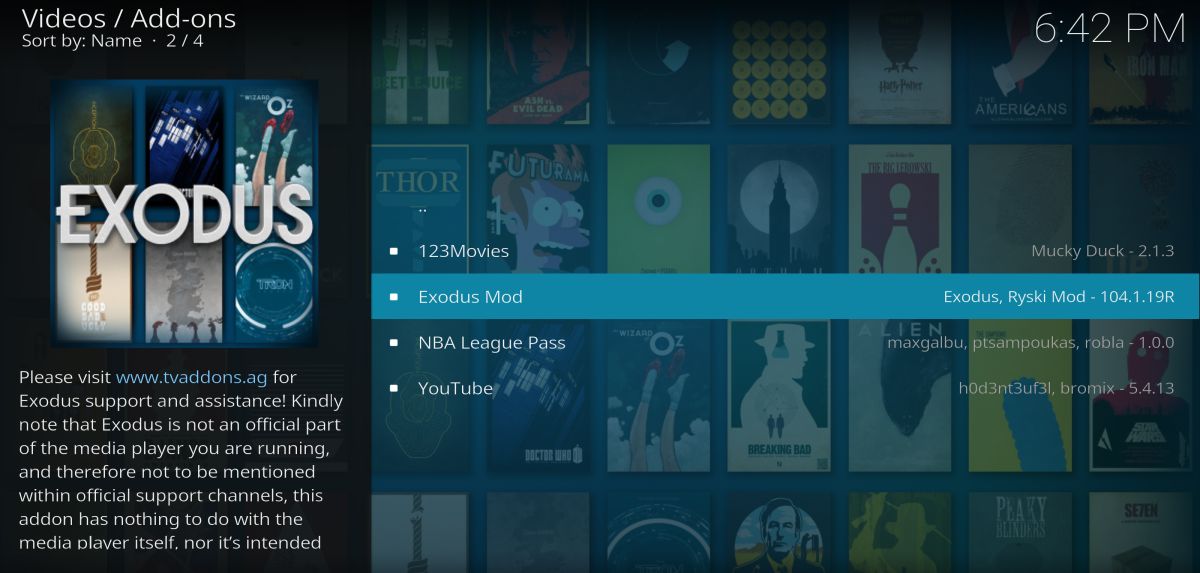
Exodus is a phenomenal multi-purpose add-on that delivers a lot of the same functionality as Navi-X. You can access movie streams sorted by popularity, genre, year, even the number of people currently watching it. TV shows are categorized in a similar manner, and there’s even a handful of channels that stream live content. It’s a surprisingly reliable third party add-on that should get you through the post-Navi-X world without any trouble.
The Exodus add-on is available through a number of repositories, including SuperRepo. To ensure you have the most recent version, the instructions below lead straight to the add-on developer’s compiled code.
How to install Exodus for Kodi:
- Visit the official zip repository on Github in your web browser.
- Scroll to the following folder and click on it: plugin.video.exodus
- Inside, scroll to the most recent version of the Exodus file and download it. The format will look something like this: plugin.video.exodus-####.zip
- Go to the Kodi main menu.
- Select “Add-ons”
- Click the open box icon at the top of the menu bar.
- Choose “Install from Zip File”
- Locate the file you downloaded above and install it.
- Go back to the Kodi main menu.
- Click the Exodus add-on and start streaming.
SALTS – Movies and TV Shows
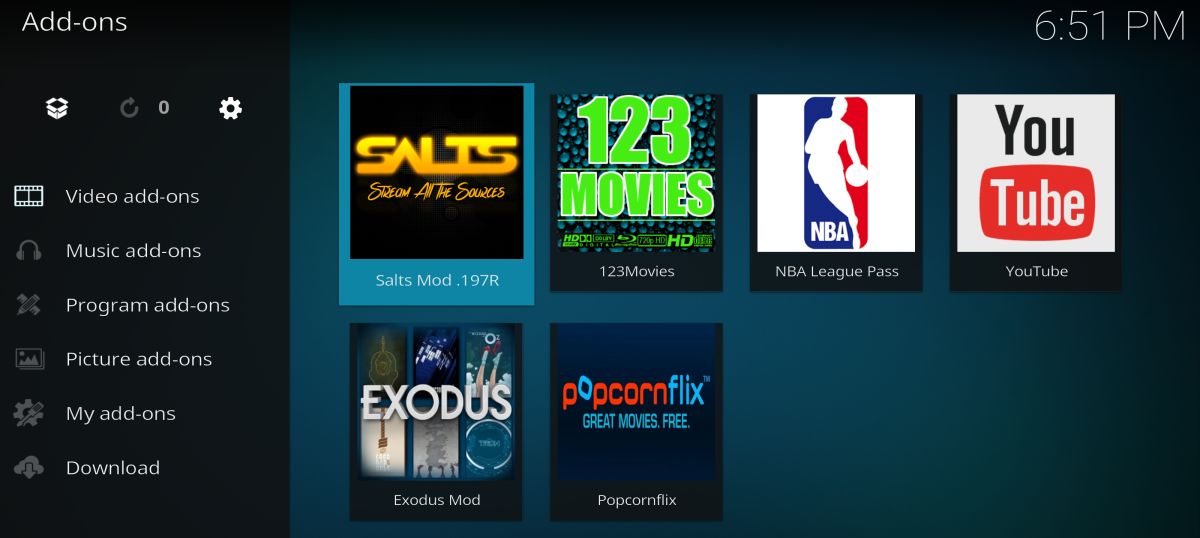
SALTS, which stands for Stream All the Sources, is one of the few add-ons that survived the tvaddons.ag shutdown. The SALTS Mod leverages several different technologies to pull together a variety of movie and TV shows into one smart interface. Jump on to find trending and popular movies, brows shows and films by genre, or just pick out the most recent releases and start watching. It’s straightforward and very easy to use, exactly the sort of thing you’ll appreciate the moment you install it.
SALTS is available through a variety of repositories, but to ensure you have the latest version it’s best to go through the official source. The instructions below lead straight to the publisher’s code repository for a fast and easy install.
How to install SALTS for Kodi:
- Visit the official zip repository on Github in your web browser.
- Scroll to the following folder and click on it: plugin.video.salts
- Inside, scroll to the most recent version of the SALTS file and download it. The format will look something like this: plugin.video.salts-####.zip
- Go to the Kodi main menu.
- Select “Add-ons”
- Click the open box icon at the top of the menu bar.
- Choose “Install from Zip File”
- Locate the file you downloaded above and install it.
- Wait a few moments while SALTS installs some dependencies.
- Go back to the Kodi main menu.
- Click the SALTS add-on and start streaming.
Popcornflix – Movies, Documentaries, and TV Shows
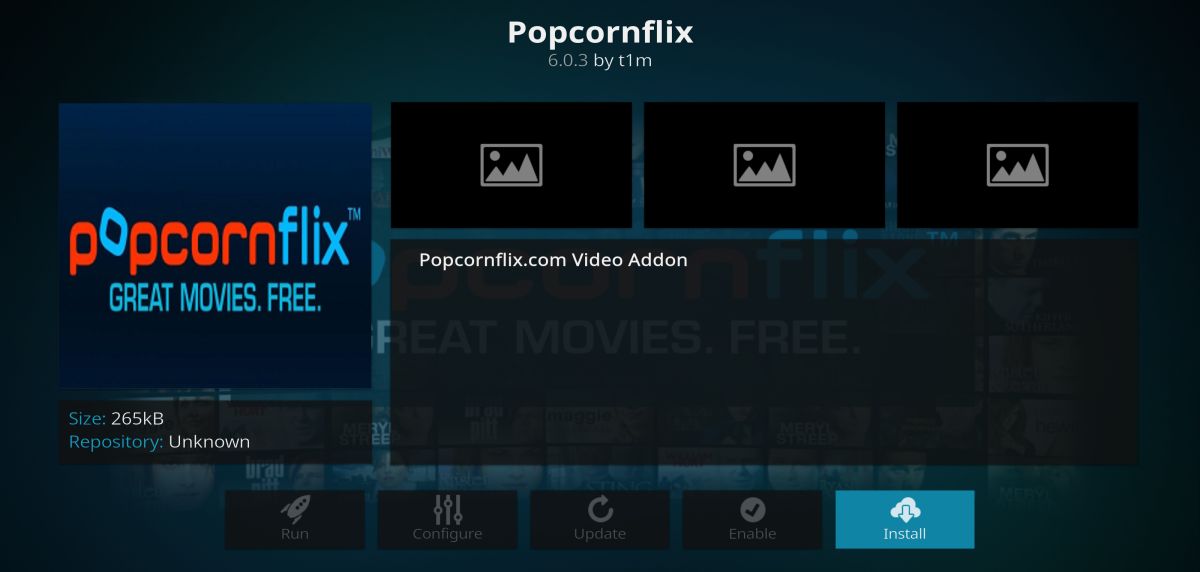
Popcornflix has emerged in recent months to prove it’s a smart and reliable alternative to Navi-X. The add-on features a huge selection of free movie streams organized by genre and type. You’ll find everything from dramas to thrillers, romance, documentaries, even family films, all just a few clicks away. There’s even a small selection of TV series to dive into, just in case you’re in a binging mood.
Popcornflix is available through a number of repositories, such as SuperRepo. To make sure you always have the latest version, though, it’s best to install from the source. Because Popcornflix is available from Kodi, every installation already has the repository installed. Simply follow the guide below to grab the add-on from the official repo.
How to install Popcornflix for Kodi:
- Go to the Kodi main menu.
- Select “Add-ons”
- Click the open box icon at the top of the menu bar.
- Choose “Install from repository”
- Scroll to “Kodi Add-on repository” and select it.
- Scroll down until you see “Popcornflix”
- Click to install it.
- Go back to the main menu. Popcornflix will now show under your add-ons screen.
Ares Project – Anime, Comedy, and Sports
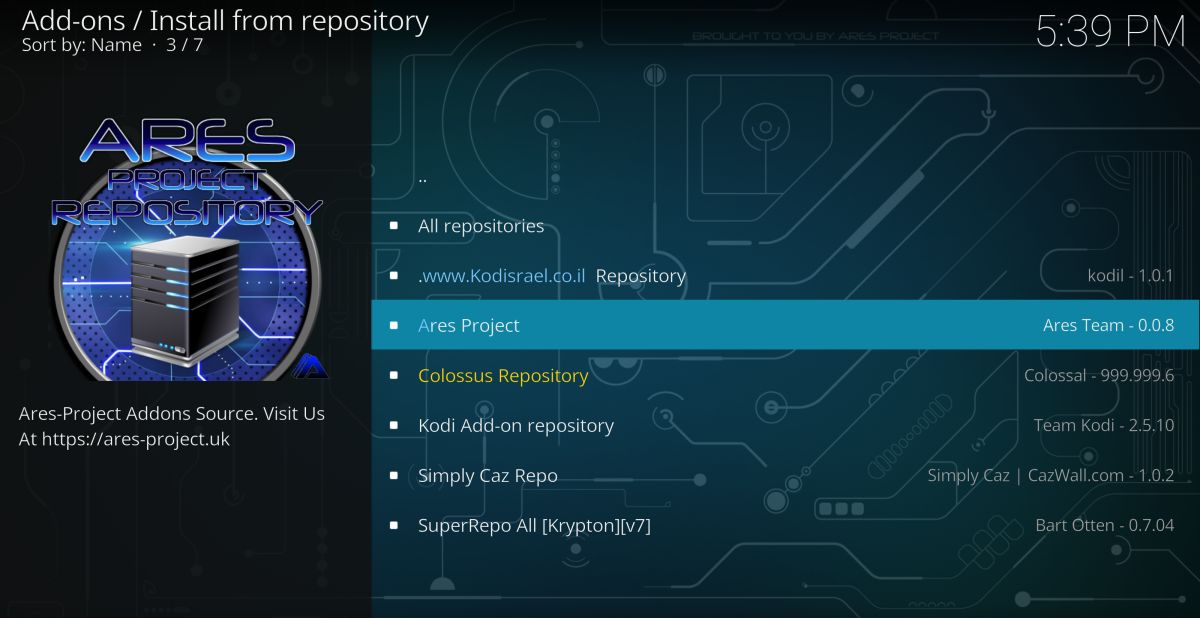
The Ares repository has a strange but useful variety of content stuffed within its code. Grabbing this repo will give you access to the latest anime, a variety of stand-up comedy shows, extreme sports channels like BMX and skateboarding, plus a selection of MMA and martial arts channels. Most of the Ares content is designed for niche audiences, so don’t expect every new sitcom or action film to show up in the interface. But if your tastes are a little off the norm, you’ll find a lot to love in this unusual add-on.
The Ares Project is an independently managed repository that offers its own content. While you can often find versions of Ares packed with other repos, it’s best to go directly to the source to make sure you get the most recent version. The guide below uses files released by the Ares Project themselves.
How to install Ares on Kodi:
- Open Kodi on your local device.
- Click on the gear icon to enter the System menu.
- Go to File Manager > Add Source (you may need to click the double-dot to move to the top of the directory)
- In the top box type in the following URL exactly as it appears: https://repo.ares-project.com/magic
- Name the new repository “Ares”
- Click “OK”.
- Go back to the Kodi main menu.
- Select “Add-ons”
- Click the open box icon at the top of the menu bar.
- Choose “Install from Zip File”
- Select “repository.aresproject.zip”
- Go back to the Add-ons menu and click the open box icon again.
- Choose “Install from repository”
- Find and click “Ares Repository”
- Scroll to “Video Add-ons”
- Choose as many channels as you’d like and install them individually.
Made in Canada – Live TV for Canada, the U.S., and UK
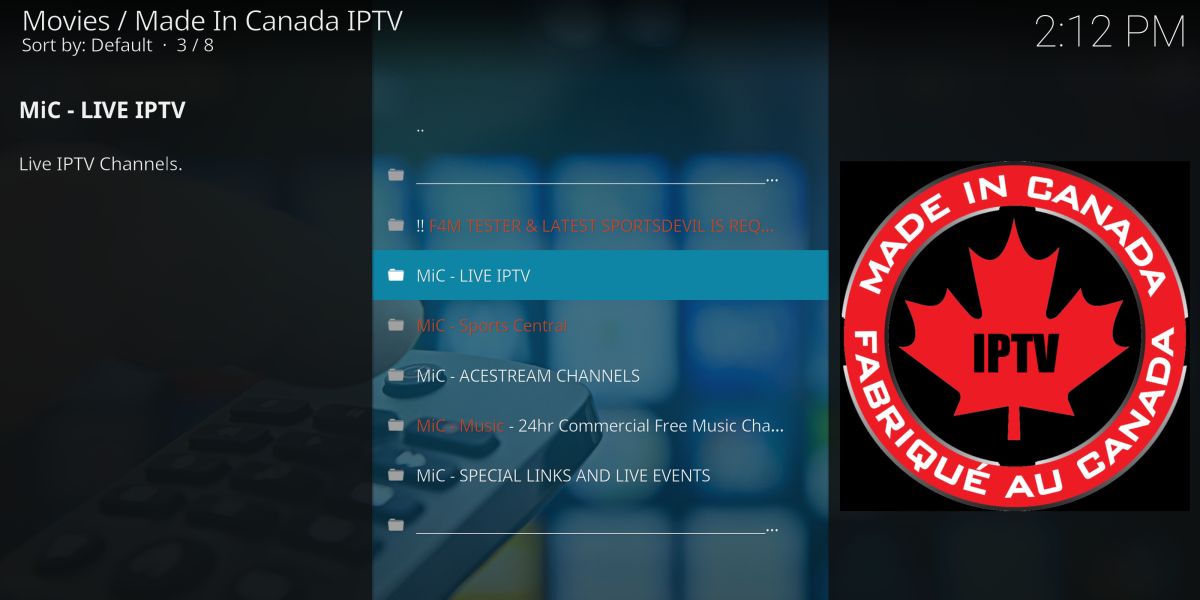
Made in Canada is a Kodi add-on that focuses on Canadian IPTV channels. This makes it feel a lot like switching on the television and channel surfing to see what’s on the air. Users from outside of Canada can access these feeds through the add-on, watching everything from live broadcast networks to movie channels and sports streams. It has the same feeling of discovery parts of Navi-X had when it was available, and it’s hard to beat the high quality of those HD streams.
To install Made in Canada, you’ll need to add the Koditips repository to your device. If you already have Koditips installed, skip to step 14.
How to install Made in Canada on Kodi:
- Open Kodi on your local device.
- Click on the gear icon to enter the System menu.
- Go to File Manager > Add Source (you may need to click the double-dot to move to the top of the directory)
- Type in the following URL exactly as it appears: https://repo.koditips.com
- Name the new repository “Koditips”
- Click “OK”.
- Go back to the Kodi main menu.
- Select “Add-ons”
- Click the open box icon at the top of the menu bar.
- Choose “Install from Zip File”
- Select the Koditips file.
- Install the file named repository.koditips-1.0.0.zip (The version numbers may be slightly different.)
- Go back to the Add-ons menu and click the open box icon.
- Choose “Install from repository”
- Find and click “KodiTips.com Repository”
- Scroll down to “Video add-ons”
- Locate “Made In Canada IPTV” and install.
- Access your new add-on from the main menu when the installation is complete.
Stream Movies and TV Shows to Your TV
Kodi’s open source nature gives it a lot of flexibility. You can install it on just about any device, including PCs, laptops, even tablets and smartphones. This is great for when you’re traveling and need to catch up on your favorite shows or sporting events, but for movies and marathon sessions, it can be uncomfortable hunching over your desk or squinting at a tiny screen. That’s why you need to get Kodi connected to your TV.
There are several solutions for combining the power of Kodi with a TV. If you own a TV box, for example, you can often install Kodi directly to that device, though it can take a little work. One of the easiest and least expensive methods is to install Kodi on an Amazon Fire TV Stick. Not only are Fire TV Sticks inexpensive, but they’re also portable, can plug into almost any TV, and the installation process is extremely simple. You can even install a VPN on your Amazon Fire TV Stick to gain the benefits of encryption and location variability while you stream your Kodi shows on a big screen.
Another option is to install Kodi on an Apple TV device. This can be a little more time consuming than the Fire TV Stick method, but if you already have an Apple TV and don’t want to switch to another video ecosystem, the guide above will make the process as easy as possible.

