Best Kodi Add-ons for UFC – How to Live Stream UFC on Kodi
Kodi is an open source media center app built for accessibility. With Kodi you can access live sports streams, movies, TV shows, music, and so much more, all from a single easy to use interface. Even better, Kodi is free and open source and works on just about every modern device, including smartphones and tablets!
To truly access the power that Kodi provides, you’ll need to install add-ons. Both official and third party add-ons are available for Kodi, and they include everything from skins to new functionality to additional video streams and services, most of which are free. You can even install extensions that give you access to archived UFC fights and live streams! Finding the right add-ons can take some time, which is why we’ve collected some of the best and most reliable resources below.
Reminder, Use a VPN
The Kodi software itself is open source, safe, and legal to use. Some of the add-ons you can install push the limits of fair use, however. Live sports streams such as UFC along with TV and movie add-ons can raise red flags at your local internet service provider, which can result in copyright infringement notices or worse. Before you start taking full advantage of the Kodi experience, you should invest in a good virtual private network.
VPNs change the way you interact with the internet. Normally everything that leaves your device is sent through an ISP in a raw format, including identifying details such as which ports you’re using, what content you’re looking for, and your IP address. This information can be used to track your activities, and in some cases it can even be sold to third parties without your consent.
With a VPN your data stays safe. VPNs work like a tunnel between your computer and the internet. Data is encrypted before it leaves your computer, making it nearly impossible for third parties to see what you’re doing. VPNs also give you a new IP address that isn’t associated with your location, providing an additional layer of privacy. These factors are especially important for anyone using Kodi to stream live UFC events or watch TV shows and movies online, as those activities tend to draw even more scrutiny than other types of streams.
Choosing a Reliable VPN
When your privacy is on the line, you can’t be too careful. Not all VPN services deliver the same level of anonymity or overall value. To ensure your VPN doesn’t negatively impact your Kodi experience, make sure it places several key factors above the rest.
The following should be at the top of your list when looking at a potential VPN:
- Fast download speeds – VPNs have a reputation for being slow. This is due to encryption overhead as well as the extra distance data must travel to reach servers around the world. Some VPNs are sluggish to the point of being unusable. Others place a high priority on speed, which is an absolute necessity if you want to stream UFC or other video content through Kodi.
- Zero-logging policy – Privacy is important when you’re using Kodi. To ensure your VPN is invested in keeping your information secure, make sure they have a strict zero-logging policy. Logs are an inherent vulnerability when it comes to data seizure by corporations or government agencies. If logs are kept, a VPN could be forced to share your information. If no logs exist, however, your privacy remains secure.
- Allowing all traffic and file types – If you’re not careful, you might end up with a VPN that blocks Kodi traffic. Some Kodi add-ons use P2P and torrent networks to deliver smooth video streams. It’s a common practice for some VPNs to block both these types of traffic, which could render your Kodi installation nearly useless. The best VPN providers have no file restrictions of any type.
- Strong server availability – VPNs allow you to switch virtual locations at the press of a button. This is great for accessing censored or geo-locked content normally unavailable in your region. The more servers a VPN has, the better.
There are hundreds of VPN services on the market, each one eager to prove why they’re the best at what they do. This is great news for customers, as it means no matter which company we choose, we’re bound to get a great price on a great service. A couple of VPNs do stand out as better choices for Kodi users, however. These feature fast connection speeds and excellent support for streaming traffic, giving you the ability to watch anything you want without sacrificing data privacy.
Best for Kodi: IPVanish
One VPN provider that scores high on all of the above features is IPVanish. The service places top priority on user privacy and manages to deliver it without sacrificing speed. IPVanish also has a strict zero-logging policy, unlimited bandwidth, no file type restrictions, and over 750 servers in 60 different countries, making it a solid choice for a fast, high quality VPN.
The service supports all Kodi add-ons that we have tested, has all the benefits a VPN can deliver, which really makes your NFL streams safe, private, and accessible no matter where you live.
IPVanish offers a 7-day money back guarantee which means you have a week to test it risk-free. Please note that Addictive Tips readers can save a massive 60% here on the IPVanish annual plan, taking the monthly price down to only $4.87/mo.
Other Recommended VPN Providers
Fastest VPN: ExpressVPN
ExpressVPN is one of the fastest VPN providers around. The company operates a network of over 145 servers in 94 different countries, each one built and configured for optimal speed. There are no bandwidth limitations or file type restrictions, which is perfect for Kodi users, and ExpressVPN has a straightforward zero-logging policy that keeps your data safe no matter what. Easily one of the best and most affordable VPNs around.
as low as $8.32 $6.67 a month with our exclusive offer
Great Deal: NordVPN
NordVPN is another favorite virtual private network service for Kodi users. The provider has one of the largest networks of any VPN, over 951 servers in 57 different countries. These are backed by unlimited bandwidth, no restrictions on P2P or torrent traffic, a zero logging policy, and double encryption to keep your information locked down tight. NordVPN also delivers great speed test results on servers around the world, making it a prime choice for watching UFC or any streaming show through Kodi.
super deal: 72% DISCOUNT with our exclusive offer
Want more VPN buying advice and suggestions? Check out these articles for in-depth information on the best VPNs around:
How to Install Kodi Add-ons
With your information secured with a good VPN, it’s time to let Kodi do its thing. Once you have Kodi installed on your favorite device, installing extensions is a surprisingly simple process. All you need is a few minutes of time and internet access, then you’re ready to stream.
Before you can install third party add-ons, you need to make sure Kodi can retrieve files from external sources. Follow the steps below to enable this feature.
How to enable external downloads in Kodi:
- Open Kodi and click on the gear icon to enter the System menu.
- Go to System Settings > Add-ons
- Toggle the slider next to the “Unknown sources” option.
- Accept the warning message that pops up.
Installing add-ons to Kodi isn’t difficult, but the process is a bit awkward the first few times you do it. Here’s a quick overview of the installation process for Kodi add-ons:
- Locate a repository, which is an online collection of add-ons stored in a zip file.
- Tell Kodi where to download this repository by entering a source.
- Install the repository from this downloaded zip file.
- Enter the repository from Kodi and find the specific add-on you want to install.
- Access your new add-ons from the main Kodi menu.
The detailed method for doing this involves some back and forth clicking, but once you do it a few times it’ll feel like second nature.
- Open Kodi and click the gear icon to enter the System menu.
- Go to File Manager > Add Source. You may need to click the double-dot at the top to move to the top of the directory.
- Type the URL of the add-on repository into the window that opens.
- Type a custom name for the repository you’re about to add and click “OK”.
- Go back to the Kodi main menu and select “Add-ons”.
- Click the open box icon at the top of the menu bar.
- Choose “Install from Zip File”
- Select the repository you just added.
- Wait for the repository to install. A notification will appear when it’s ready.
- Go back to the Add-ons menu and click the open box icon again.
- Choose “Install from repository”
- Find the add-on you’d like to install from the repository.
- Install the add-on and wait for the confirmation notification.
- Access your add-on from the main menu and enjoy your new content!
Best Add-ons to Watch UFC on Kodi
UFC content can be tough to find in the Kodi ecosystem. Shutdowns happen all the time, meaning repositories can go offline and streams can disappear without warning. One minute you’re in the middle of a match, and the next you’re staring at the main menu, unable to pick up where you left off. One of the inherent downsides to Kodi add-ons is their unreliability. It comes with the territory, but it’s not always as bad as you might think.
The Kodi add-ons below have proven to be some of the most reliable around. They’re great for streaming UFC content along with MMA, NFL, NBA, and other sporting events. Some even feature TV and movie streams! Follow the instructions for each one to install the add-on for your local version of Kodi.
Planet MMA
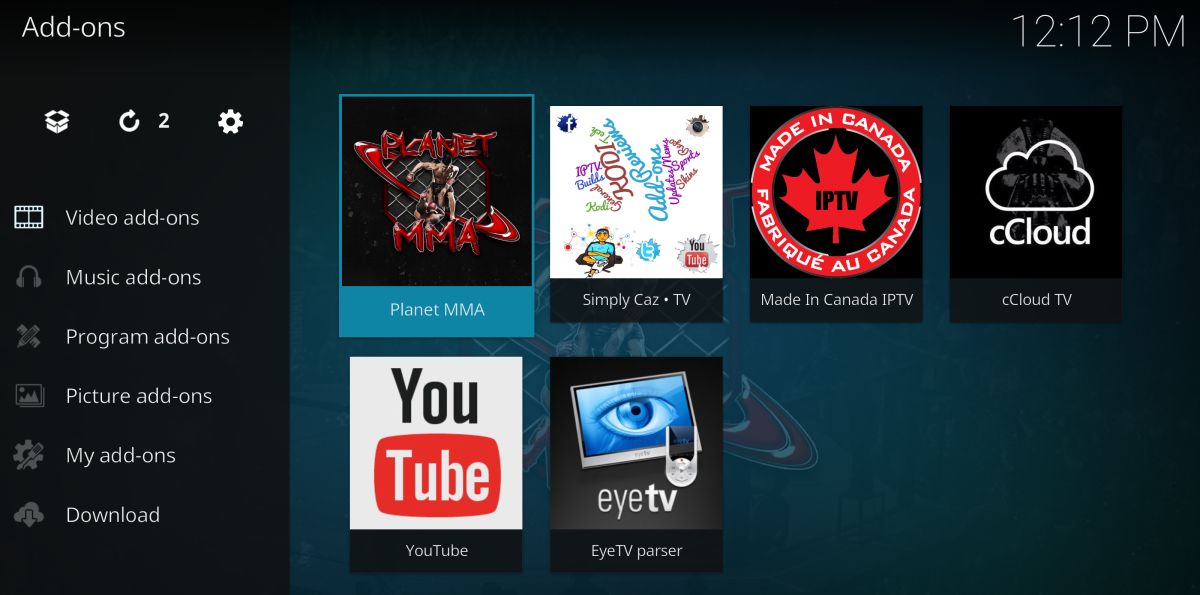
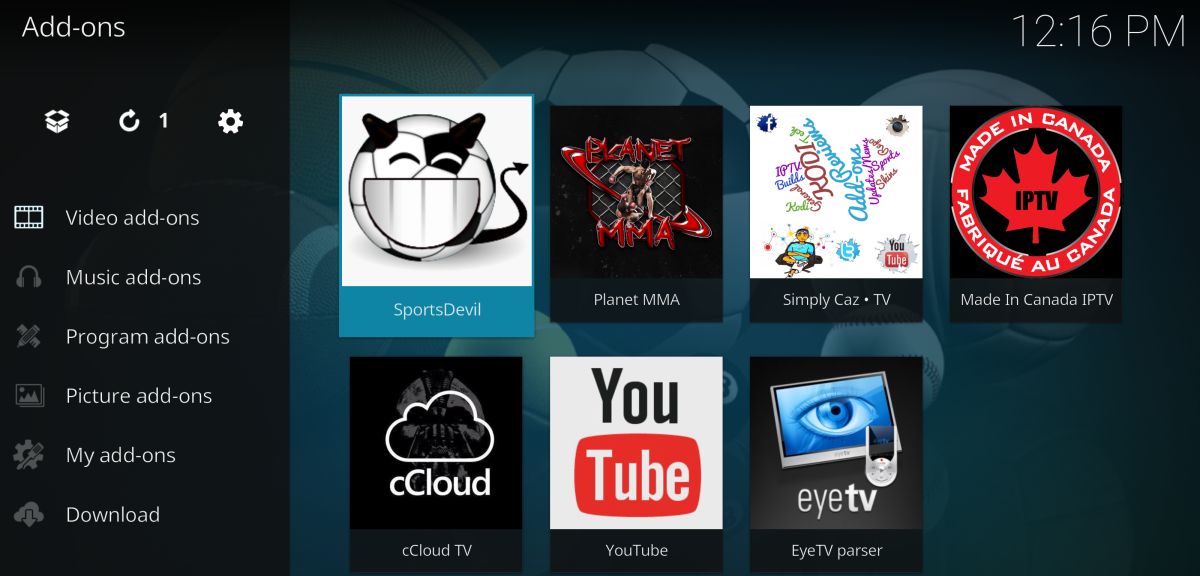
The end-all add-on for UFC content, Planet MMA (formerly UFC Finest) is a gold mine of live streams and archived videos. The extension features a calendar, archives for Fight Night, Openload, and spotlight features, even interviews and documentaries from YouTube and beyond. If you only use one add-on for your live and archived UFC content, Planet MMA is the way to go.
Planet MMA is available from a number of popular repositories, including Ares. Follow the instructions below to add this repo and install Planet MMA. If you already have Ares installed, skip to step 14.
How to install Planet MMA on Kodi:
- Open Kodi on your local device.
- Click on the gear icon to enter the System menu.
- Go to File Manager > Add Source (you may need to click the double-dot to move to the top of the directory)
- Type in the following URL exactly as it appears: https://repo.ares-project.com/magic/
- Name the new repository “Ares”
- Click “OK”.
- Go back to the Kodi main menu.
- Select “Add-ons”
- Click the open box icon at the top of the menu bar.
- Choose “Install from Zip File”
- Select the Ares project listing.
- Open the following file: repository.aresproject.zip
- Install the zip file.
- Go back to the Add-ons menu and click the open box icon.
- Choose “Install from repository”
- Find “Ares Project” in the list.
- Scroll down to “Video Add-ons”
- Select and install Planet MMA.
- When the installation is complete, you can access Planet MMA from the main menu.
SportsAccess
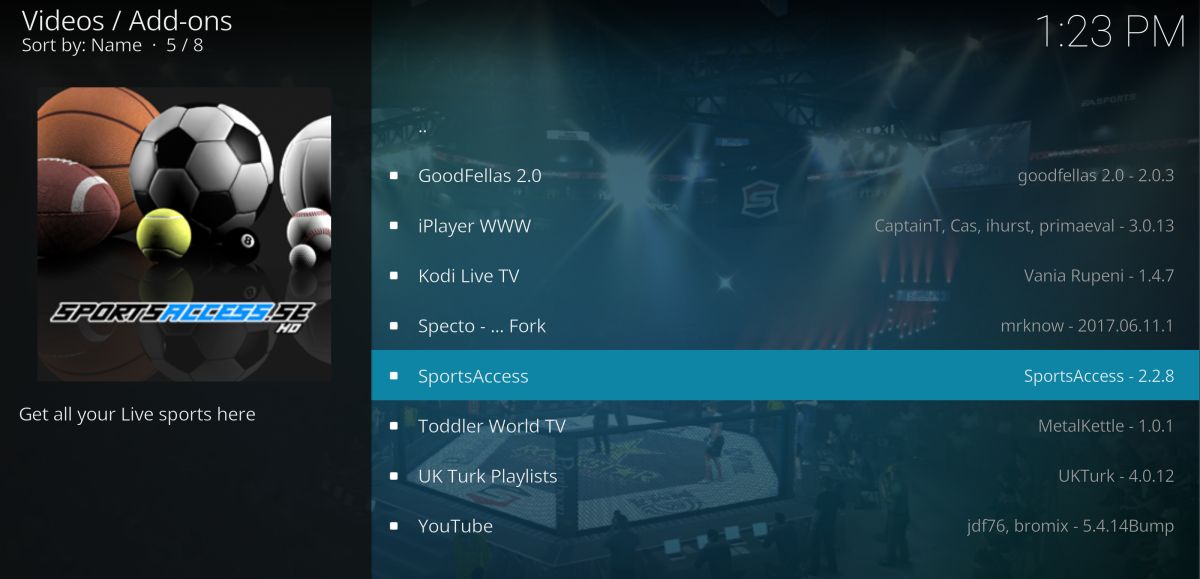
SportsAccess is a heavy hitter in the HD sports streaming market. The service delivers both live events as well as archived content for tons of major and minor sports, including golf, hockey, tennis, wrestling, MMA, and UFC. In total there are over 100 sports-only channels along with 20+ live TV options. Every pay per view UFC event hits SportsAccess, which makes it a superb resource for your mixed martial arts needs.
The SportsAccess add-on connects to the SportsAccess website, which is a paid service. You’ll need to sign up before using the Kodi extension. Multiple plans are available, including low priced options for anyone who just wants access for a single day.
- Open Kodi on your local device.
- Click on the gear icon to enter the System menu.
- Go to File Manager > Add Source (you may need to click the double-dot to move to the top of the directory)
- Type in the following URL exactly as it appears: https://repo.sportsaccess.se
- Name the new repository “SportsAccess”
- Click “OK”.
- Go back to the Kodi main menu.
- Select “Add-ons”
- Click the open box icon at the top of the menu bar.
- Choose “Install from Zip File”
- Select “SportsAccess”
- Choose the file named repository.sportsaccess.zip
- When the installation completes, go back to the Add-ons menu and click the open box icon.
- Choose “Install from repository”
- Find and click “Sportsaccess XBMC Addons”
- Scroll to “Video add-ons” then choose “SportsAccess” and install.
- When the installation is complete, SportsAccess will be available on your main Kodi menu.
SportsDevil
One of the first go-to add-ons for sports content of all types, SportsDevil hosts a number of streams that make it possible to watch live UFC events right from your Kodi interface. The add-on is easy to use and does a great job keeping its streams up to date, meaning you won’t have to go through a dozen dead links before you can find a working UFC channel.
After launching SportsDevil and going to the live streams section, look for the following links. They usually offer UFC streams that are as simple as clicking, buffering, and playing:
- Atdhenet.tv
- Dimsports.eu
- Firstrowsports.ge
- Livetv.ru
- Zunox.hk
To access SportsDevil and its streaming UFC content, you’ll need to add a repository such as KodiUK or SuperRepo to your Kodi installation. This will give you access to lots of other plug-ins in addition to SportsDevil. If you already have KodiUK or SuperRepo installed, skip to step 14.
How to install SportsDevil on Kodi through KodiUK:
- Open Kodi on your local device.
- Click on the gear icon to enter the System menu.
- Go to File Manager > Add Source (you may need to click the double-dot to move to the top of the directory)
- Type in the following URL exactly as it appears: https://kodiuk.tv/repo
- Name the new repository “KodiUK”
- Click “OK”.
- Go back to the Kodi main menu.
- Select “Add-ons”
- Click the open box icon at the top of the menu bar.
- Choose “Install from Zip File”
- Select “KodiUK”
- Search for this file and select it: repository.kodiuktv-1.0.0.zip (Note that the version numbers may change.)
- Install the zip file.
- Go back to the Add-ons menu and click the open box icon again.
- Choose “Install from repository”
- Find “KODIUKTV Repo”
- Scroll down to “Video add-ons”
- Select and install SportsDevil.
- When the installation is complete, you can access SportsDevil from the main menu.
Made in Canada
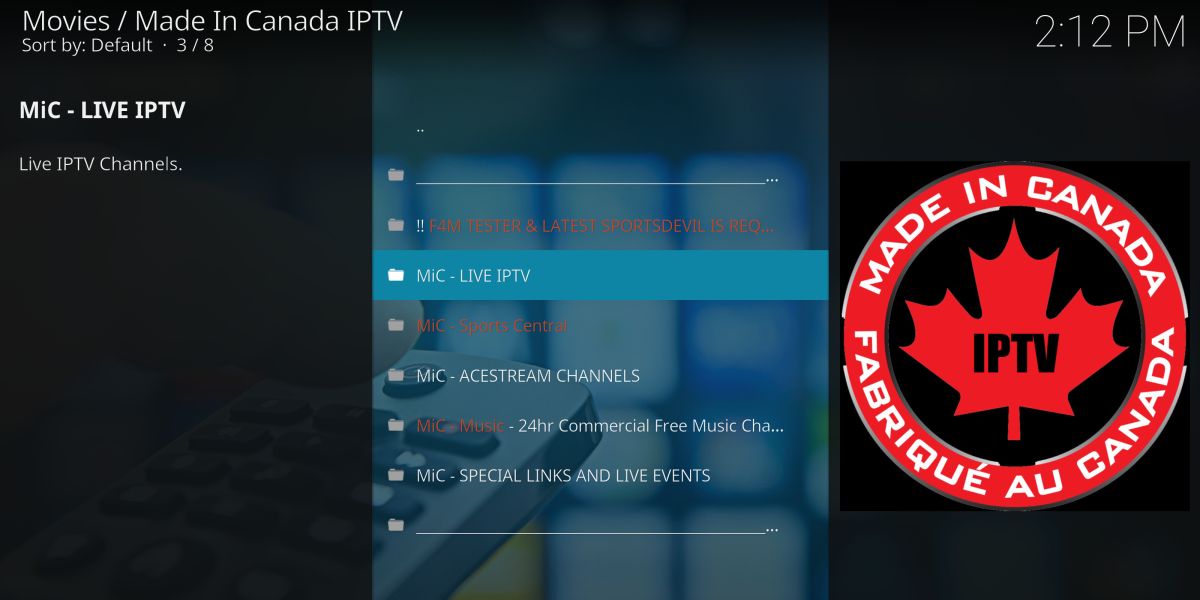
A Kodi add-on focused on Canadian IPTV channels, Made in Canada often has direct live streams of sporting events from around the world, including UFC. On the night of the stream, simply open the add-on and scroll down to MIC Special Events to see if a stream is available. UFC won’t always be featured, but when it is, it’s a reliable and high quality connection.
To install Made in Canada, you’ll need to add the Koditips repository to your device. If you already have Koditips installed, skip to step 14.
How to install Made in Canada on Kodi:
- Open Kodi on your local device.
- Click on the gear icon to enter the System menu.
- Go to File Manager > Add Source (you may need to click the double-dot to move to the top of the directory)
- Type in the following URL exactly as it appears: https://repo.koditips.com
- Name the new repository “Koditips”
- Click “OK”.
- Go back to the Kodi main menu.
- Select “Add-ons”
- Click the open box icon at the top of the menu bar.
- Choose “Install from Zip File”
- Select the Koditips file.
- Install the file named repository.koditips-1.0.0.zip (The version numbers may be slightly different.)
- Go back to the Add-ons menu and click the open box icon.
- Choose “Install from repository”
- Find and click “KodiTips.com Repository”
- Scroll down to “Video add-ons”
- Locate “Made In Canada IPTV” and install.
- Access your new add-on from the main menu when the installation is complete.
Is Kodi Illegal?
With the popularity of Kodi and its massive archive of add-ons, some noise has been generated about the legality of the service. Depending on which add-ons you’re using, which content you’re watching, and where you’re located, different people will have different answers regarding the legality of streaming through Kodi. The best overall answer is that it’s questionable, but not necessarily against the law.
While Kodi and it’s add-ons may not be illegal, using them can raise red flags with your local service provider. This is why using a VPN every time you open Kodi is extremely important. VPNs mask your identity and encrypt your data, making it difficult for third parties to see who you are and what you’re doing.
Using Kodi to Stream UFC on Your TV
Kodi is available on a massive variety of devices, including smartphones, laptops, tablets, TV boxes, and more. You don’t have to hunch over your computer desk to watch UFC on Kodi. In fact, with an inexpensive USB add-on and a few minutes of time, you can bring the Kodi experience to your television.
One of the easiest ways to get Kodi streaming to your TV is to use an Amazon Fire TV Stick. The small device plugs into your television for easy access to everything in the Kodi ecosystem, including live sports streams, TV shows, and movies. You can even add a VPN to the Fire TV Stick so your privacy remains intact.
Check out our full guide to learn how to install Kodi on an Amazon Fire TV Stick.



The best addon is Planet MMA, I use it to watch ufc live. But I use a VPN – ivacy.