IMVDb Kodi Add-on Install: Internet Music Video Database
Got a huge collection of music videos sitting on your computer that’s in dire need of organization? The free multi-purpose media center software Kodi can help with that! With the right add-ons you can pull together your entire music video library, sort, organize, and properly tag everything so it’s easy to watch. The IMVDb scraper add-on is perfect for this, and best of all, it’s completely free to use! Follow our guide below to learn how to install the Internet Music Video Database add-on and stay safe while watching all your favorite Kodi content.
Before Using Kodi, Get a Good VPN
Kodi itself is perfectly safe to use, but there are some add-ons that bend the rules by accessing pirated content from shady sources. These have given the entire Kodi community a bad reputation, which has prompted many ISPs to start scanning and throttling Kodi traffic. To avoid these issues, you should always have a good virtual private network on hand. VPNs create a tunnel between you and the internet by encrypting all of your data. Nobody can tell what sites you’re visiting or what content you’re accessing, allowing you to surf and stream with privacy and anonymity.
But which VPN service should you use? We made our choice based on the following criteria in order to ensure your Kodi streams are as fast and private as possible:
- Fast downloads
- Zero-logging policy
- No bandwidth restrictions
- Unmonitored traffic
- Wide device support
The Best VPN for Kodi – IPVanish
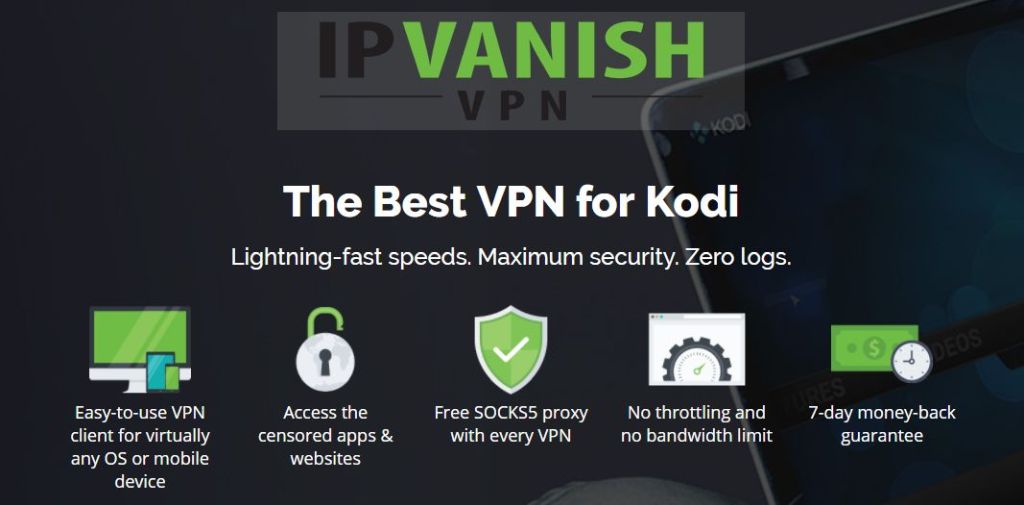
IPVanish delivers the features Kodi users value the most: speed and online anonymity. Your identity will be safely hidden behind the VPN’s privacy features, including DNS leak protection, an automatic kill switch, 256-bit AES encryption, and a strong zero-logging policy on all traffic. You also get the benefit of 40,000 IP addresses and a built-in IP randomizer to ensure you’re never seen! Over 850 servers in 60 different countries are at your disposal, all of which deliver excellent speeds with low-latency results every time. If you’re worried about throttling or download restrictions, you can rest easy knowing IPVanish doesn’t monitor traffic, use speed throttles, or impose bandwidth caps. Finally, this VPN features lightweight software available on most major operating systems and devices, and even some niche ones like the Amazon Fire TV stick!
EXCLUSIVE for Addictive Tips readers: Get a 60% discount when you sign up for a year of IPVanish, just $4.87 per month! Every plan is covered by an amazing seven-day money back guarantee so you can try everything out with no risks and no worries.
How to Install Kodi Add-ons
Almost all of Kodi’s add-ons are packaged into repositories hosted by external websites. Repos can contain a dozen or a few thousand add-ons, making it easy to discover and update your downloads without having to track down each individual source. Kodi offers a variety of ways to install repositories. We prefer the “external sources” method as it’s easier to use and keeps things tidier in the long run. Before you begin you’ll need to change a default setting to allow this method to work:
- Open Kodi and click on the gear icon to enter the System menu.
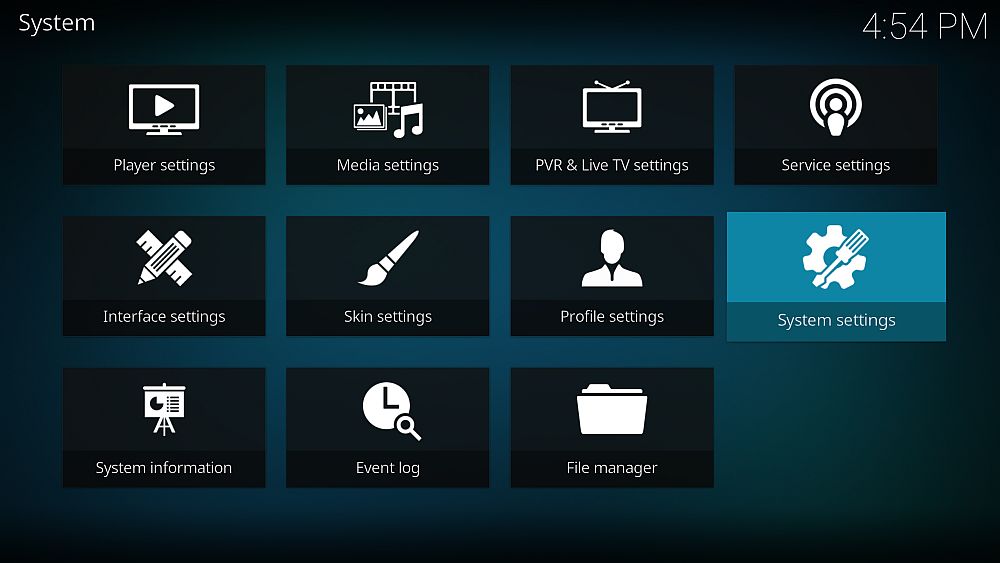
- Go to System Settings > Add-ons
- Toggle the slider next to the “Unknown sources” option.
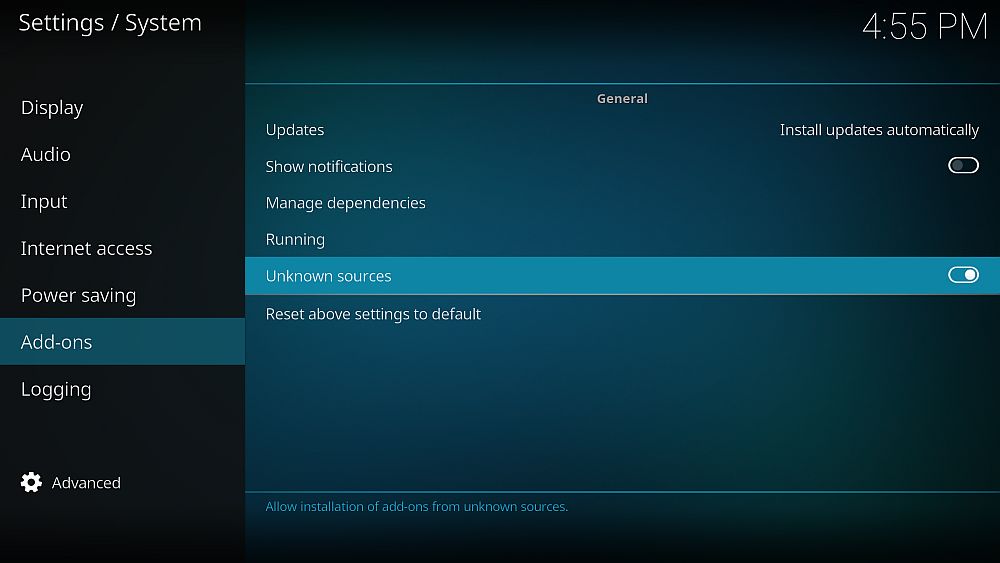
- Accept the warning message that pops up.
With Kodi configured you can now track down a repository URL, enter it as a source, then sit back while Kodi takes care of the installation. Now you can dive in and access all the add-ons you like. The process feels awkward at first, but once you get used to it, it becomes second nature. Our guides walk you through the repo and add-on installation process from beginning to end, just in case you ever get stuck.
Note: The Kodi community includes both official and unofficial add-ons, the latter of which can access unverified sources or even pirated content. AddictiveTips does not condone or encourage any violation of copyright restrictions. Please consider the law, victims, and risks of piracy before accessing copyrighted material without permission.
How to Install the IMVDb Kodi Add-on
IMVDb is a different kind of add-on than what you might be accustomed to. Instead of providing videos or streaming content, all IMVDb does is access the companion website and scrape it for information. By associating the add-on with existing music videos, you’ll be able to effortlessly tag and title everything in your library. IMVDb does all the hard work, letting you kick back and relax.
To install IMVDb you’ll need to add SuperRepo to your Kodi software. Follow the steps below to add it and the extension. If you already have SuperRepo installed, skip to step 13.
How to install IMVDb on Kodi — first install the Noobs and Nerds repo. Then:
- Open Kodi on your local device.
- Go to the Add-ons menu and click the open box.
- Choose “Install from repository“
- Find and click “Noobs and Nerds“
- Scroll to “Information Providers“
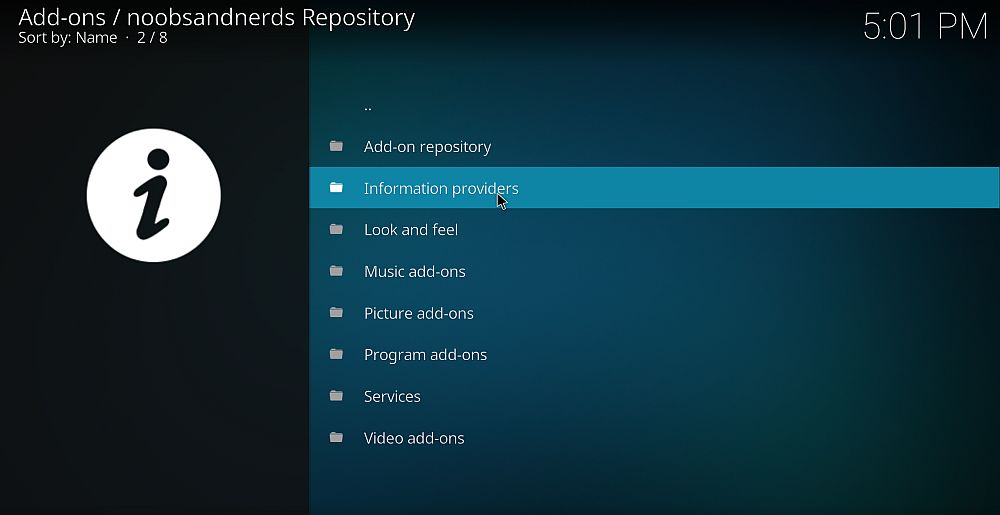
- Choose the “Music video information” folder.
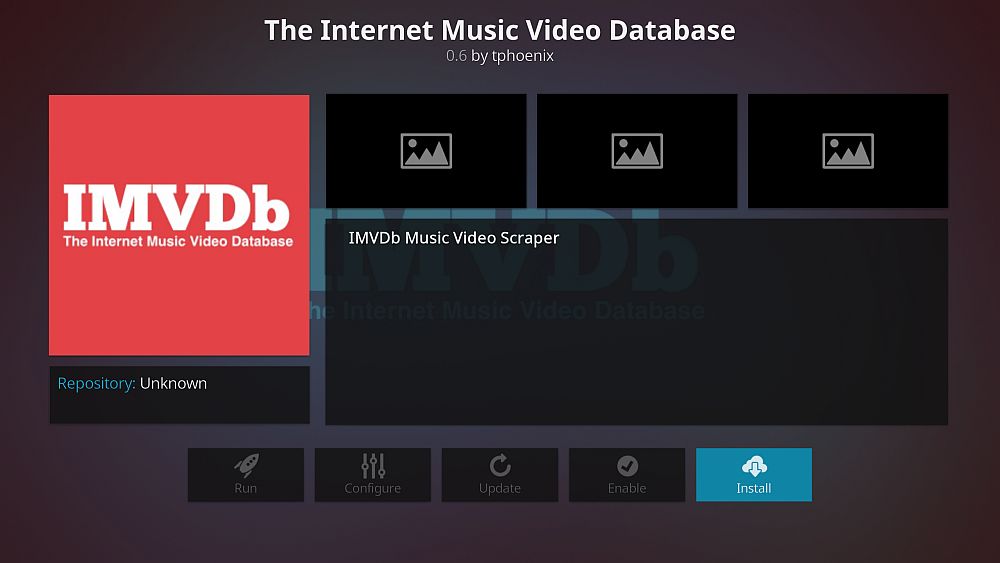
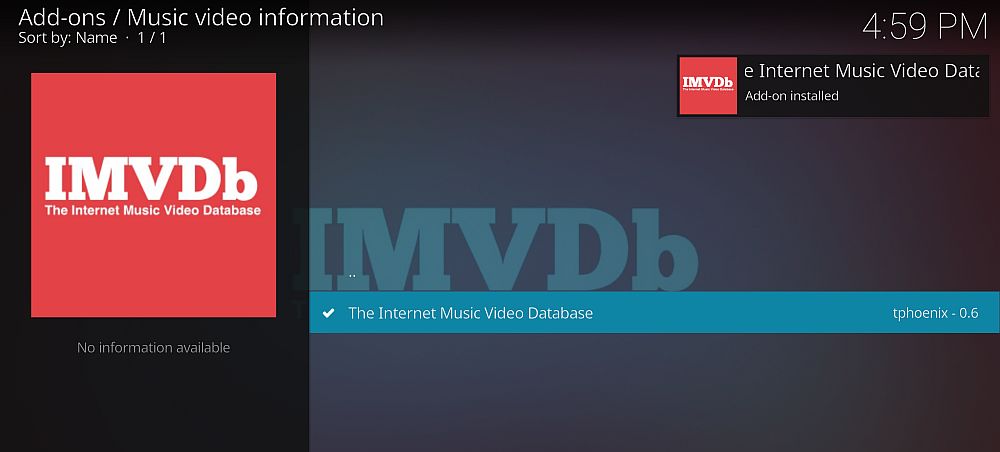
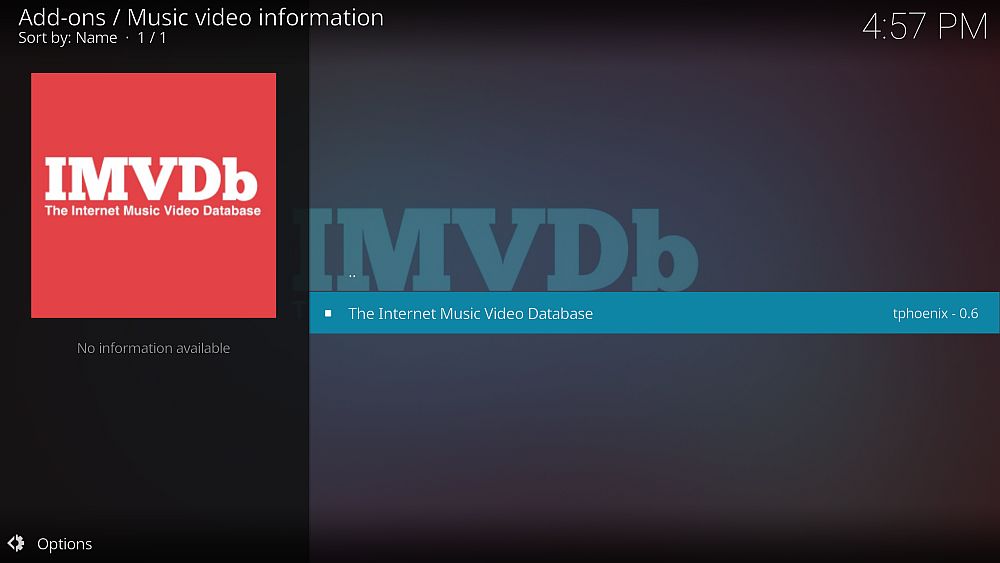
- Select “The Internet Music Video Database” and install.
What Does IMVDb Do?
The IMVDb Kodi add-on interfaces with The Internet Music Video Database website, which is a massive, user-organized collection of music videos stretching back to 1963. The site lets you browse by genre, date, chart position, awards, or even the production crew. You can also search and check out the most popular music videos on the site and even contribute information yourself!
The IMVDb add-on doesn’t pull music video content from the website, just the information. It’s called a “scraper” and it helps tag your local content by artist, title, year, director, studio, album, and more. It also adds thumbnails to make your Kodi browsing experience a little more aesthetically pleasing.
How to Add and Watch Music Videos on Kodi
By default, Kodi comes with a variety of movie and music categories tucked into its side menu screen. One of the top options is Music Videos, a dedicated section where you can access all of your stored and saved music videos no matter where they’re located on your PC. To get the category going you’ll need to do a tiny bit of setup. Don’t worry, it should only take a few seconds! Follow the steps below to add your music video library to Kodi.
How to watch music videos on Kodi:
- Make sure you have the IMVDb add-on installed (see instructions above).
- Go to Kodi’s main menu and click the “Music Videos” section.
- Tap the double dot selection at the top to move up a directory, then select “Files”. A list of your added video directories will appear. To add more, just click “Add videos…”
- A video source window will pop up. Choose “Browse” and select the folder you want to add.
- Pick a unique name for the folder and click “OK”
- The “Set Content” window will open. Click “This directory contains” and tell Kodi what type of files are in the folder, in this case, Music Videos.
- Click the “Choose information provider” option and change it to “The Internet Music Video Database”
- Click “Ok”. Kodi will ask to refresh the directory and perform a scan on the content.
- Go back to Kodi’s main menu and click “Music Videos”
- The folder(s) you added will be displayed under Media sources.
How to Use IMVDb with Kodi
Another oddity in the IMVDb experience is that you never actually access the add-on directly. Instead, IMVDb sits quietly in the background performing its job whenever you add or access a music video from Kodi. You may need to change a few options to make sure IMVDb works correctly, however. Follow the steps below and you’ll be set up in no time.
- Make sure the IMVDb add-on is correctly installed.
- Make sure you’ve added at least one music video folder (see above).
- Go to the Kodi main menu and click “Music Videos”
- Click on the double dots to move up a directory.
- Click “Files”. You should see a list of the music video directories you’ve added.
- Right click on a directory and choose “Change content”
- Click the “Choose information provider” option and change it to “The Internet Music Video Database”
- Click “Ok”. Kodi will ask to refresh the directory and perform a scan on the content.
Is it Safe to Install Kodi Add-ons?
Kodi’s add-on community is absolutely massive. There are countless creators building endless add-ons that do any number of things, including, unfortunately, accessing sketchy or even pirated content. It’s rare to encounter an add-on that actively introduces malware or viruses to your system, but it happens, which is why it’s a good idea to take a few basic precautions before diving in.
The best way to stay safe while using Kodi is to stick with reliable repositories. Repo communities verify add-ons before including them in their releases, adding an extra layer of protection against malicious content. You should also keep your anti-virus software and firewall active, just in case, and if you start a stream make sure your VPN is switched on.
The IMVDb add-on accesses freely available information, making it both legitimate and legal. We also downloaded and verified it before including it in this article, so at the time of writing it’s completely safe to use.
How do you make the most out of your IMVDb Kodi add-on? Share your music video insights in the comments below to help everyone else get organized and properly tagged!
Don't miss this great deal
