Install the DramaGo Kodi Add-on: Watch Asian Movies, TV shows and HD TV
Korean cinema, especially movies and TV shows from South Korea, is an untapped market outside of Asia. A wave of innovative writers and directors have been gaining worldwide popularity in recent decades, propelling Korean dramas to mainstream services like U.S. Netflix and Hulu. What reaches the west is only a small portion of what Korean cinema has to offer, however. With the open-source media center Kodi and the Korean movie add-on DramaGo, you can stream all the best films, shows, dramas, and HD TV series to any device. Follow the guide below to install DramaGo and introduce yourself to a world of new content!
Before Using Kodi, Get a Good VPN
Kodi is both free and legal to use. It’s possible to install unofficial add-ons that bend those rules, however, which has drawn criticism in recent years. Content rights holders are pursuing suspicious sources along with the add-ons and users that access them, making it risky to stream even the most benign videos. ISPs also track Kodi users to send out copyright infringement notices and throttle their downloads.
It’s easy to protect yourself against these threats with a virtual private network. VPNs create a tunnel to the internet by encrypting every piece of information that leaves your computer. No one outside of the VPN can read this information, making it virtually impossible for ISPs, hackers, and government agencies to decipher your data or track your activity. With a VPN you can stream Kodi movies without having to worry about throttling or other outside threats.
VPNs do more than just protect your downloads. You’ll also get the following benefits when using a VPN:
- Stream geo-blocked videos on Hulu, HBO Go, BBC iPlayer, YouTube, and more.
- Keep your data safe while traveling or accessing public Wi-Fi hotspots.
- Prevent ISPs and government agencies from tracking your activity.
- Unblock censored websites and region blocked content.
Evaluating the Best VPN for Kodi
It’s not easy to find the best VPN for Kodi. There’s a lot of information to research, everything from encryption protocols to network distribution and software support. Kodi users will want the best speeds and top notch privacy policies, as well, which means added scrutiny for each candidate. We’ve simplified the process by providing a recommended VPN service below. We made our selection using the following criteria, ensuring you get the best VPN for Kodi that locks down your information and provides the fastest movie streams around.
- Fast downloads – When it comes to Kodi streaming, nothing is more important than speed. Encryption overhead can make VPNs a little slower than most internet connections, which is why you need a VPN that puts a high priority on fast servers.
- Good reputation – One of the most important factors in choosing the best VPN is also the most difficult to measure. Every time you connect to a VPN you’re sending private data through their servers. If the company isn’t reliable, they could be secretly sharing or selling that information. Always go with well-established VPNs with a good reputation in the online privacy community.
- Zero-logging policy – Your data isn’t safe if a VPN keeps traffic logs. Stored information can be seized by governments or stolen by hackers. If that data is never created, however, your privacy is assured.
- No bandwidth restrictions – You can’t stream movies if you run out of bandwidth! Always go with a VPN that offers unlimited downloads with no restrictions on any device.
- Unmonitored traffic – Some VPNs block P2P networks and torrent traffic, both of which are used by several Kodi add-ons to stream content. Make sure both protocols are allowed before signing up with any VPN.
The Best VPN for Kodi: IPVanish
IPVanish knows what features Kodi users want most, and it delivers them in ample supply. Fast speeds, an excellent privacy policy, strong encryption, and a fantastic network of over 850 servers in 60 different countries. With IPVanish you’ll have full access to all of Kodi’s amazing add-ons and can use them safely and anonymously. No more ISP throttling, just HD movies day and night. All data sent from your device is locked down with 256-bit AES encryption to make it unreadable to third parties, and IPVanish’s zero-logging policy on all traffic ensures no trace is left behind. DNS leak protection and an automatic kill switch are built into the IPVanish experience, as well, both of which help keep your identity and location hidden in case of an untimely software crash or disconnect.
IPVanish has lightning fast servers that deliver incredible streaming speeds, perfect for HD and 4K videos. Unlimited bandwidth means you can watch as much as you like, all without throttling restrictions or speed caps. You’ll also have complete access to P2P networks and torrent downloads! With IPVanish, you’re free to use Kodi for anything you like. All you have to do is sign up and start streaming. IPVanish’s best features include:
- Full access to all of Kodi’s add-ons, along with private streams, unlimited bandwidth, and no restrictions on torrent downloads.
- Hide your activity with strong encryption and a vast network of servers with non-local IP addresses.
- Easy to use apps for modern devices, including Windows, Mac, Linux, Android, and iOS.
- Download 4K movie torrents with full privacy and anonymity.
IPVanish offers a 7-day money back guarantee which means you have a week to test it risk-free. Please note that Addictive Tips readers can save a massive 60% here on the IPVanish annual plan, taking the monthly price down to only $4.87/mo.
How to Install Kodi Add-ons
Kodi’s add-ons are often packaged in repositories, large zip files maintained by community volunteers that contain dozens or hundreds of individual add-ons. This makes it easier to discover new content, and it also makes update management a lot faster. There are a variety of ways to install repositories and add-ons, but we prefer the “external sources” method, as it’s easier to use on mobile devices and TV box sets. Before you can do this, however, you’ll need to change one of Kodi’s internal settings:
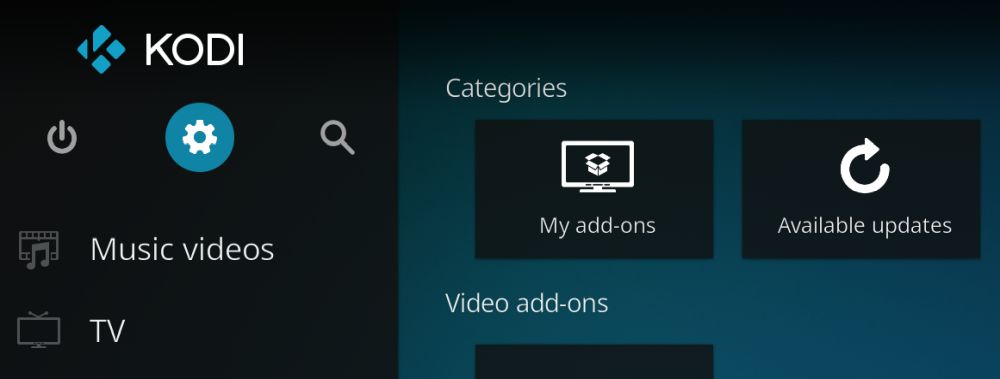
- Open Kodi and click on the gear icon to enter the System menu.
- Go to System Settings > Add-ons
- Toggle the slider next to the “Unknown sources” option.
- Accept the warning message that pops up.
With Kodi ready to go, all you need to do is locate a repository source URL and enter it into the file manager. Kodi will automatically download the repo, at which point you can dive inside and start installing add-ons. The process can be confusing at first, but once you do it a few times it’ll feel like second nature. Our guide below walks you through the entire process from beginning to end.
Note: The DramaGo add-on links to a variety of changing sources, making it impossible to verify the integrity of each one. AddictiveTips does not condone or encourage any violation of copyright restrictions. Please consider the law, victims, and risks of piracy before accessing copyrighted material without permission.
How to Install the DramaGo Add-on for Kodi
The DramaGo installation process is quick, simple, and completely painless. You’ll first need to install an appropriate repository. DramaGo is available from a few different ones, but we chose SuperRepo because it keeps the add-on up to date and comes with a host of extras. Once you’ve enabled unknown sources above, you’re ready to begin. Follow the instructions below to install the SuperRepo repository along with DramaGo. If you already have the repo installed, skip to step 13.
How to install DramaGo on Kodi (see video tutorial below):
- Open Kodi on your local device.
- Click on the gear icon to enter the System menu.
- Go to File Manager > Add Source (you may need to click the double-dot to move to the top of the directory)
- Type in the following URL exactly as it appears: https://srp.nu
- Name the new repository “SuperRepo”
- Click “OK”.
- Go back to the Kodi main menu.
- Select “Add-ons”
- Click the open box icon at the top of the menu bar.
- Choose “Install from Zip File”
- Select “SuperRepo” followed by your version name of Kodi.
- Select “All” to install the entire SuperRepo set of add-ons.
- Go back to the Add-ons menu and click the open box icon again.
- Choose “Install from repository”
- Find and click “SuperRepo All”
- Scroll down to “Video Add-ons”
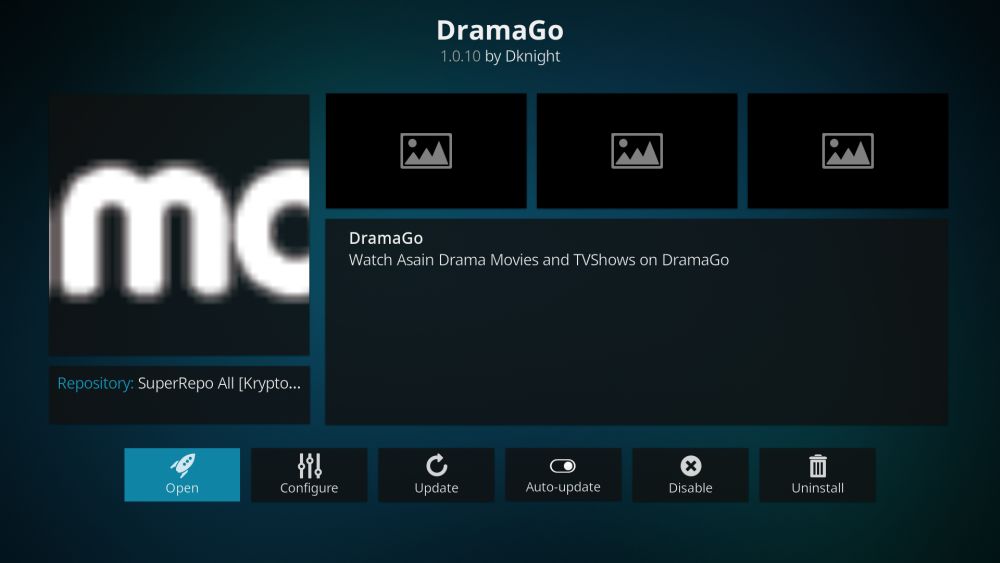
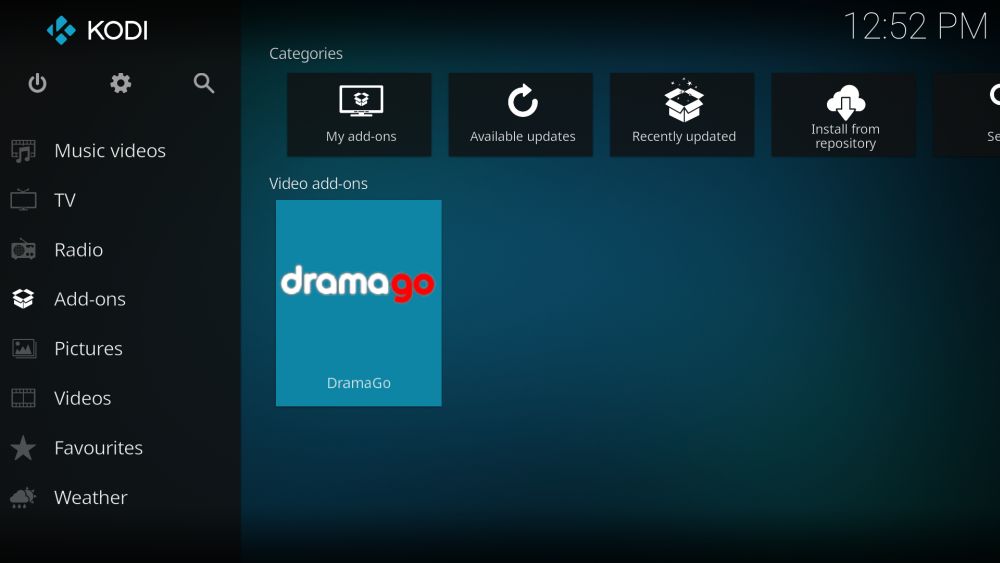
- Locate “DramaGo” and install.
What Does the DramaGo Kodi Add-on Do?
DramaGo was designed for one purpose: easy access to all the best shows and movies from South Korea. The add-on is easy to navigate and stuffed with hundreds of reliable links. You can sort and browse alphabetically or by genre, search for your favorite series, even check out the most popular content!
Unlike a lot of Korean-focused Kodi add-ons, DramaGo doesn’t have dozens of useless folders or distracting designs. It’s just a simple way to access the movies you’re interested in. A notable feature that’s missing are live TV streams, which means you can’t watch Korean TV as it airs. This helps cut down on broken links, however, which makes the add-on much more reliable.
Here’s a quick look at DramaGo’s most noteworthy categories.
- Movies A-Z – A straightforward list of Korean films sorted alphabetically.
- TV Shows A-Z – Just like the movies category, only with TV and mini-series releases.
- Genre Lists – Browse either movies or shows by genre categories with over 87 individual sections to choose from, including drama, sci-fi, coming of age, slice of life, musicals, documentaries, and more.
- Top Movies and Shows – Two categories with the best of each section for easy viewing.
- Korean Drama HD – A selection of high-quality Korean dramas sorted by date. The links aren’t as reliable as the rest of the content in DramaGo, but the content is top notch.
How to Install a Subtitle Viewer for Kodi
Nearly all of the movies and TV shows featured on DramaGo have hard-coded English subtitles, meaning they’re inserted into the film and can’t be removed. If you want a different display language, or if there aren’t any subtitles at all, you can always install one of Kodi’s many subtitle viewing add-ons and look for fan subs. We recommend Subscene, as it contains a massive database of user-created content in a variety of languages. You can also install AllSubs, which pairs nicely with the Subscene add-on.
Follow the steps below to install Subscene and AllSubs along with the SuperRepo repository. If you installed SuperRepo above or already have it on your system, skip to step 13.
How to install Subscene subtitles on Kodi:
- Open Kodi on your local device.
- Click on the gear icon to enter the System menu.
- Go to File Manager > Add Source (you may need to click the double-dot to move to the top of the directory)
- Type in the following URL exactly as it appears: https://srp.nu
- Name the new repository “SuperRepo”
- Click “OK”.
- Go back to the Kodi main menu.
- Select “Add-ons”
- Click the open box icon at the top of the menu bar.
- Choose “Install from Zip File”
- Select “SuperRepo” followed by your version name of Kodi.
- Select “All” to install the entire SuperRepo set of add-ons.
- Go back to the Add-ons menu and click the open box icon again.
- Choose “Install from repository”
- Find and click “SuperRepo All”
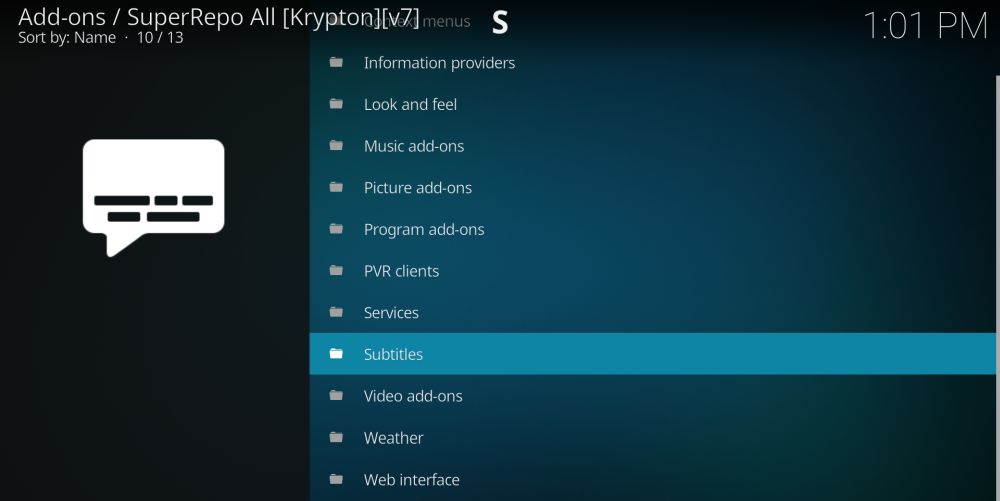
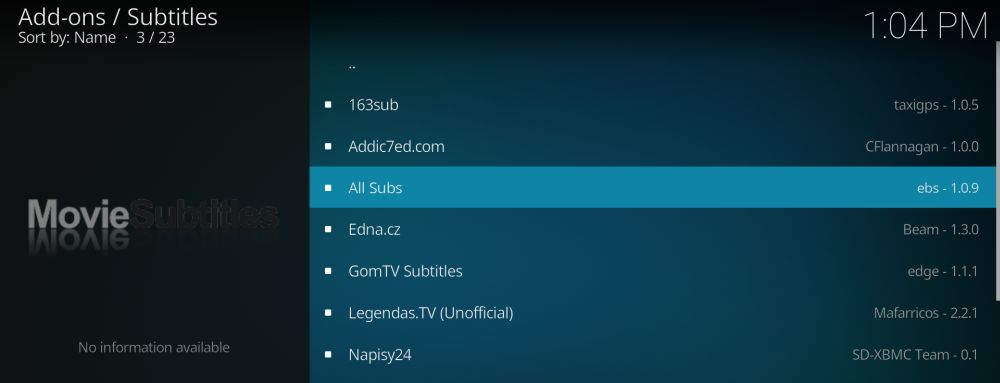
- Scroll down to the folder named “Subtitles”
- Locate “AllSubs” and install.
- Locate “Subscene” and install.
Once you’ve selected a video to watch, wait for it to load, then press the escape key or pause the movie. A scroll bar should appear at the bottom with information about the length of the video, time remaining, etc. Click on the small box to the right to open the subtitle window, then follow the steps below.
- In the Subtitles dialog, click “Download”
- Click the subtitle downloader you want to use.
- When the list loads, click “Manual search string”
- Type in the name of your movie file.
- Scroll through the list to find your title, then click to download.
- Kodi will automatically play the subtitles along with your show.
How to Configure Kodi to Automatically Download Subtitles
You don’t have to manually download and activate subtitles each time you watch a foreign movie. Kodi has amazing support for subtitles and can even be configured to do all the work for you! Follow the steps below to tweak Kodi’s default settings and enable automatic subtitle searching, downloading, installation, and displaying.
- Open Kodi on your local device and go to the main menu.
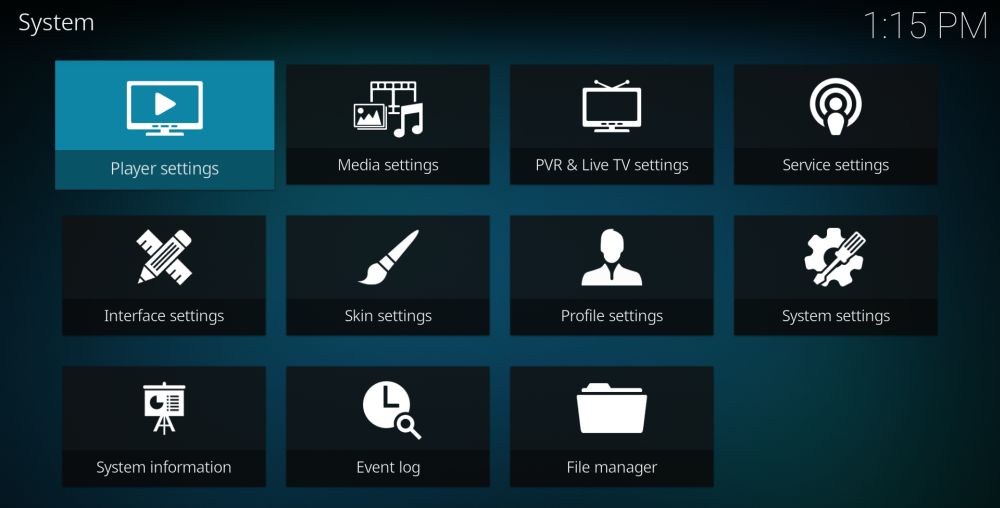
- Click on the gear icon to enter the System menu.
- Select “Player settings”
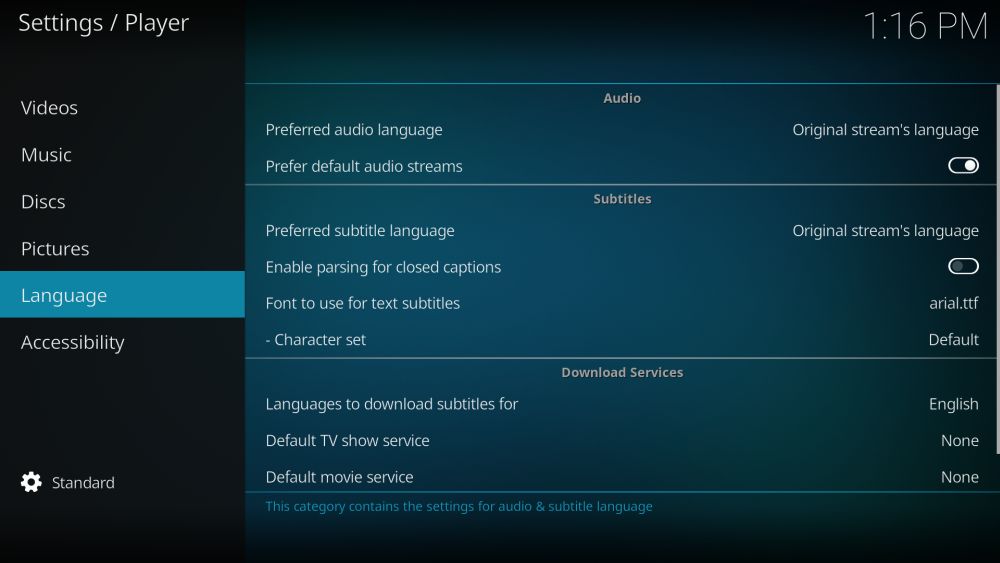
- Click “Language”
- Configure the subtitle appearance options to your liking.
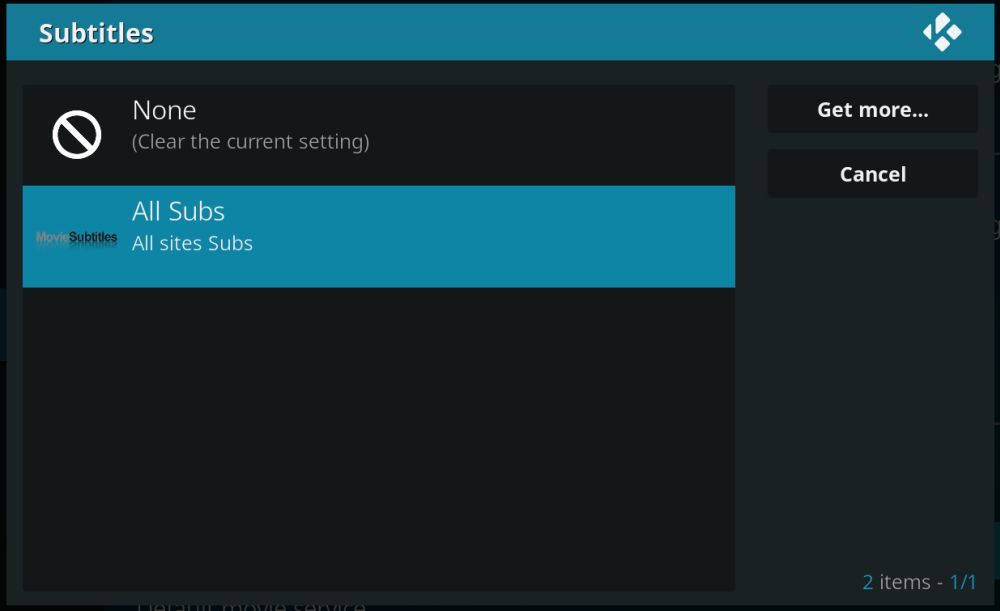
- Under the “Download Services” section, click on “Default TV show service”
- Choose one of the add-ons you installed above, then click “OK”.
- Do the same for “Default movie service”
- Enable the “Auto download first subtitle” option — if you don’t have this option click the lower left button, the gear icon that says Standard and update the settings for ADVANCED or EXPERT users.
- Exit and go back to the Kodi main menu and enjoy your shows!
Alternative to DramaGo: VIKI
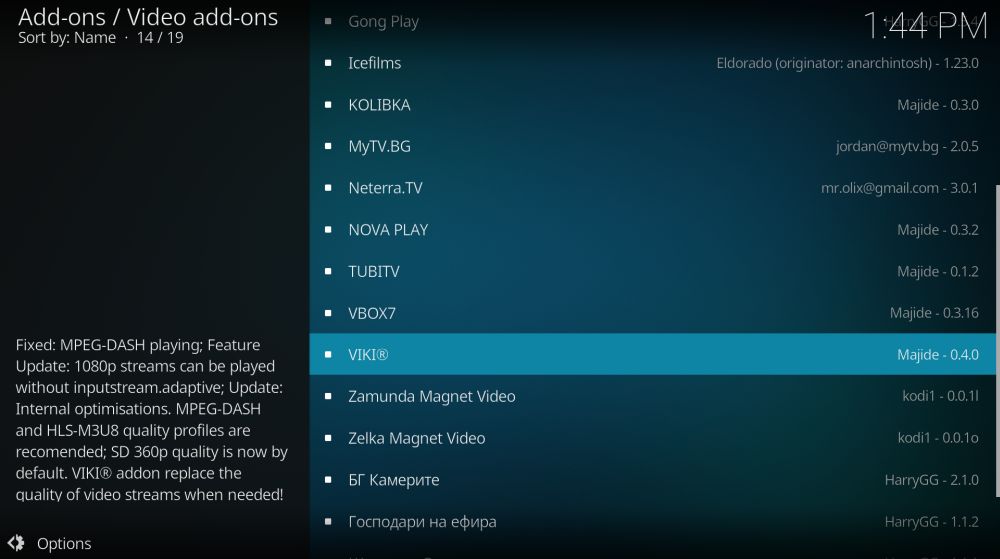
VIKI is a general purpose streaming add-on that provides movies from across Asia, including South Korea, China, India, and Pakistan. There’s also a wider selection of international content selected for Asian audiences, including Hollywood blockbusters. You’ll find a ton of popular and unknown TV shows and films within VIKI, all sorted by genre, country of origin, release date, and more. The add-on doesn’t have the breadth of Korean content that DramaGo carries, but it’s a great alternative that might help you expand your horizons.
VIKI is available through the Bg Add-ons repository. Follow the instructions below to install it. If you already have Bg Add-ons, skip to step 13.
How to install VIKI add-on for Kodi:
- Open Kodi on your local device.
- Click on the gear icon to enter the System menu.
- Go to File Manager > Add Source (you may need to click the double-dot to move to the top of the directory)
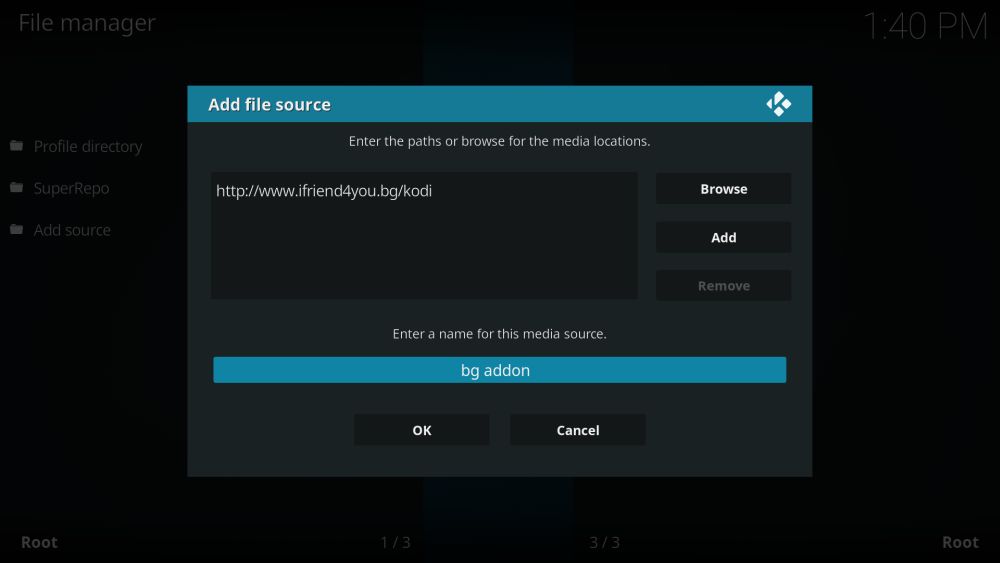
- Type in the following URL exactly as it appears: https://www.ifriend4you.bg/kodi
- Name the new repository “bg addon”
- Click “OK”.
- Go back to the Kodi main menu.
- Select “Add-ons”
- Click the open box icon at the top of the menu bar.
- Choose “Install from Zip File”
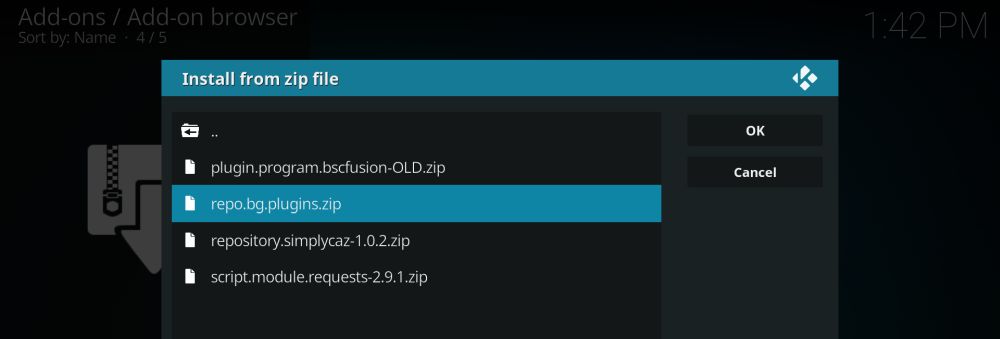
- Select “.bg-addon”
- Choose the file named repo.bg.plugins.zip
- Go back to the Add-ons menu and click the open box icon again.
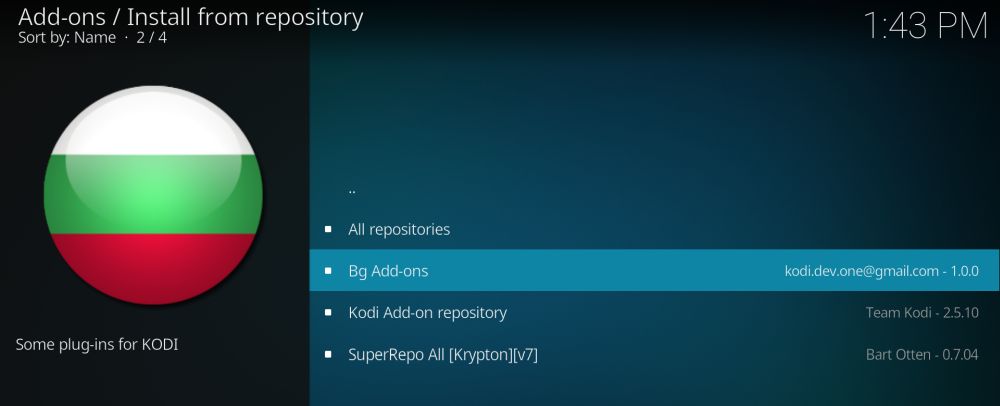
- Choose “Install from repository”
- Find and click “Bg Add-ons”
- Choose “Video add-ons”
- Scroll down to “VIKI” and install.
- When installation completes, access the add-on from your Add-ons menu.
Is it Safe to Install DramaGo?
The world of third party Kodi add-ons is filled with unknown coders, sketchy websites, and potentially harmful sources. It’s enough to turn a lot of users away. Fortunately there are also countless volunteers that keep the Kodi community running smoothly. While it’s certainly possible to download viruses or malware when you install an add-on, there are a few simple precautions you can take to minimize the risk.
The first rule of staying safe on Kodi: always stick to reliable repositories. A good repo will make sure none of their bundled add-ons contain anything harmful, allowing you to install and stream without worry. It’s always a good idea to keep your anti-virus software and firewall active to protect against local threats. You should also have a reliable VPN to encrypt your data to keep your Kodi streams private and anonymous.
We download and verify all add-ons before featuring them in our articles. If they’re on the list, they were clean and ready to use as the time of writing. DramaGo is part of a popular and well-maintained repository and works perfectly from the moment you install it.




I did all the steps but it keep saying SuperRepro all krypton v7 could not connect to repository.
DramaGo is gone from SuperRepo, is there another source?
Yep, I was going to ask that too I’ve constantly try to install it on two different boxes and both of them says it failed to to install a dependency when installing drama go
I tried to put the drama go add-on in but when the I searched for the add-on for the last step it’s didn’t show drama go at all. Should I try it again to see if maybe I typed something wrong?
I cannot seem to find dramago in the list of video add-ons 🙁 can you help me? https://uploads.disquscdn.com/images/9119ee8a3f27111b1d59150b56a1e169779212bba2dff2941ac91a4cd18a8597.jpg