cCloud TV Add-on For Kodi — Installation And Guided Tour
The cCloud TV add-on for Kodi is one of the best live TV add-ons available for the popular media player. It has thousands of live feeds to choose from and will let you enjoy hours of entertainment from your Kodi media player. Its installation is easy and simple and using it, although a bit intimidating due to its size is not much more complicated
In today’s article, we’ll start off by telling you step-by-step how to install the cCloud TV add-on. If you follow our directions, you’ll be able to install it in no time. We’ll then take you on a guided tour of the add-on. It is so big that we might not be able to show you everything but we’ll make sure to talk about its most important features. And if you’re a fan of live IPTV. we’ll finish by offering a few alternatives. There are other add-ons out there that offer great live IPTV content.
To Protect Your Privacy, A VPN is an Essential Tool
If you want to keep what you’re doing to yourself and want to avoid the scrutiny of overzealous Internet Service Providers, you must use a VPN. When ISPs suspect someone might be violating their terms and conditions, they can react by throttling down their speed, sending them copyright infringement notices or even interrupting their service. A VPN protects one’s privacy by encrypting the data using strong algorithms that make it almost impossible to crack. Furthermore, by choosing appropriately located servers, A VPN allows bypassing geographic restrictions.
Due to the impressive number of VPN suppliers on the market, picking one can be a daunting task. Important factors to consider are a fast connection speed to avoid buffering, a no-logging policy to further protect your privacy, no usage restrictions to access any content at full speed and software that is available for your device.
The VPN We Recommend for Kodi – IPVanish
IPVanish offers a 7-day money back guarantee which means you have a week to test it risk-free. Please note that Addictive Tips readers can save a massive 60% here on the IPVanish annual plan, taking the monthly price down to only $4.87/mo.
Installing the cCloud TV Add-on
The cCloud TV add-on is no different from most third-party Kodi add-ons. Its installation is a three steps process. You first configure the repository installation source path. Then, you continue by installing the Kodil repository. Finally, you install the cCloud TV add-on from that repository.
Enabling Unknown Sources
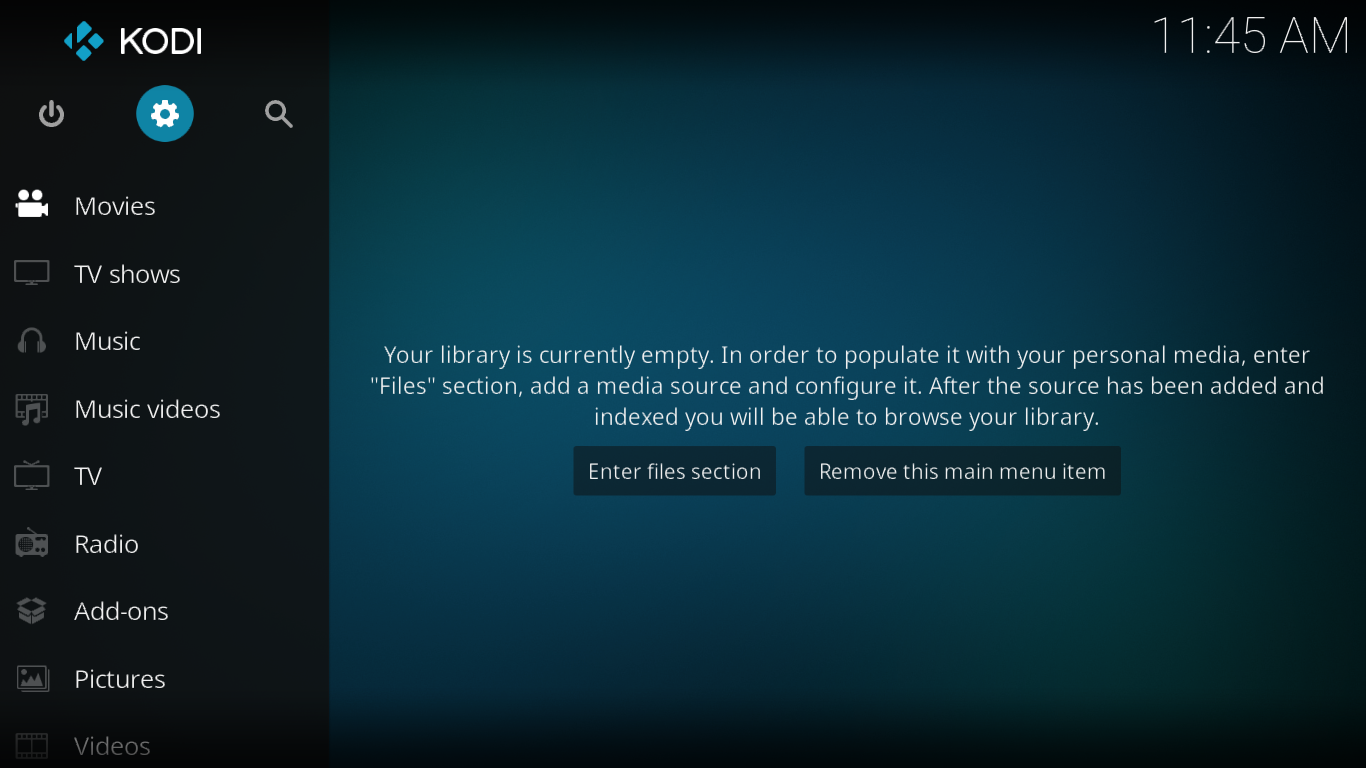
Before we start, we need to ensure that Unknown sources are enabled in Kodi. From the Kodi home screen, click the Settings icon. It’s the one that resembles a little gear at the top left of the screen.
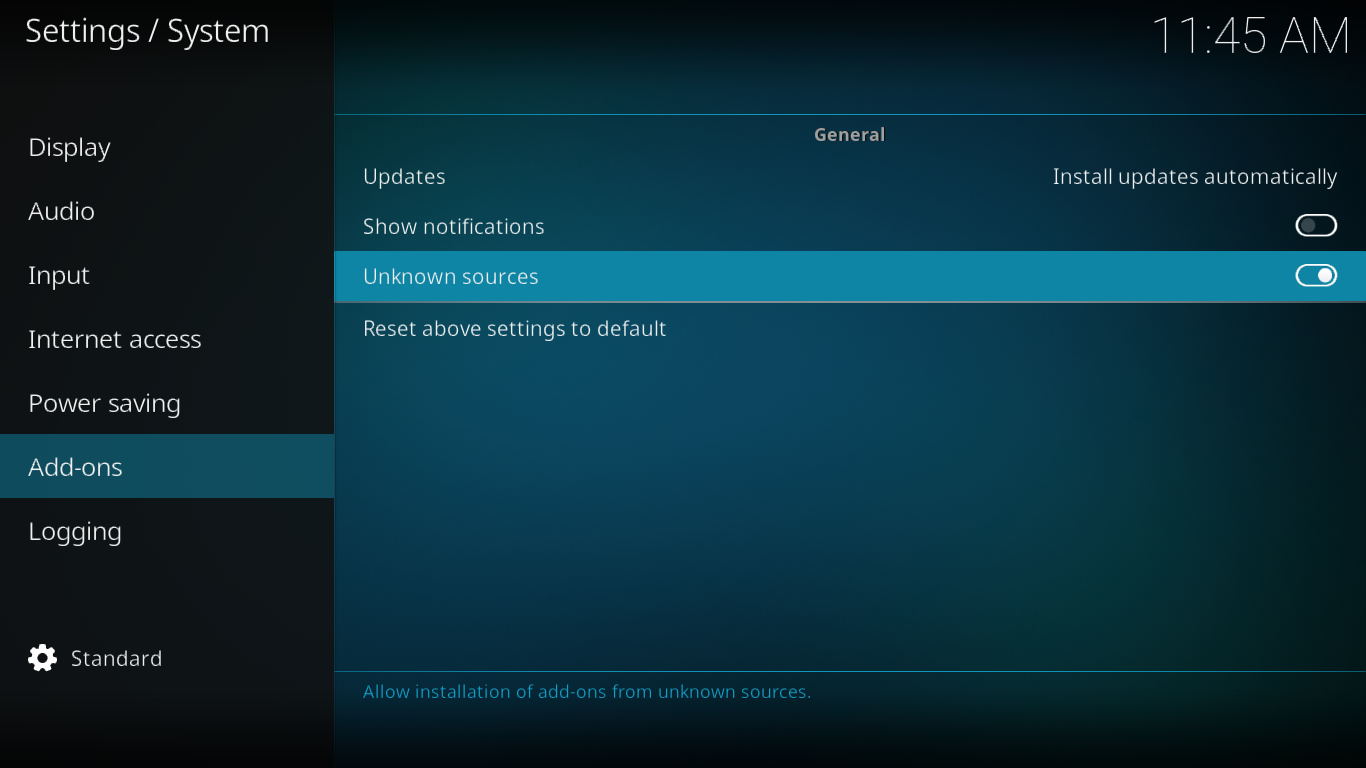
Then, click System settings and finally, click Add-ons in the left pane.
Make sure that the Unknown sources are enabled. The switch should be white. Click it to toggle it if needed.
Adding the Repository Source
Starting from the Kodi Home screen, click the Settings icon at the top left of the screen once more.
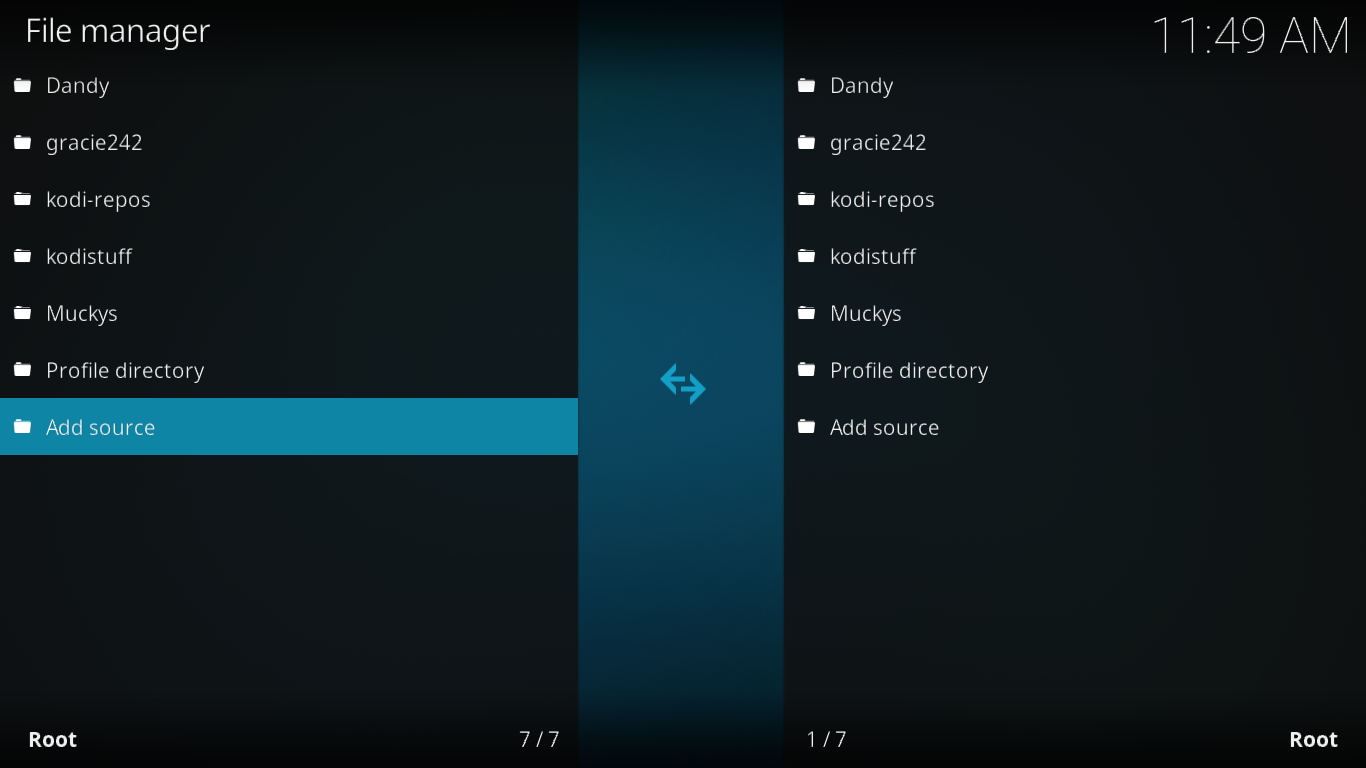
From the Settings screen, click File manager and then, from the File manager screen, double-click Add-source on the left pane. You’ll get to this screen:
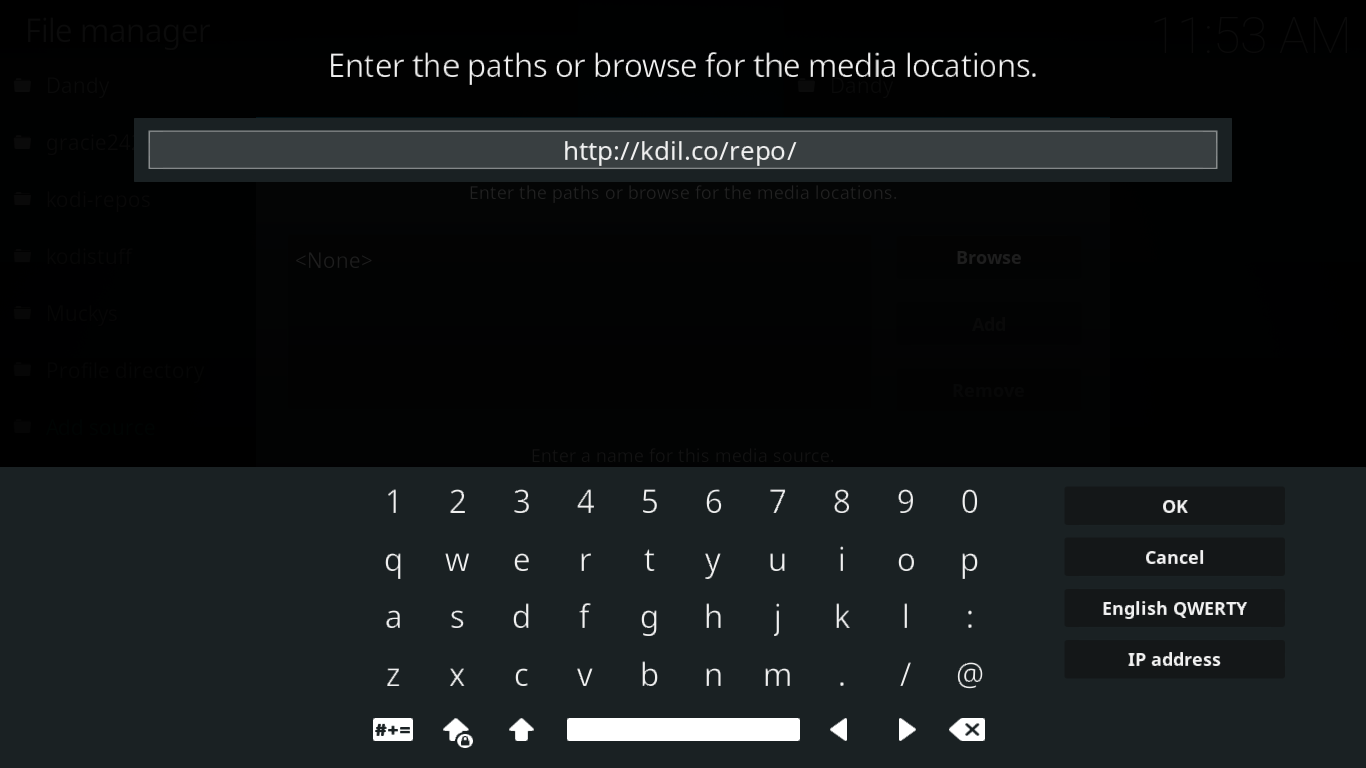
Click <None> and, at the top of the next screen, enter this path exactly as shown: https://kdil.co/repo/ and then, click OK.
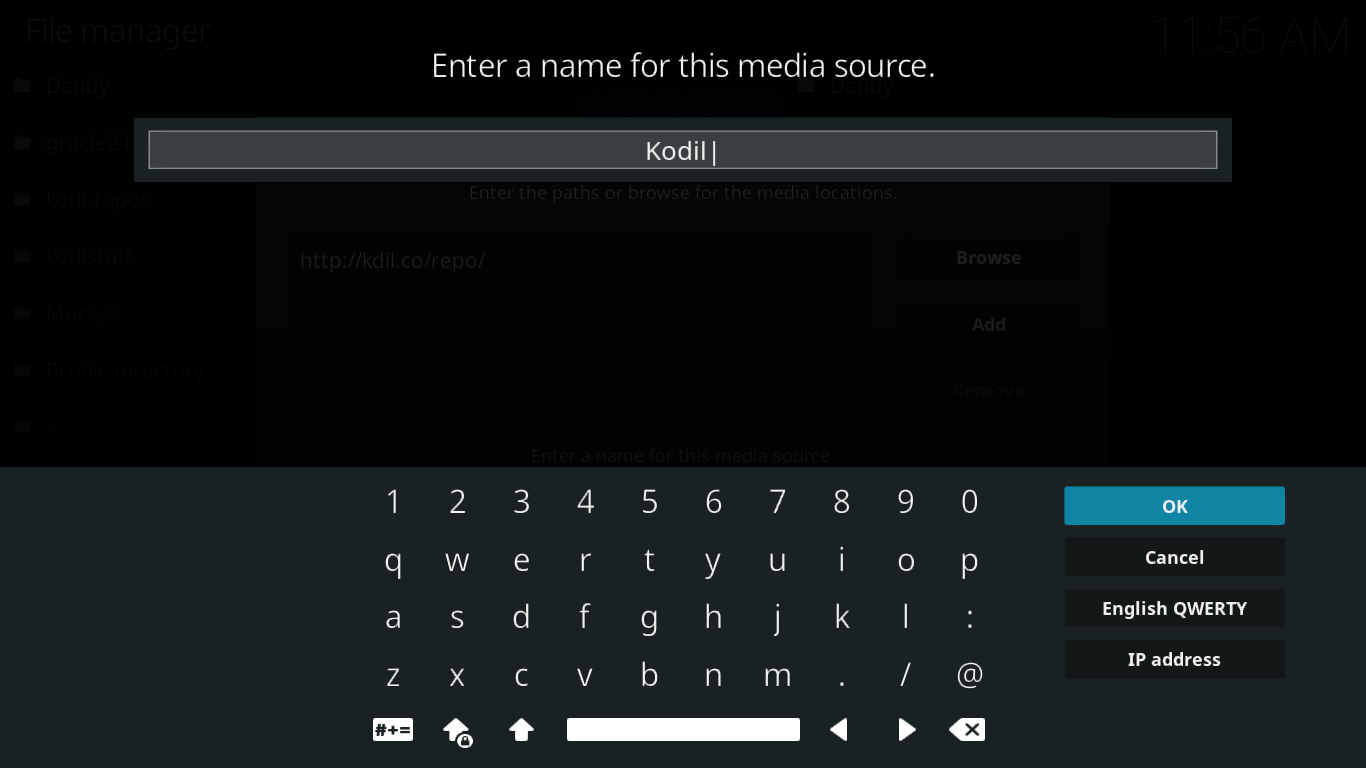
From the Add file source screen, click the line that says repo underneath “Enter a name for this media source“. We want to change the name to something more meaningful. In the next screen, change repo to Kodil, and click OK.
Back to the Add file source screen, click OK at the bottom to save the new source.
Installing the Kodil Repository
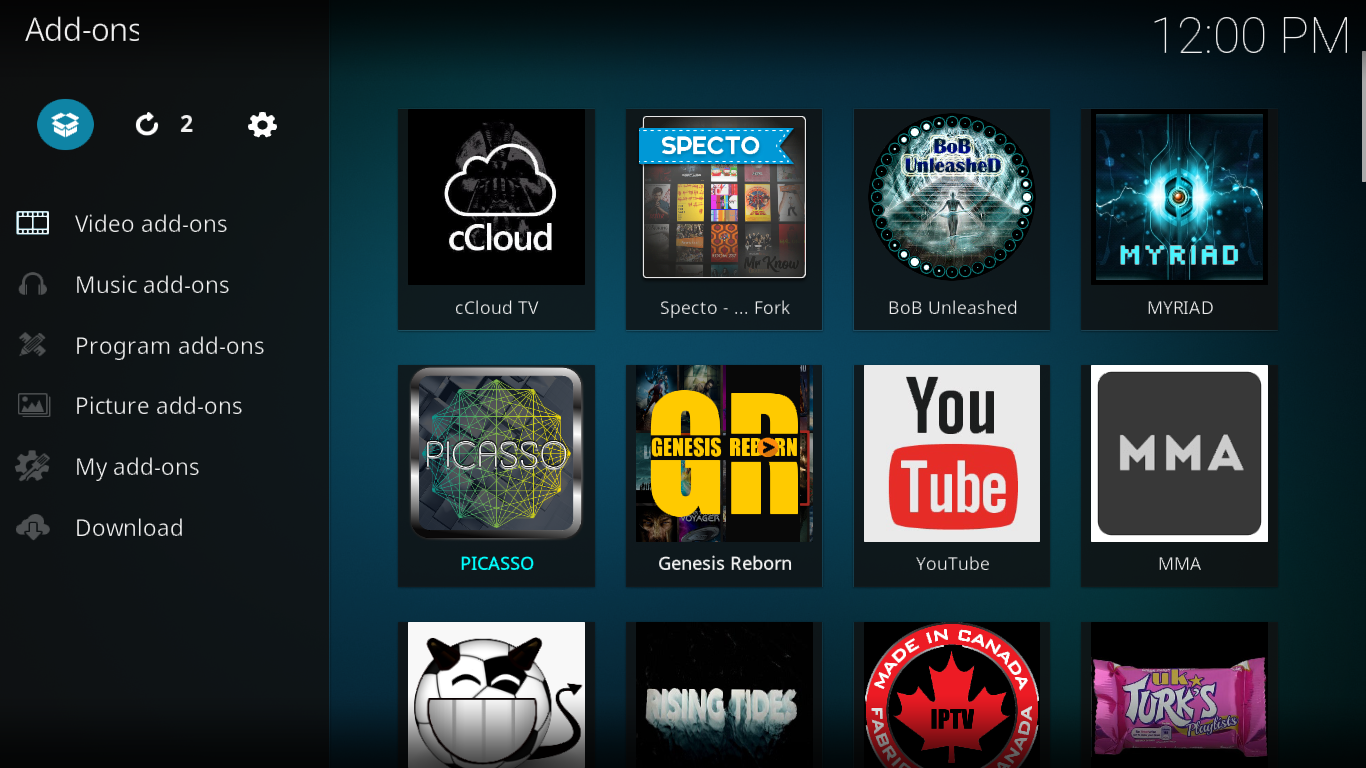
Go back to the Kodi Home screen. Click Add-ons in the left pane and then click the Add-on Browser icon at the top left of the screen. This one looks like an open box.
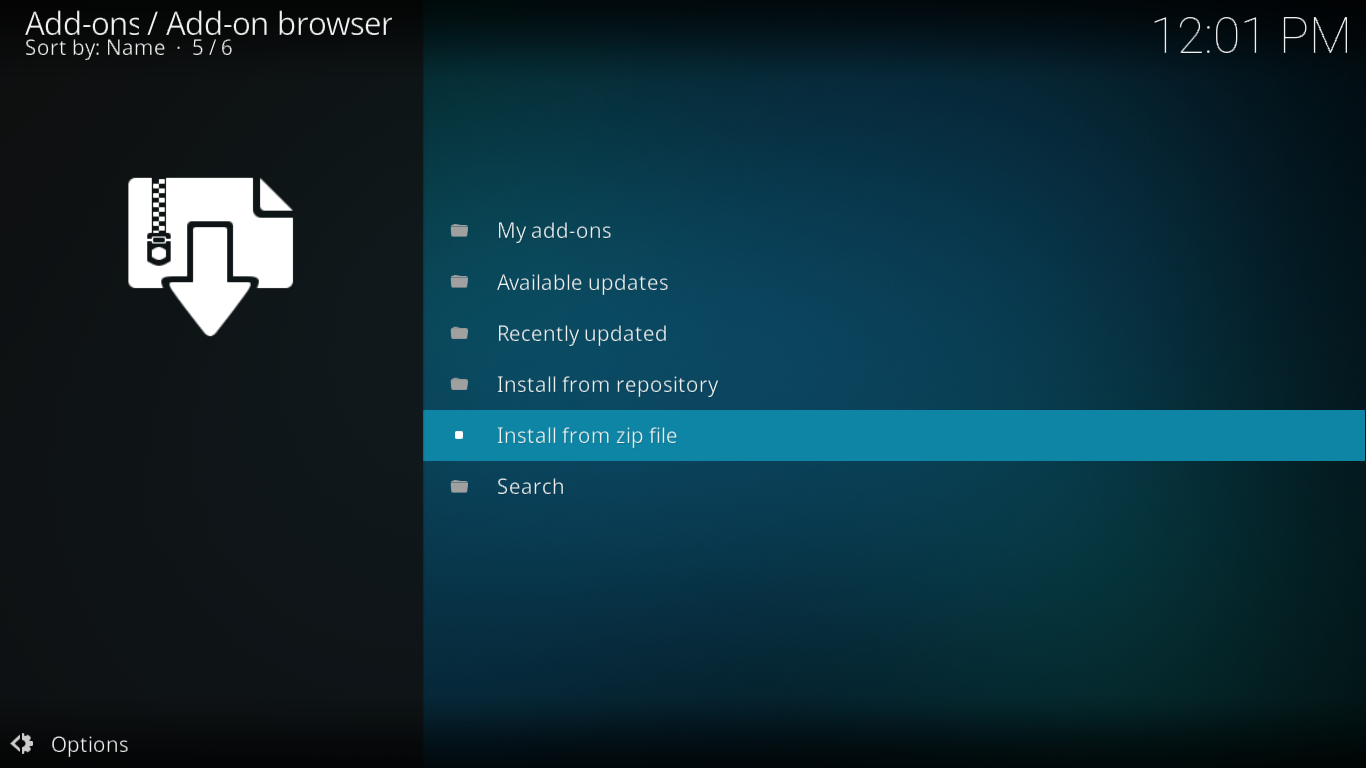
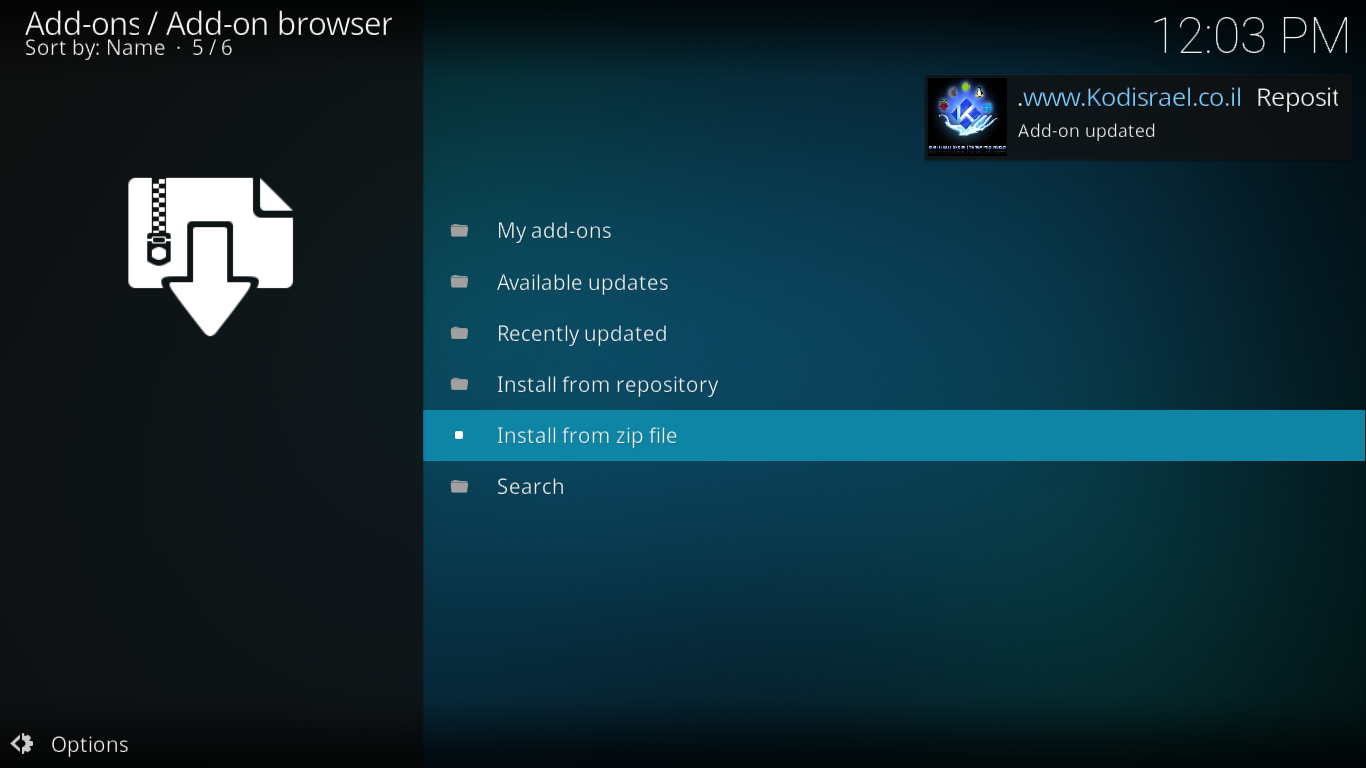
From the add-on browser screen, click Install from zip file.
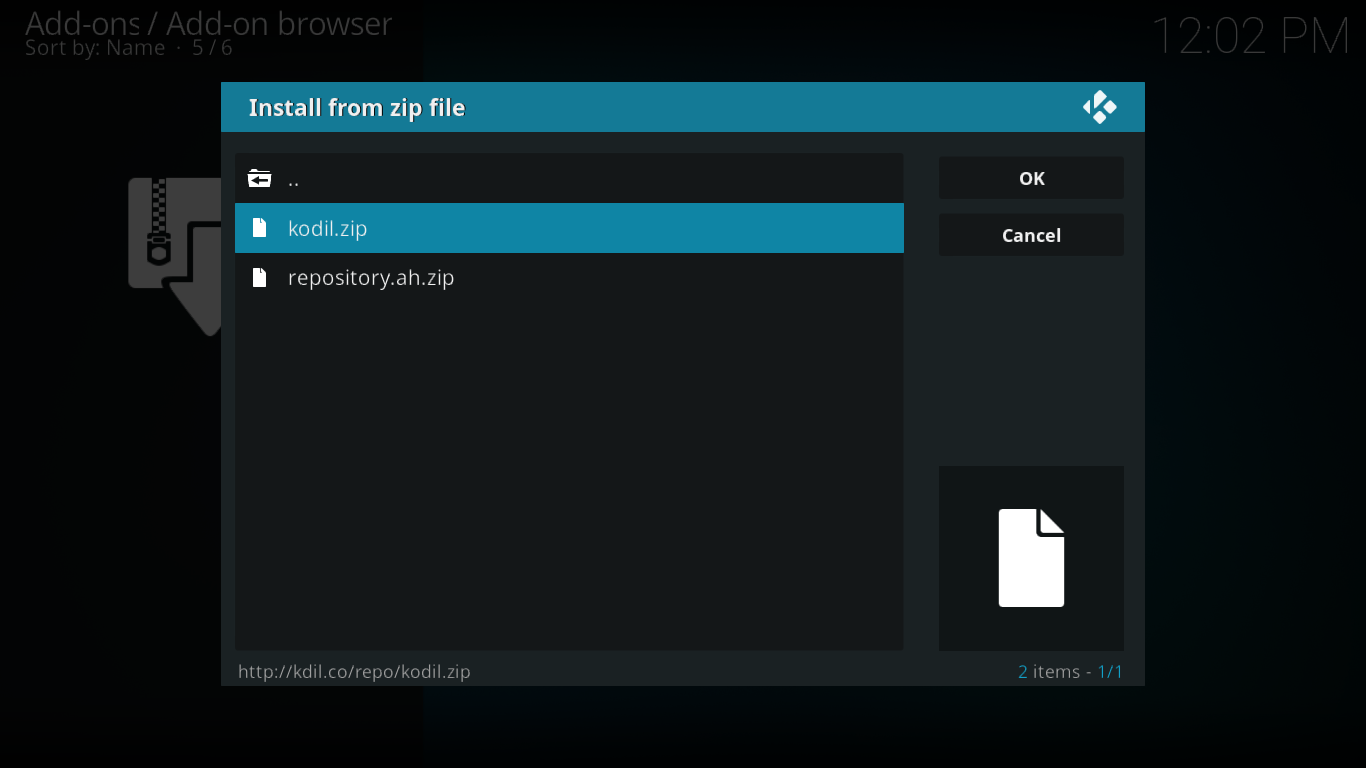
Find and click the Kodil source we just added. Click kodil.zip to launch the repository installation.
After a few seconds, a message at the top right of your screen will confirm the successful installation of the Kodisrael repository.
Installing the Actual cCloud TV Add-on
We’re now ready for the final step, the installation of the actual cCloud TV add-on.
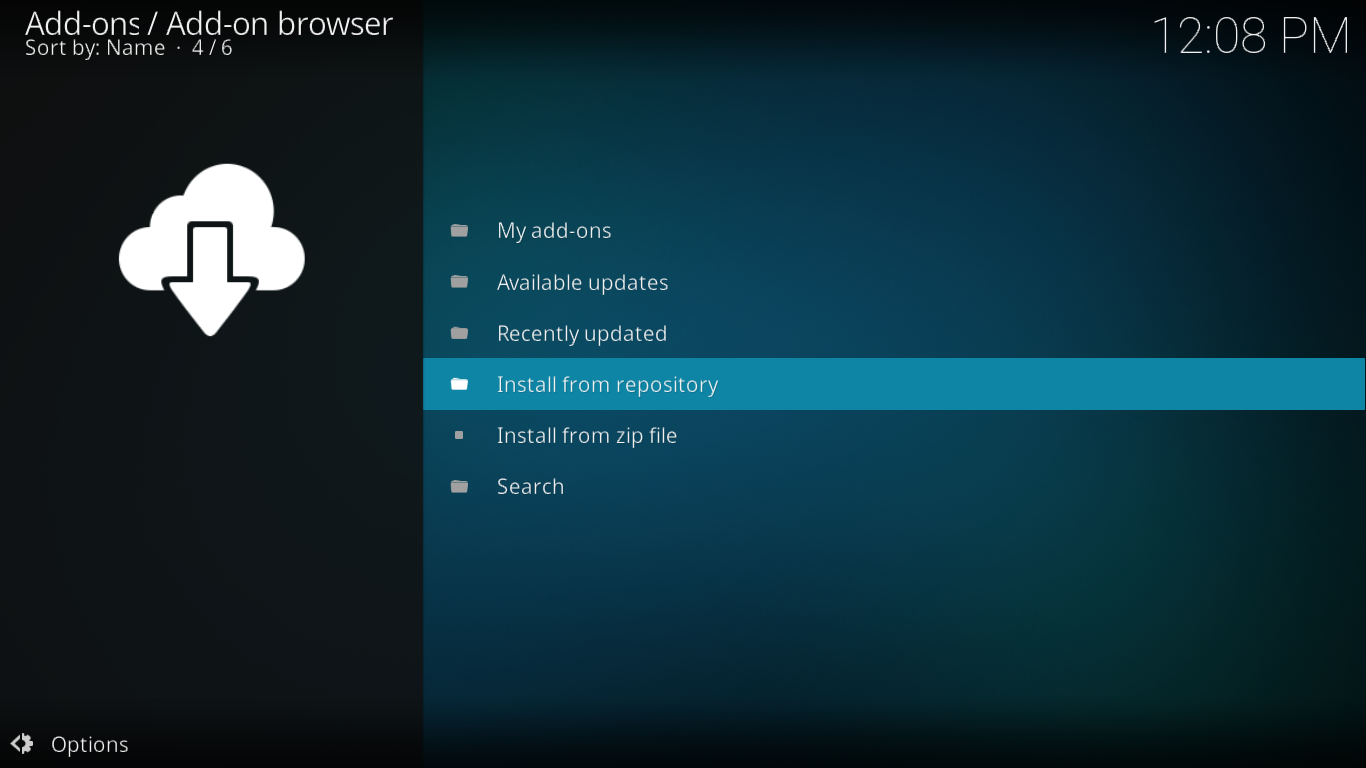
Since you should still be on the Add-on browser screen, just click Install from repository.
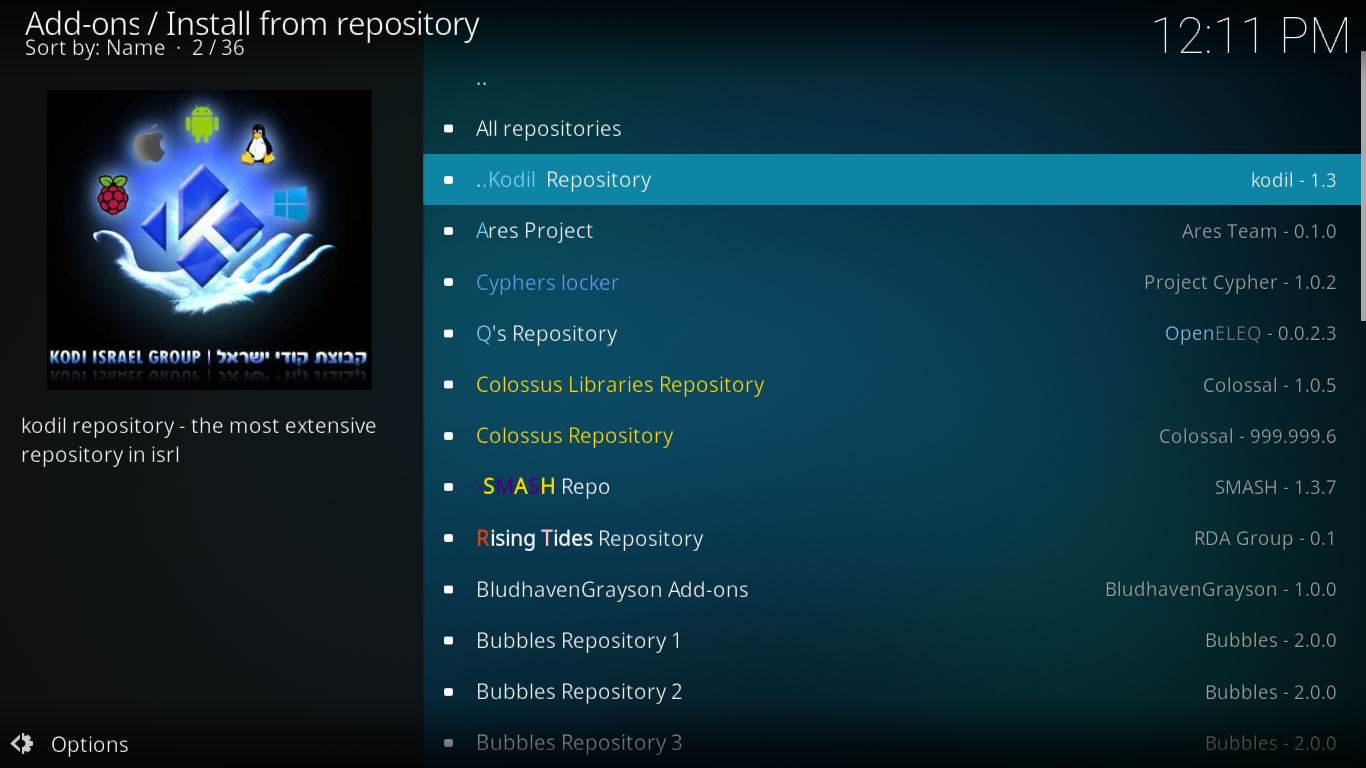
A list of all your installed repositories will be displayed. Its length will depend on the number of repos you have in your Kodi installation. Find and click the ..Kodil Repository. The list is alphabetized, this one should be very near the top.
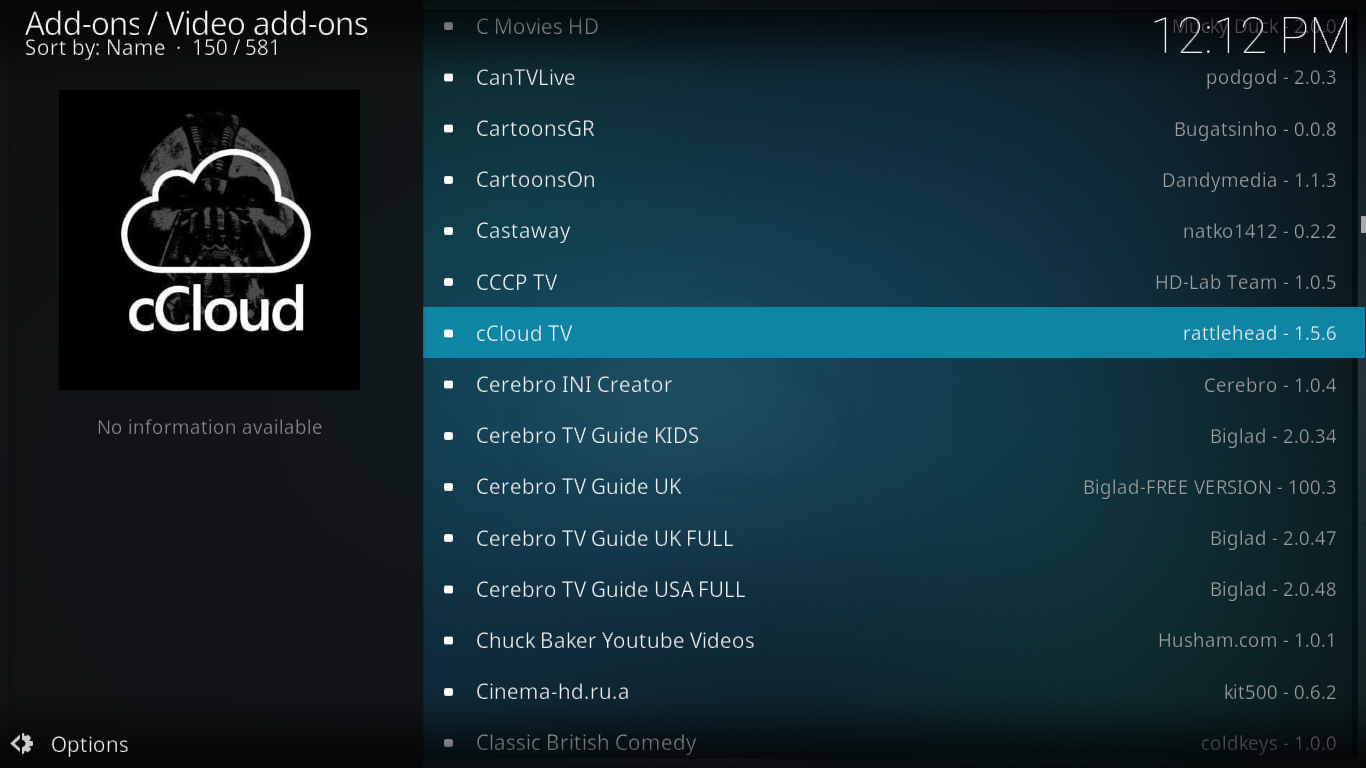
Click Video add-ons and find and click the cCloud TV entry. This list is also in alphabetical order so it should be easy to find.
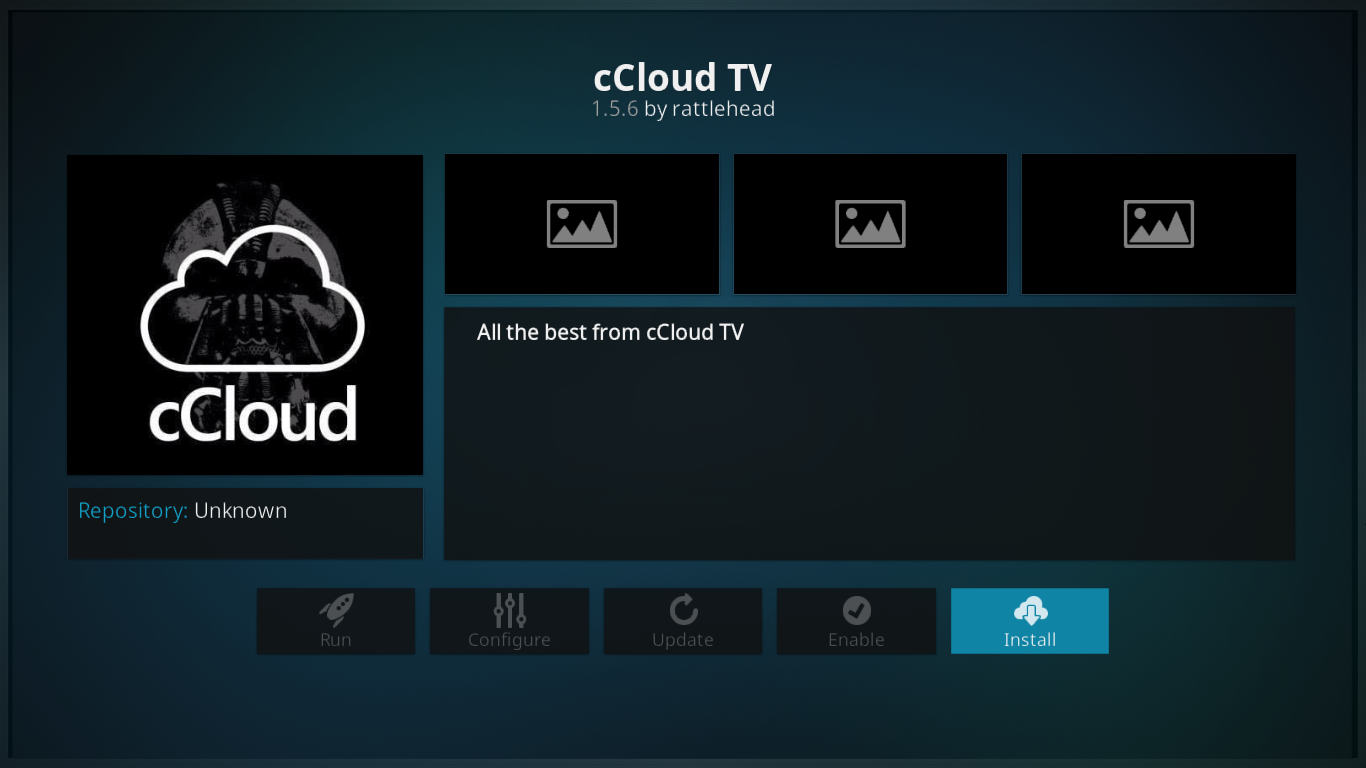
The cCloud TV information screen will be shown. Click the Install button at the bottom right to launch the installation of the add-on and its dependencies.
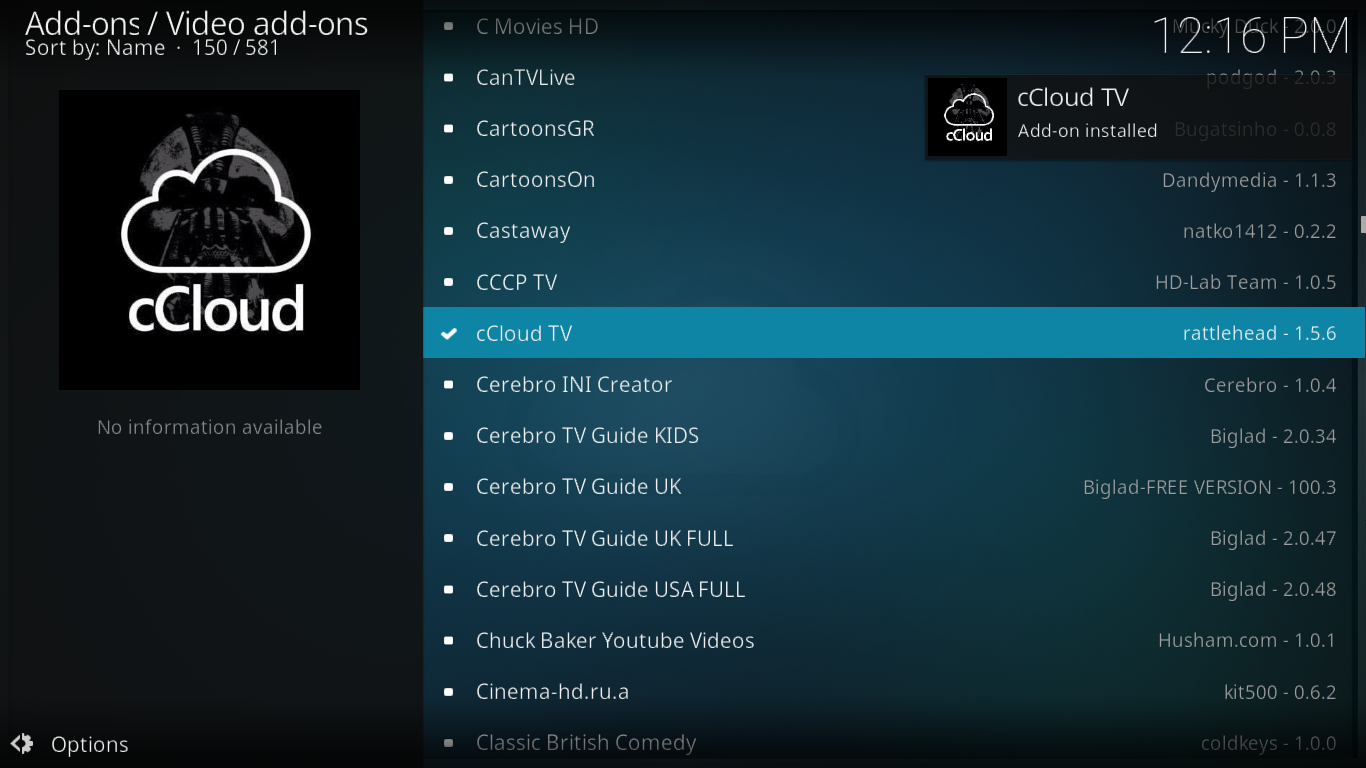
Within a few seconds, a message at the top right of your screen will confirm the successful installation of the cCloud TV add-on.
We’re ready to start discovering what this great add-on has to offer.
A Guided Tour of the cCloud TV Add-on
The cCloud TV add-on for Kodi is one of the–if not THE–live TV add-ons with the most channels. If you select All Channels from its main menu, you’ll see a list of over 2400 channels. This is impressive. It is also one of the live TV add-ons with the most working streams. It seems that its maintainers are doing a pretty good job of weeding out the dead sources.
cCloud TV’s Main menu
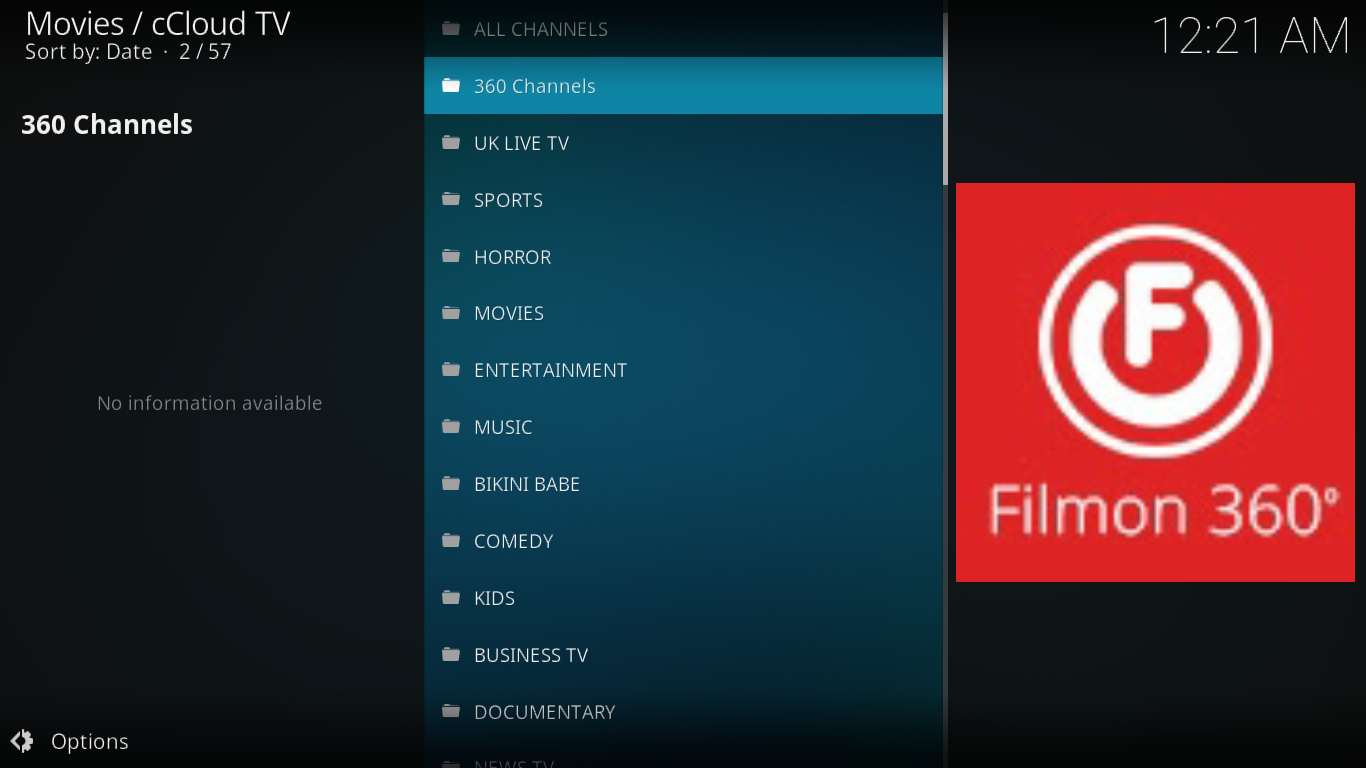
The cCloud TV add-on main menu is huge with over 20 items. You may safely ignore the first three items. The *Announcements* section has no content more recent than June 2016. The *ReadMe* section offers some information about the cCloud community and how to take part in it. *Server Status* lists the online/offline status of all of the content servers the add-on uses.
We’ll talk about the *Search* option later. As for the All Channels selection, it is pretty much useless due to its extreme length.
FilmON
For those who don’t know, FilmOn is a subscription Internet-based television service. It licences more than 600 channels and 90 000 video-on-demand titles. Its library includes the CineBX and Allied Film libraries.
The FilmOn section of cCloud TV is like an add-on within the add-on. If you’re familiar with the service, you’ll love that you can watch your FilmOn content right from within the cCloud TV add-on. With over a thousand available channels, it would be long an boring to take you through all this section has to offer. Your best bet is probably to spend some time browsing what’s available in there.
Navigating the cCloud TV add-on
With so many available channels, finding your way around the add-on can be challenging. Especially considering that many channels appear in several different places.
Top 10
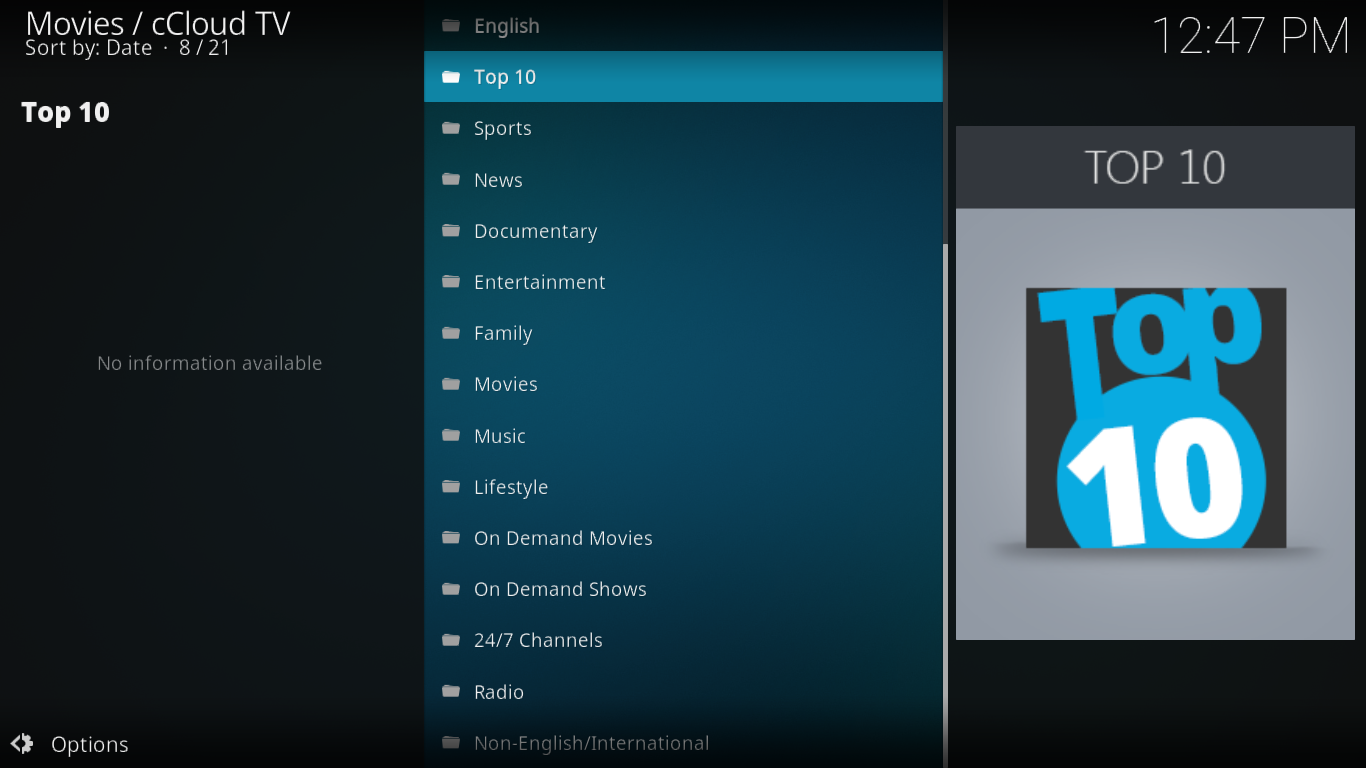
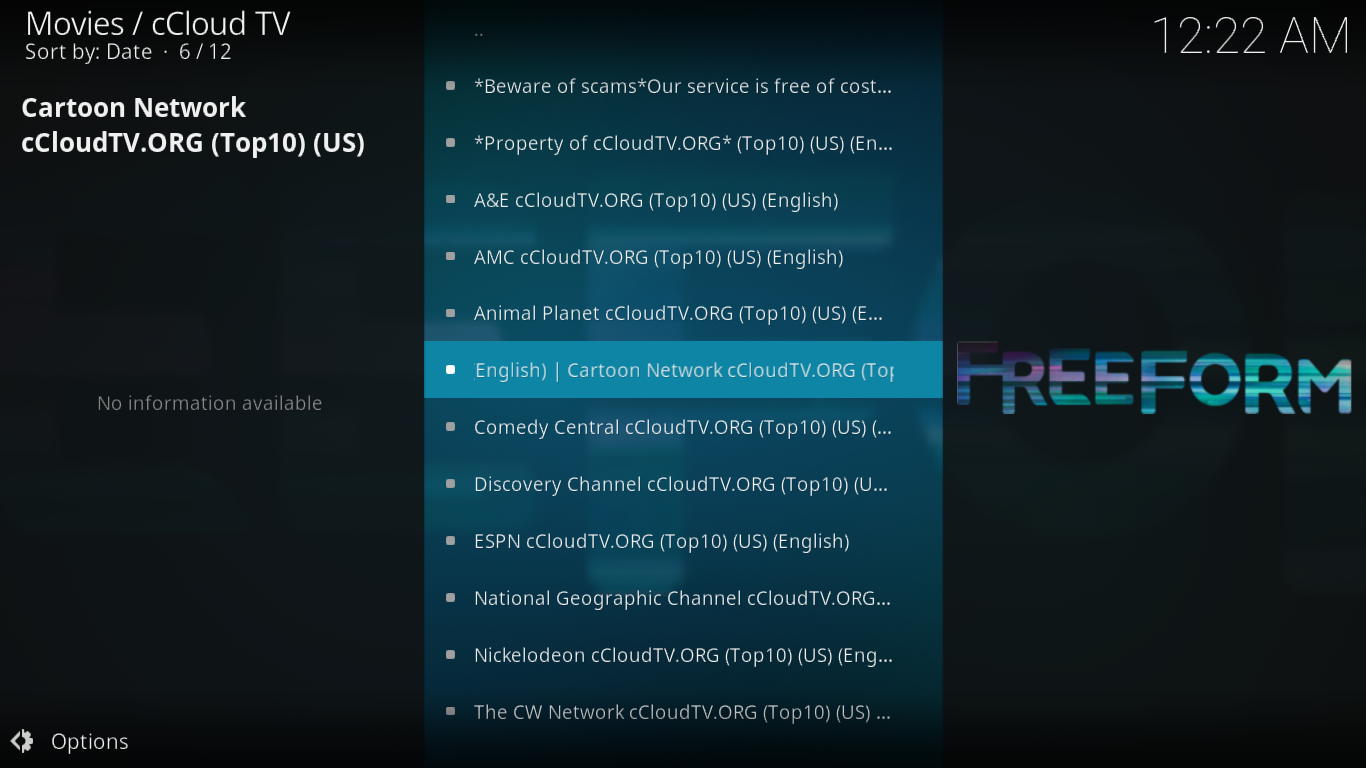
If you want to quickly find the best channels, those that are the most watched, you’ll want to head to the Top 10 section. Unfortunately, this might not be your Top 10. As of this writing, this is what this section looked like.
Categories Sections
One of the easiest ways to browse this add-on for interesting content is to go through the available categories. There are eight of them. Here’s an overview of what each one has to offer.
The Sports category is pretty obvious. You’ve got close to 100 sports channels. It has NFL, NBA and MLB but also networks such as ESPN. But there’s not only content from the US. Many channels are for different places all around the world and there is content in French, in Russian and in Hindi, just to name a few. If you’re a sports fans, there is likely something in there for you.
The News section is also self-explanatory. And it is huge with almost 300 channels. It probably has every possible news channel there is. It’s got the classics like CNBC, Fox News, Al Jazeera or BBC World News. And it also has news channels from multiple countries and in multiple languages.
The Documentary section is where you’ll find channels such as Discovery, Animal Planet or National Geographic. Like the previous sections, it also hosts a vast number of foreign documentary channels.
Entertainment is filled with channels that carry entertaining content. There are over 200 of them, again from multiple countries and in multiple languages.
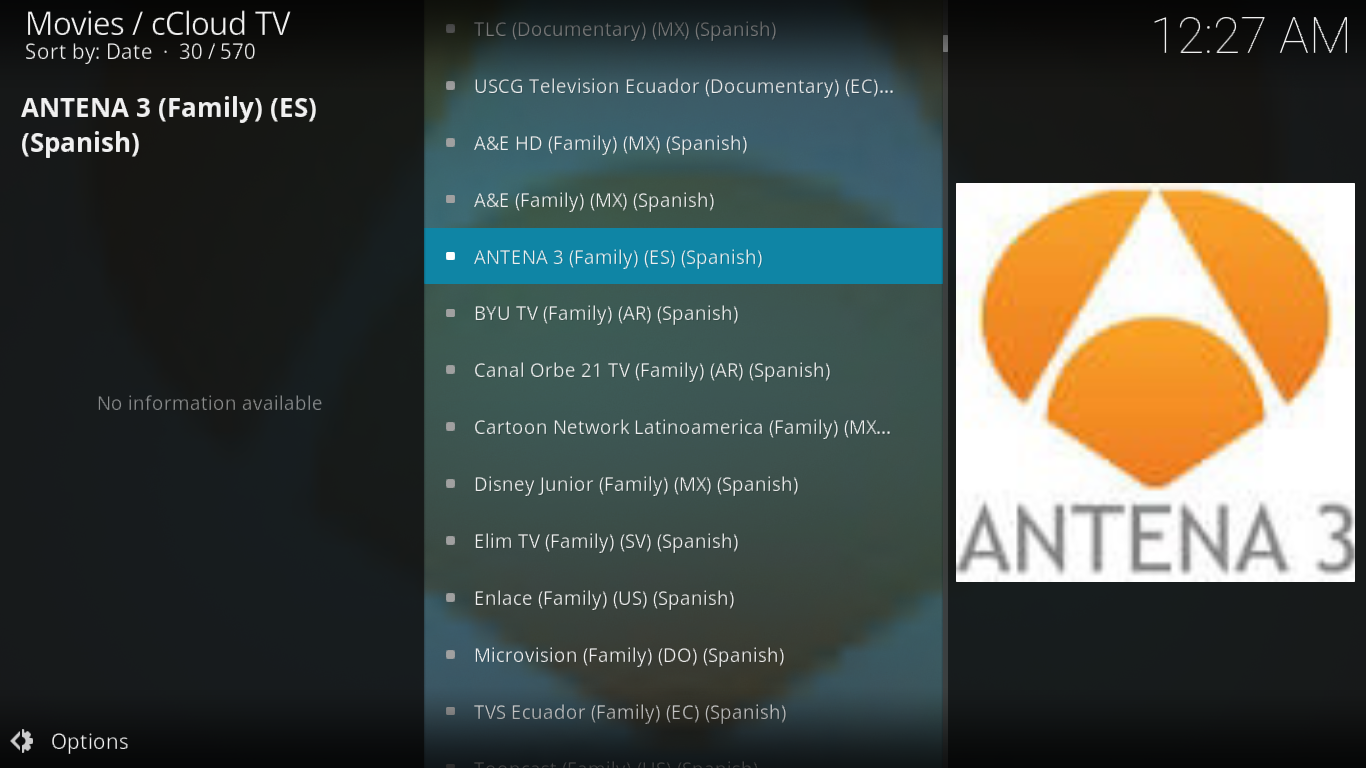
Family contains family-oriented channels. This is mostly children’s programming and. like other sections, it has content from everywhere and in every language.
The next section, Movies, is for channels that show movies. The selection is relatively scarce and there are more non-English than English content. It has the classic movies channels such as Sony, Showtime, and several instances of HBO from different places and in different languages.
There is not much to say about the Music section as its name kind of says it all.
And last but not least is the Lifestyle section. This is one of the smallest sections with less than 30 selections, most of them in foreign languages.
The English section
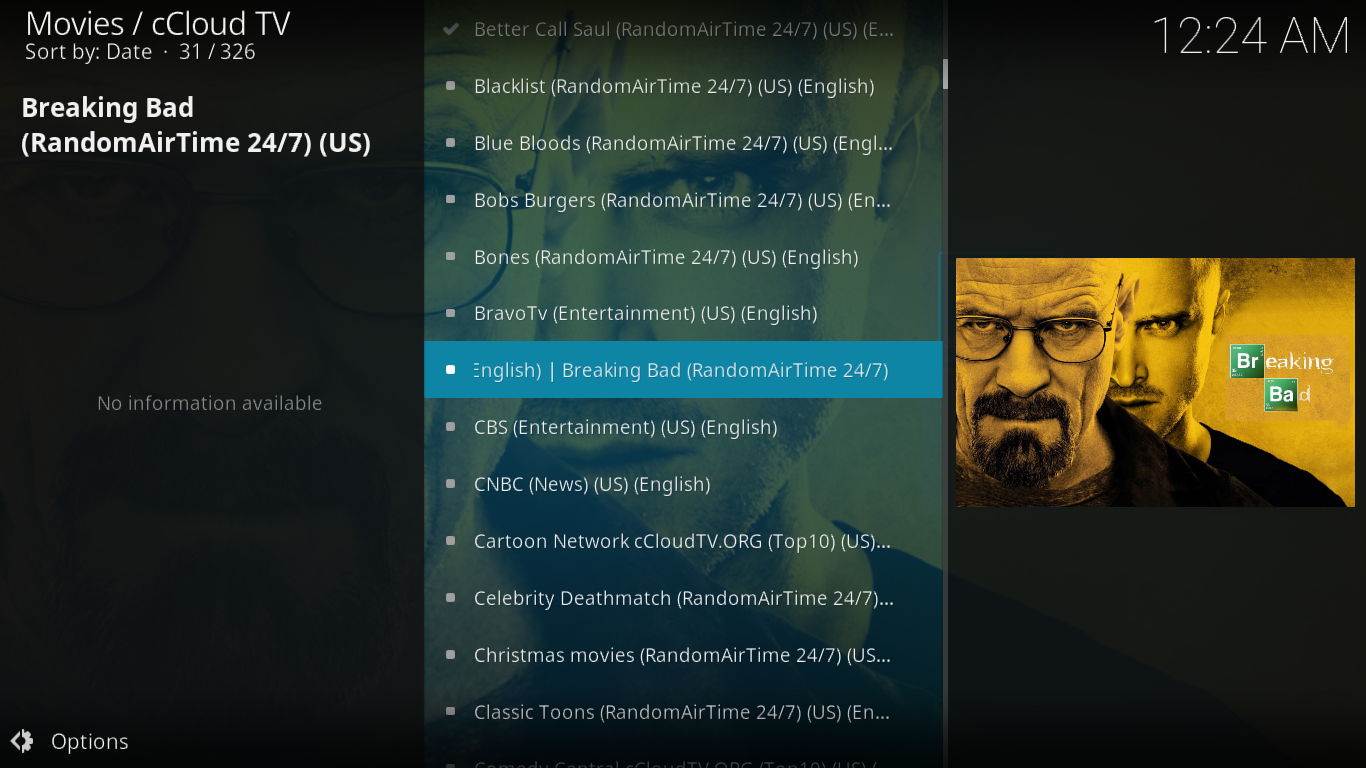
Selecting English from the main menu reveals a list of over 300 English language channels. Interestingly, the list does not only include channels names but also TV show titles. Clicking one of the show titles will start playing whatever channel is currently playing an episode of that show.
On Demand Sections
Off the main menu, you’ll find an On Demand Movies and an On Demand Shows section. On demand is certainly not cCloud TV’S strong suit and the content you’ll find in there is not particularly interesting. For instance, although the OnDemand Movies section has close to 200 titles available, you probably won’t find any blockbuster hit in there. Likewise, the On Demand Shows section has only three random, season-6 episodes of The Walking Dead and the first seven episodes of the 16th season of Family Guy. That’s it!
Other sections
The 24/7 section lists all channels that are on the air all the time. If you’re up in the middle of the night, this might be the place to go for some entertainment. Like other sections, it contains channels from multiple countries in many languages.
The Radio section has just over a hundred different radio stations mostly in English with quite a few French-language stations and a handful of other foreign language ones.
The Non-English/International section is where you’ll find every channel that is not in English from all over the planet. With almost 600 selections, it is far too much to list them. And being in a foreign language, they will possibly be of little interest to many of our readers. But if you do speak a foreign language, you’ll appreciate that the list is sorted by language, making finding specific content a bit easier.
cCloud’s search functionality
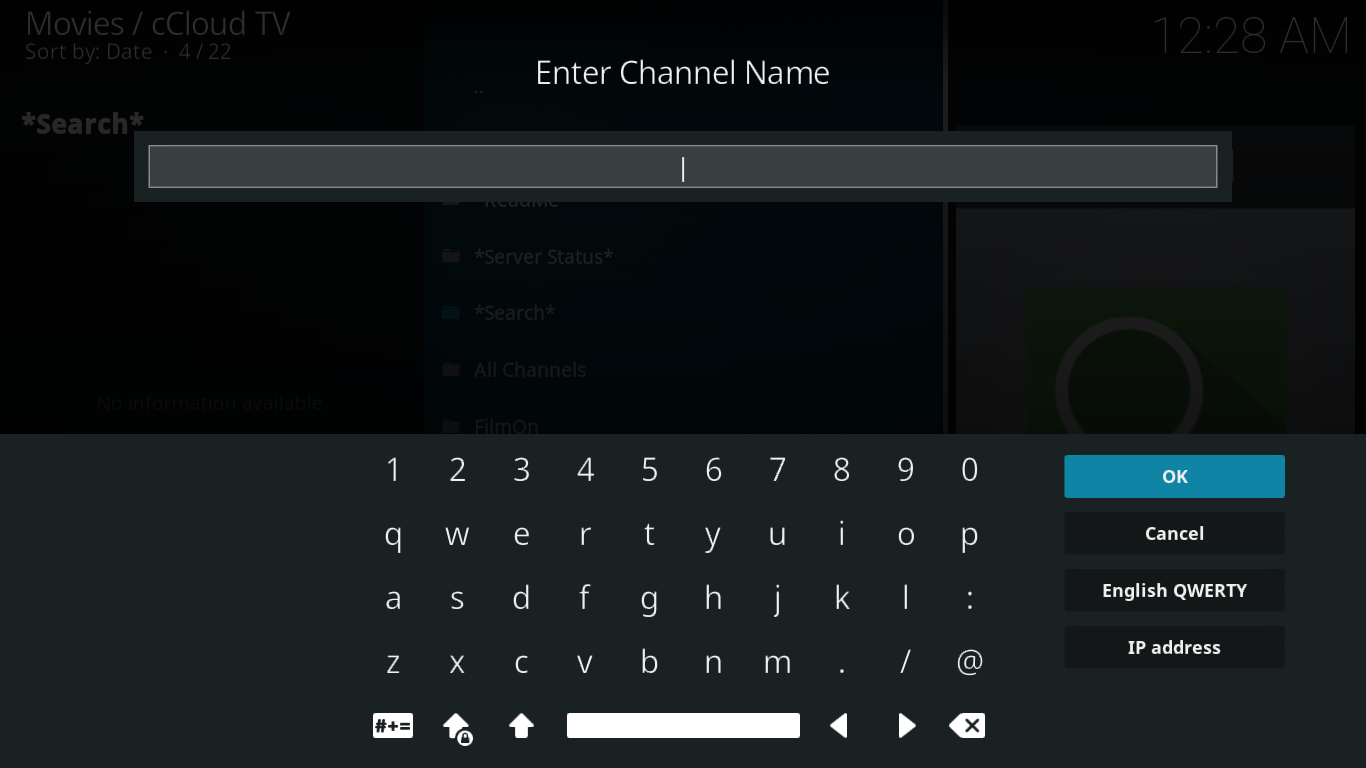
If you’re looking for a specific channel, finding it amongst the thousands available could prove to be challenging. Fortunately, the search feature might come in handy. When you click *Search* off the main menu, a screen open where you can enter a search term.
Just type in what you’re looking for and be a bit patient. The search is rather fast but the size of the add-on can slow things down a little. After a few seconds, you’ll see a list of channels containing your search term. It’s not sophisticated but it’s quick and dirty and it gets the job done. And it sure beats browsing through screen after screen of channels.
Other Options for Live TV
If you like to watch live IPTVon Kodi, cCloud TV is not your only option. There are several other add-ons you might want to consider. We published an article about that a few months ago: Best Kodi Add-ons for Live TV in 2017 and How to Keep Safe.We suggest you read it for more suggestions. And for even more ideas, you can also read Best IPTV Add-ons for Kodi: The Ones Still Working in 2017
Don’t have time to read these articles? Here are two of our favourite sources for live IPTV.
Made in Canada IPTV
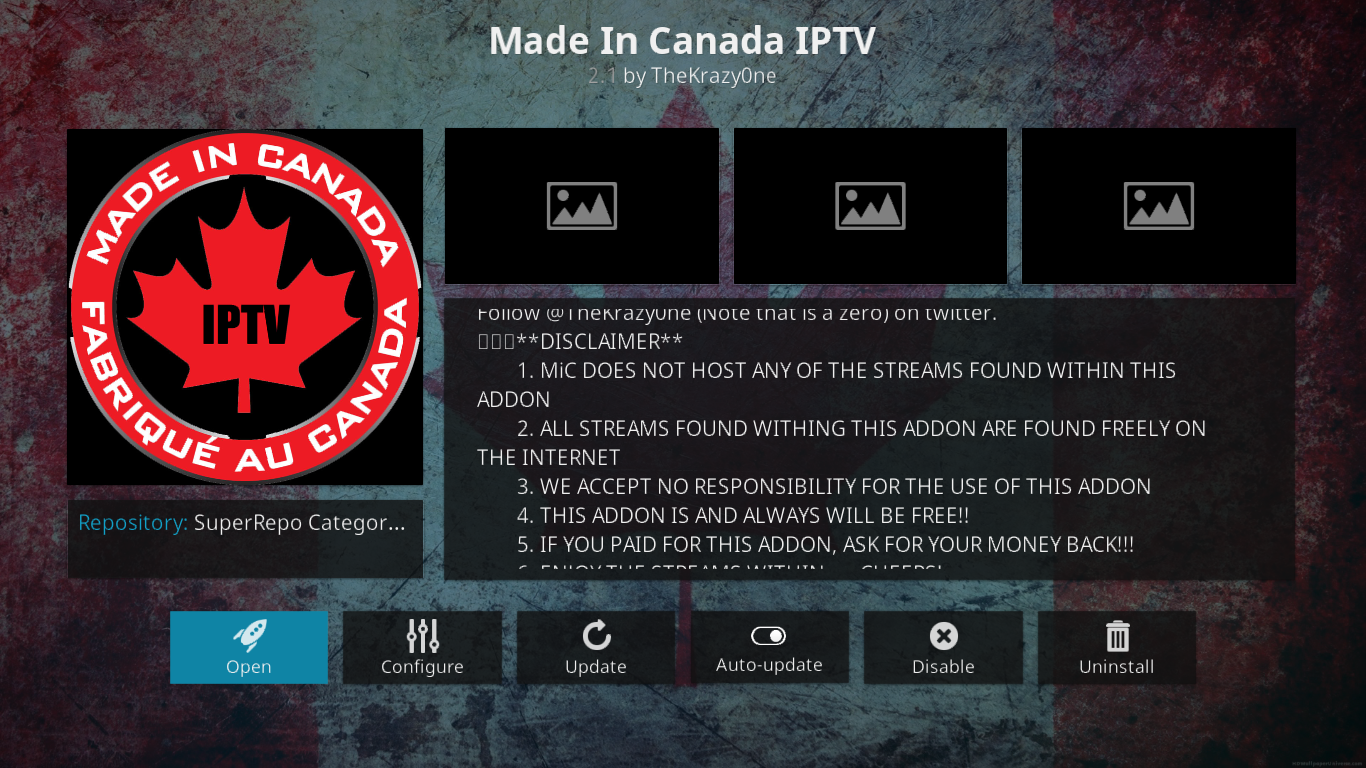
Made in Canada IPTV is one of the best-known live TV add-ons for Kodi. Don’t let its name fool you, it has more than just Canadian content. While there are sections for English and French Canadian TV channels, it also has an extensive list of US channels and also a very complete list of UK channels. All streams are of high quality and the add-on is well maintained and doesn’t suffer from many dead links
One of the areas where Made in Canada IPTV shines is live sports. You’ll find most American major league sports represented within this add-on. And it also has all the major North-American sports networks.
Spect0… Fork
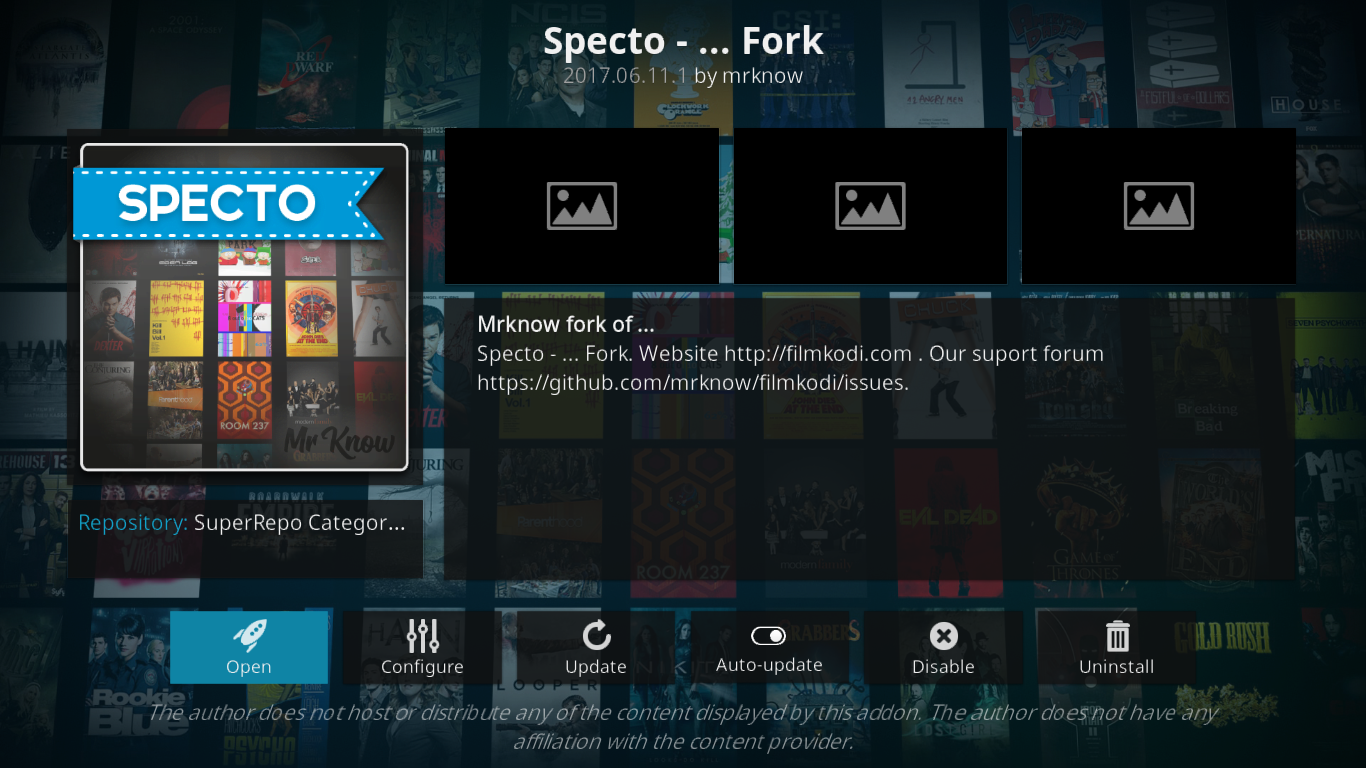
The Specto… Fork add-on has so much content that you could be watching content for years and never run out. Furthermore, all content is neatly organized and easy to find. And, of particular interest to fans of live IPTV, it has a live channels section. It doesn’t always work, though, but when it does, it will let you watch some great TV. And if you add that to a ton of on-demand content, Specto… Fork is really an add-on worth trying.
We recently published a detailed article about installing and using the Specto… Fork add-on: Specto Kodi Add-on – How to Install and Use Specto. We recommend you read it for all the details.
Conclusion
The cCloud TV add-on for Kodi is possibly the live IPTV add-on with the most content. It might not be the prettiest or the best organized but it has content to please every TV fan. You’ll find all the major channels from pretty much all the countries and you’ll find content in multiple languages, not just English. It is well-maintained with very few dead links and most of the feeds are of high quality. This is definitely an add-on worth discovering.
What is your favourite live IPTV add-on? Have you tried cCloud TV? Did you have any issues with its use or installation? Share your feedback with us using the comments below. We’d love to hear from you.
