Best Kodi Add-ons for Live TV in 2025 and How to Keep Safe
Television started out as a hands-off kind of medium; programs were shown when the broadcast network decided it was best. They chose the time slots, they chose the season debuts, and they chose the episodes. All the viewers had to do was turn on their TVs at the right time, sit back and enjoy.
Technologies like VCRs and Tivo gradually gave us more control over what we could watch and when, but it wasn’t until revolutionary products like YouTube, Netflix, and Kodi that we really took control of our entertainment options. In the 21st century, most people use on-demand services to watch the movies and shows they’re interested in when it’s convenient for them. Traditional broadcast television still exists, however, and it’s still the place to go if you want to watch live sports such as the NFL or catch shows as they air.
Whether you’re looking for the comfort of watching “whatever’s on”, or you’d like to catch live events as they happen, there are lots of options to help you stream broadcast TV channels. Read below for some of the best Kodi add-ons to watch live TV on your computer, smartphone, tablet, or laptop.
Before Using Kodi, Get a Good VPN
The Kodi software is free, open source, and completely legal to use. It’s a simple app that helps you organize your media and deliver content to all of your devices, plain and simple. There’s absolutely nothing inherently malicious about Kodi, though once you start installing third party add-ons, things can get a bit murky.
Unofficial Kodi add-ons deliver all kinds of functionality to the core Kodi experience, including streams that can contain pirated or otherwise illegal material. While most countries don’t have laws that forbid these streams, Kodi users have received copyright infringement notices in the past. To ensure you don’t accidentally trigger one of these responses, you should always use a virtual private network when streaming through Kodi.
Get 63% off any package from IPVanish which allows you to connect 5 devices to an encrypted VPN connection at any one time.
VPNs are fast becoming indispensable tools for the modern internet user. They encrypt all of your online traffic, making it completely unreadable to third parties, including hackers, government agencies, and even your ISP. This encrypted traffic is rerouted through the VPN’s non-local server network, which removes all traces of your identity from each packet of data. The end result is private and anonymous online activity, even for your Kodi movie streams.
Some of the benefits of using a VPN include:
- Stream files from all Kodi add-ons without worrying about liability associate with accidentally accessing illegal content.
- Stop websites, local service providers, and government agencies from tracking you.
- Watch videos from other countries on Netflix, Hulu, BBC iPlayer, and more.
- Prevent hackers and data snoopers from seeing or stealing your information.
- Protect your personal data while traveling or using public Wi-Fi.
- Unblock censored websites and geo-restricted content.
How to Choose a VPN for Kodi
VPNs sound scary at first; all this talk about AES encryption, L2TP/IPSec protocols, cryptography, and cipher keys is enough to turn anybody away. Fortunately, VPNs are extremely easy to use! All you have to do is download, sign in, and start surfing.
Choosing the VPN that best suits your needs can still be a bit taxing, however. We’ve made the process easier by narrowing the criteria down to a few of the most important features. All of our recommended VPNs pass these tests with flying colors, so when you start looking for the best VPN to use with Kodi, you’ll always get the right VPN for the job.
- Fast download speeds – Speed is everything when you’re watching a live TV stream. VPNs can be a little slower than your average internet connection, all thanks to the encryption process. The best VPNs develop workarounds that deliver fast speeds without sacrificing privacy or security.
- Zero-logging policy – Keeping your Kodi streams secure is extremely important. The cornerstone of a VPN’s privacy features is how the company treats logs, especially traffic and DNS request logs. To ensure your data can never fall into the wrong hands, always make sure your VPN doesn’t keep logs of user activity.
- Allowed traffic and file types – A number of VPNs, especially the sketchy free ones you’ll see around the ‘net, often block certain types of traffic, usually P2P networks and torrents. Not having access to these can cripple your Kodi installation, so make sure your chosen VPN allows all file and traffic types and delivers unlimited bandwidth, no exceptions.
- Good server availability – Having a wide network of servers is extremely useful, even for general web browsing and downloading. It’s especially important for Kodi streams, as you’ll want to avoid densely populated servers to cut down on lag. The larger a VPN’s network, the easier it is to find a great connection.
Recommended VPN: IPVanish
IPVanish is perfect for securing your Kodi streams and accessing HD videos from a variety of add-ons. The service operates over 850 servers in 60 different countries, each one delivering lightning fast speeds to cities around the world. You’ll also gain the benefit of zero traffic logs, DNS leak protection, and an automatic kill switch to help keep your sessions private and secure. Add to that a wide variety of custom software and unlimited bandwidth and you’ve got the makings of an ideal Kodi-friendly VPN!
IPVanish also includes the following:
- Easy-to-use custom apps for a wide variety of platforms, including desktops, laptops, and mobile devices.
- Fast and secure servers allow for incredible lag-free video streams through Kodi.
- Unlimited bandwidth and no restrictions on torrent or P2P network data.
- Download torrents with full privacy and anonymity.
EXCLUSIVE for Addictive Tips readers: Get 63% off when you sign up for a year of IPVanish, just $3.99 per month! Each plan is covered by an amazing seven-day money-back guarantee, ensuring a risk free trial for your new, private internet connection.
How to Install Kodi Add-ons
There are a variety of ways you can install add-ons to Kodi. Two of the most common include downloading repositories from a web browser and manually adding them to Kodi, and setting Kodi up to download repos itself. The latter tends to be a lot more convenient for the vast majority of users, especially if you like to keep your installation organized and contained.
Before you can download repositories, you’ll need to change one of Kodi’s settings to allow it to access external sources. This is a quick switch that will only take a few seconds to make:
- Open Kodi and click on the gear icon to enter the System menu.
- Go to System Settings > Add-ons.
- Toggle the slider next to the “Unknown sources” option.
- Accept the warning message that pops up.
Repositories are managed collections of Kodi add-ons. To get the most up-to-date version of the add-on you need, it’s best to go through a repository (otherwise you risk getting a broken add-on). The repository installation process can feel awkward at first, but once you’re used to it you’l be able to do it in your sleep. Follow the instructions below to install the necessary repos so you can grab the add-ons you need for watching live TV through Kodi.
Best Kodi Add-ons for Live TV
EyeTV – Official Add-on for Live TV Streams
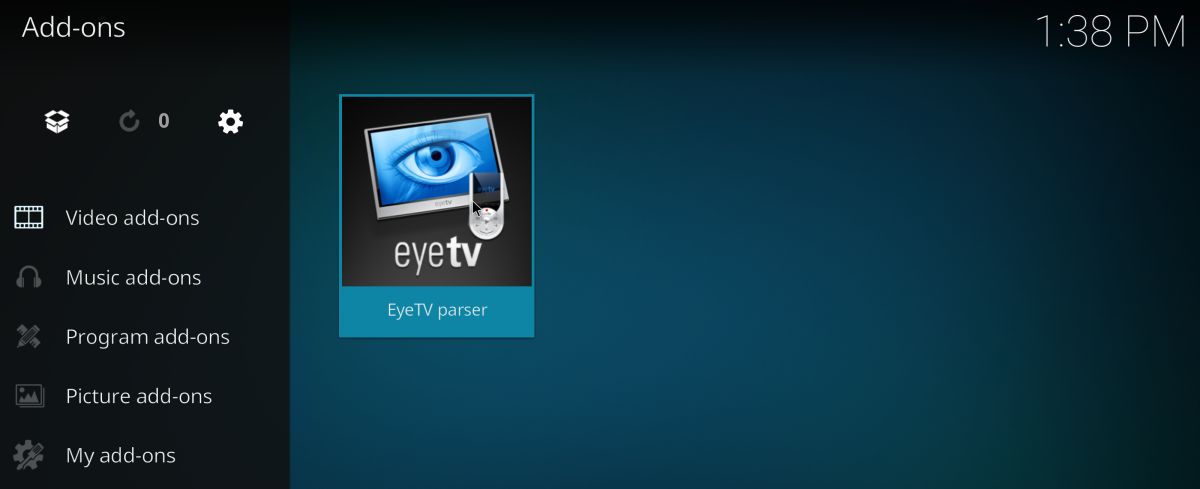
There are only a few official Kodi add-ons that support live TV, but EyeTV is one of the best. Install it to access your EyeTV library on any Kodi device and stream it anytime, anywhere. You’ll be able to watch live local channels with very little setup, all in glorious HD quality. The one catch is you’ll need an active EyeTV device to access the content, which can be purchased through the official website.
How to install EyeTV:
- Open Kodi on your local device and select “Add-ons.”
- Click the open box icon at the top of the menu bar (upper left corner).
- Choose “Install from Repository”.
- Select “Kodi Add-on repository”, the official repo that comes with the software.
- Scroll down to “Video add-ons”.
- Select “EyeTV parser” and install it.
- The EyeTV add-on will appear on your main menu when complete.
cCloud TV – High Quality, Easy to Use
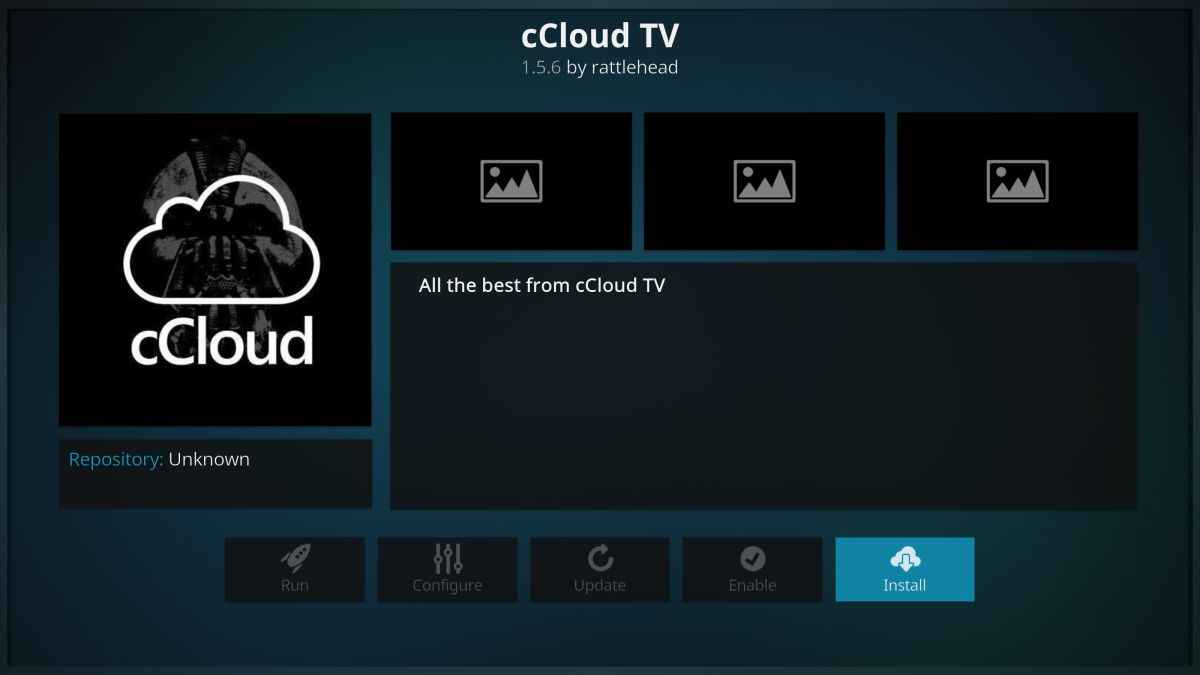
cCloud TV is a Kodi add-on that interfaces directly with the cCloud website, which is one of the reasons it’s managed to survive this long. With cCloud you can access an enormous variety of live content from the comfort of any Kodi enabled device. All you have to do is install the add-on and start channel surfing. cCloud organizes its content by type and genre, meaning you can jump in to watch news from around the world, sporting events, or even prime time TV. There’s also a selection of archived movie and television show content for those days when you just can’t find something good to watch.
The cCloud TV add-on is available from a number of popular repositories. Some of them have spotty support for the service, however. The most reliable way to install is to add the Simply Caz repo to your Kodi device and grab cCloud TV from there. If you already have Simply Caz installed, skip to step 14.
How to add cCloud TV to Kodi:
- Open Kodi on your local device.
- Click on the gear icon to enter the System menu.
- Go to File Manager > Add Source (you may need to click the double-dot to move to the top of the directory).
- Type in the following URL exactly as it appears: https://repo.cazwall.com/sc/
- Name the new repository “cazwall”.
- Click “OK”.
- Go back to the Kodi main menu.
- Select “Add-ons”.
- Click the open box icon at the top of the menu bar.
- Choose “Install from Zip File”.
- Select “cazwall”.
- Open the folder marked “Repository (Click Here)”.
- Install the file named repository.simplycaz-####.zip
- Go back to the Add-ons menu and click the open box icon again.
- Choose “Install from repository”.
- Find and click “Simply Caz Repo”.
- Choose “Program add-ons”.
- Select “cCloud TV” and install it to Kodi.
Made in Canada – Live TV and Sports
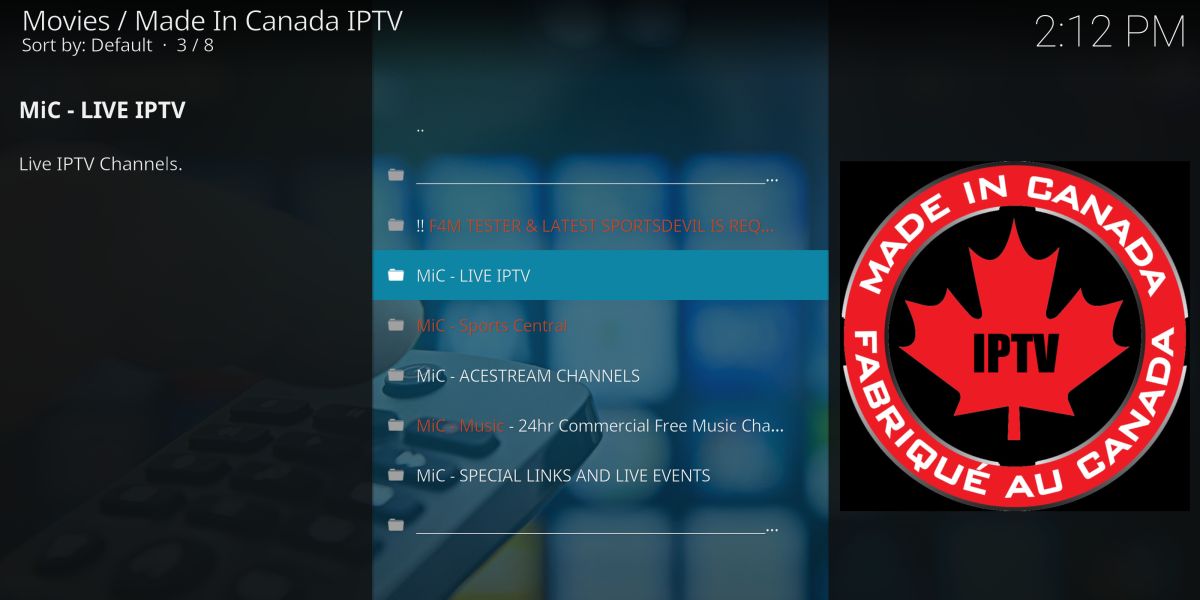
One of the best-known live TV add-ons is Made in Canada, a straightforward extension that gives you access to a wide variety of high quality Canadian IPTV channels. Choose between US and UK lists if you like, or opt for straight-up Canadian (English) or Canadian (French) live streams. If you can watch it on TV in Canada, it’s included in this add-on. Everything is easy to use, and looks great in crisp HD quality.
To install Made in Canada, you’ll need to add the Koditips repository to your device. If you already have Koditips installed, skip to step 14.
How to install Made in Canada on Kodi:
- Open Kodi on your local device.
- Click on the gear icon to enter the System menu.
- Go to File Manager > Add Source (you may need to click the double-dot to move to the top of the directory).
- Type in the following URL exactly as it appears: https://repo.koditips.com
- Name the new repository “Koditips”.
- Click “OK”.
- Go back to the Kodi main menu.
- Select “Add-ons”.
- Click the open box icon at the top of the menu bar.
- Choose “Install from Zip File”.
- Select the Koditips file.
- Install the file named repository.koditips-1.0.0.zip (The version numbers may be slightly different).
- Go back to the Add-ons menu and click the open box icon.
- Choose “Install from repository”
- Find and click “KodiTips.com Repository”
- Scroll down to “Video add-ons”
- Locate “Made in Canada IPTV” and install.
- Access your new add-on from the main menu when the installation is complete.
Specto Fork: Packed with Content
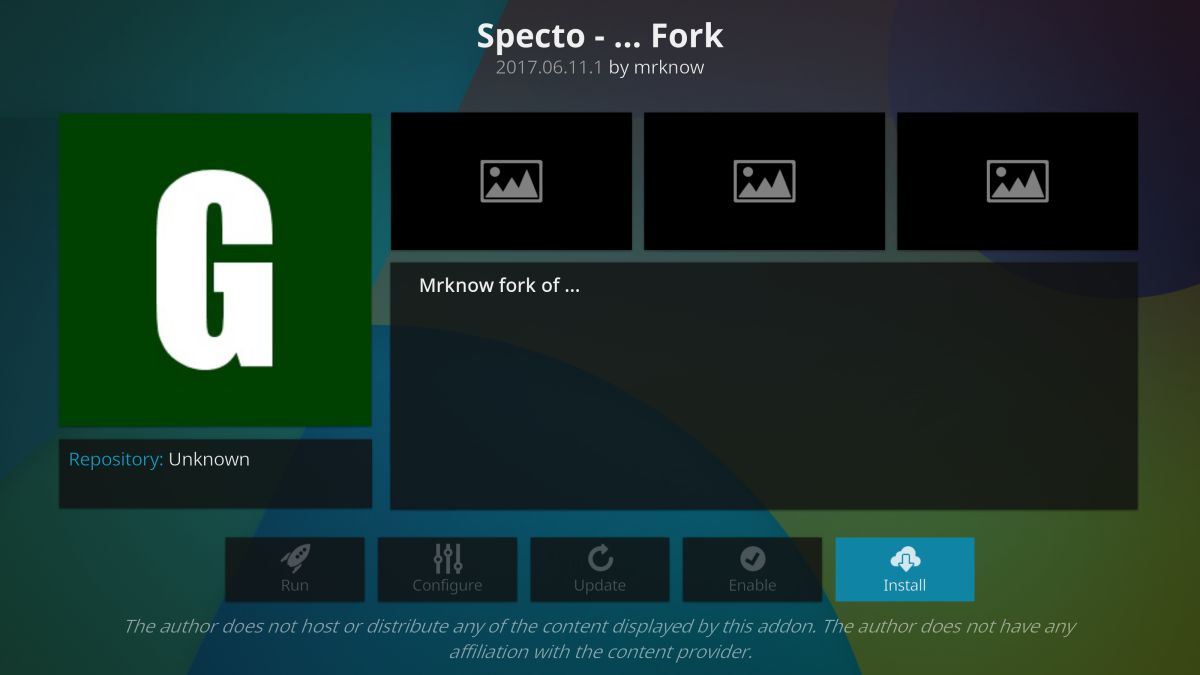
An unofficial add-on with so much content you’ll never run out of things to watch. Specto Fork is a popular extension that organizes everything by time and type. Looking for an archived movie to watch? There’s a section for that. How about TV shows sorted by popularity? That’s there, too. The live channel broadcasts don’t always work, but when they do you’ll be able to watch TV just like in the old days. Perhaps the best feature is a calendar that lists TV shows by their air date. As soon as a program is available online, you’ll have an active link ready to stream.
To use Specto Fork, you’ll need to install it from SuperRepo. If you already have the repository added, skip to step 14.
How to install Specto Fork on Kodi:
- Open Kodi on your local device.
- Click on the gear icon to enter the System menu.
- Go to File Manager > Add Source (you may need to click the double-dot to move to the top of the directory).
- Type in the following URL exactly as it appears: https://srp.nu
- Name the new repository “SuperRepo”.
- Click “OK”.
- Go back to the Kodi main menu.
- Select “Add-ons”.
- Click the open box icon at the top of the menu bar.
- Choose “Install from Zip File”.
- Select “SuperRepo” followed by your version name of Kodi.
- Select “All” to install the entire SuperRepo set of add-ons.
- Go back to the Add-ons menu and click the open box icon again.
- Choose “Install from repository”.
- Find and click “SuperRepo All”.
- Scroll down to “Video Add-ons”.
- Locate “Specto — …Fork” and install.
Simply Caz TV – Quality above Quantity
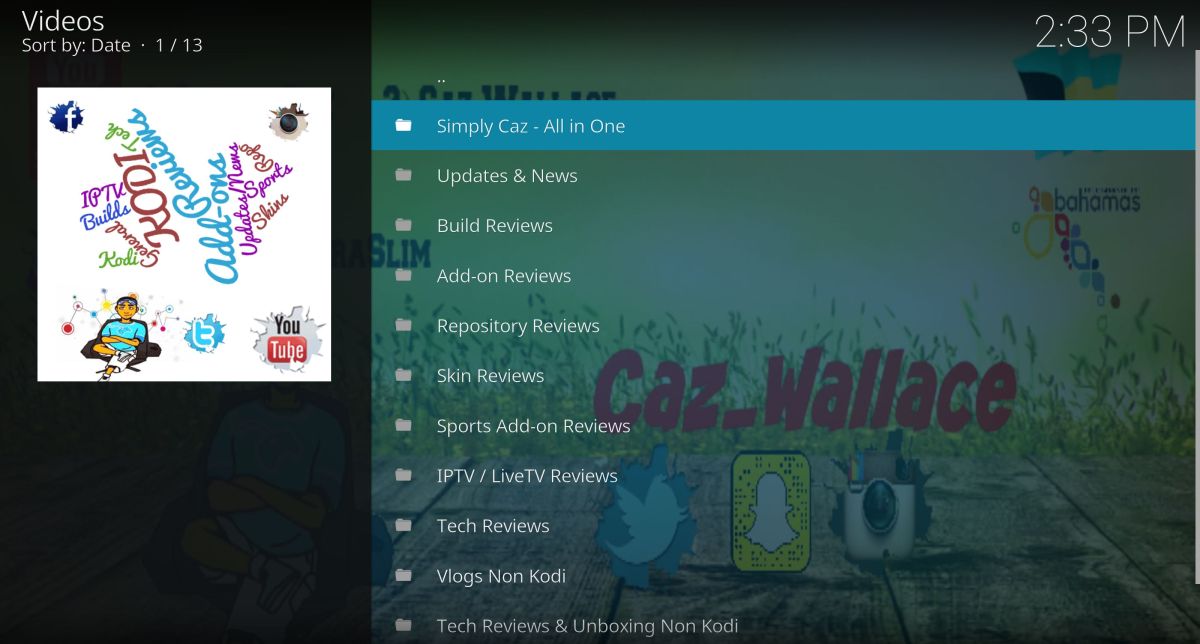
The Cazwall repository is a small collection of add-ons that packs a big punch. It boasts a few great live sports add-ons and a handful of movie and TV related content, but by far the two biggest offerings are UK Turk Playlists, cCloud TV (see above), and Elysium. These features alone can keep you swimming in live TV broadcasts for days, and the Simply Caz repo is one of the few places that still offers them.
How to add Simply Caz TV to Kodi:
- Open Kodi on your local device.
- Click on the gear icon to enter the System menu.
- Go to File Manager > Add Source (you may need to click the double-dot to move to the top of the directory).
- Type in the following URL exactly as it appears: https://repo.cazwall.com/sc/
- Name the new repository “cazwall”.
- Click “OK”.
- Go back to the Kodi main menu.
- Select “Add-ons”.
- Click the open box icon at the top of the menu bar.
- Choose “Install from Zip File”
- Select “cazwall”.
- Open the folder marked “Repository (Click Here)”.
- Install the file named repository.simplycaz-####.zip
- Go back to the Add-ons menu and click the open box icon again.
- Choose “Install from repository”.
- Find and click “Simply Caz Repo” then “Video add-ons”.
- Select “Simply Caz Tv” and let it install.
PS: You can install whatever other add-ons you want from the Simply Caz Repo, just be careful you’re not breaking any copyright laws while using it.
Stream Live TV to Your Actual TV
One of the best parts about watching TV is plopping down on your couch and just relaxing. That’s kind of tough to do if you primarily use Kodi on your desktop computer or tablet, however. Because Kodi works on a wide variety of devices, however, you can install it to new hardware that interfaces with your television. Now, instead of hunkering over your desk, you can sit down and enjoy TV streams on the big screen like the good old days.
The best way to stream Kodi content to your TV is to install Kodi on an Amazon Fire TV Stick. You’ll have access to everything Kodi has to offer, including add-ons, live sports streams, TV shows, and movies. The installation process is extremely simple and doesn’t require any hardware hacking or rooting. You can even install a VPN on your Amazon Fire TV Stick to ensure your stream stays private and secure.
Don’t have an Amazon Fire TV device? A second option is to install Kodi on an Apple TV. This is a little more involved than the Fire TV Stick method, but if you already have an Apple TV and don’t want to change hardware, the guide will help you get things set up.
