Best Exodus Forks for Kodi: Alternatives to Exodus and How to Install Them
As fans of the open-source media centre software Kodi may know, there are sometimes problems with using the most popular add-ons. Exodus, one of the add-ons available from third-party developers, was one of the community’s most popular picks for streaming movies, TV shows, and more. However, this summer, the creators of Exodus have come under legal pressure from copyright holders to discontinue the add-on. Now, in the latter half of 2017, Exodus is no longer being updated. If you still have Exodus installed on your Kodi system then it may keep working for a while, however, it will not be receiving any more updates and will soon become out of date.
If you’re a keen Exodus user, or just someone who want a new Kodi add-on for streaming TV shows and movies, then all is not lost! As the Kodi software and the Exodus add-on are both open source, that means that anyone can copy, modify, and re-upload their own version of the software. These modifications are called “forks” and they represent a way for the community to keep using and modifying software even when the original coders are no longer updating their add-on. The upshot of this is that there are a number of forks of Exodus which you can use as a replacement on your Kodi system.
Below we’re going to go through the best Exodus forks for Kodi and show you their features and how to install each one.
Why You Should Get a VPN When Using Kodi
Just before we get to the add-ons, we need to consider the importance of security. These add-ons are from third-party developers and are not officially supported by Kodi, and they allow access to copyrighted content. This means that if you’re caught using the add-ons to stream content over an unsecured internet connection, then you could be liable for a fine.
To avoid this, we advise that you get a VPN before using any Kodi add-ons for streaming. This is a small piece of software which you install onto your machine and which encrypts data sent over your internet connection. A VPN protects you by encrypting all of the traffic coming out of your machine, so that no one can see what you’ve been accessing or whether you have been streaming content. When it comes to choosing a VPN, there are four factors which we consider: fast connection speeds, support for several different operating systems, plenty of servers in many different countries and no logging.
We Recommend IPVanish
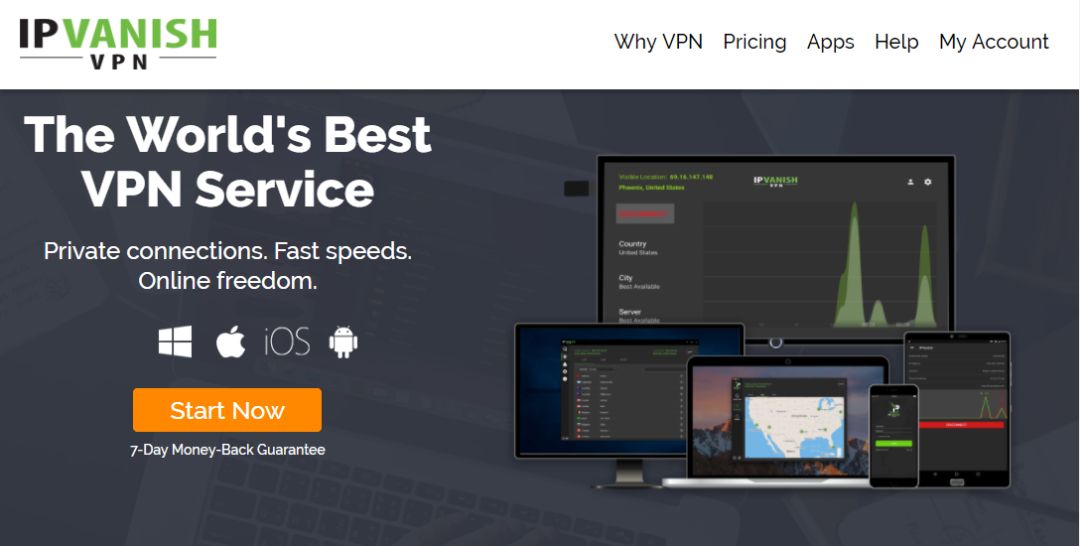
With these factors in mind, the VPN we recommend for Kodi users is IPVanish. Its fast connection speeds are ideal for streaming video, and it has over 850 servers in more than 60 countries so there are plenty of options to choose from. The company has a strict no-logging policy, and its software supports Android, iOS, PC, Mac, and even the Amazon Fire TV stick.
If you want to try out IPVanish, we have a special offer which is exclusive to Addictive Tips readers! You can get a huge 60% discount on the yearly plan, which works out to only $4.87 per month. There’s even a 7-day money-back guarantee so you can buy in confidence.
With a VPN chosen and installed, we can move onto installing the Exodus replacement add-ons. We’re going to recommend five Exodus forks for you to try, each of which is very similar to the old Exodus add-on and very similar to the others. Pick one or try them all and see which you prefer.
Most Popular Exodus Alternatives
Covenant
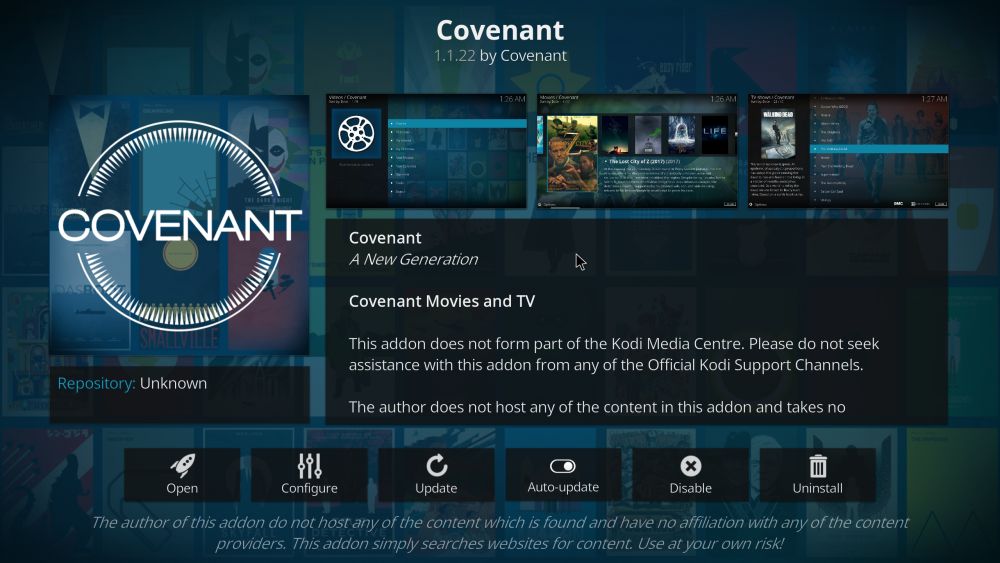
Covenant is available both in the Ares repository and also as a download from GitHub. We have full instructions on how to install Covenant for Kodi. Just in case you feel a bit lazy today, here’s the GitHub solution below:
- You will need to visit the following web address to get the latest version of Covenant: https://github.com/Colossal1/repository.colossus/tree/master/plugin.video.covenant
- Click on the most recently updated version of the zip file and on the next screen, click Download.
- Open Kodi, and go to the Addons menu. Once there, select the addon browser icon, which resembles an open box.
- Click on Install from zip, then locate where you saved the Covenant zip file you just downloaded (it will usually automatically be saved in your downloads folder).
- Click on the Covenant file to install it. Wait for the notification that the install has been successful and Covenant should now be ready and waiting on your addons page.
And here’s how to use Covenant once it’s installed:
- Start on your Kodi homepage
- Go to Add-ons
- Go to Video Add-ons
- Select Covenant
- Now you’ll see options for Movies, TV Shows, My Movies, My TV Shows, New Movies, New Episodes, Channels, Tools, and Search

- Click on an option, such as New Movies. This brings up a list of the latest movies which have been added to watch. A description of the film along with a poster will appear in the box on the left, and the film’s running time will appear in white text to the right
- The add-on will search through a bunch of link providers. You can see the progress with the progress bar on screen
- When it is completed, it will show you a bunch of links. Click on the name of any link to open the stream and the video will begin playing
- If there’s something you want to change, go back to the Covenant main menu and click on Settings. This brings up the settings window for detailed configuration of playback, accounts, library, downloads, subtitles, and more. You can also set up your Trakt account here if you use that service
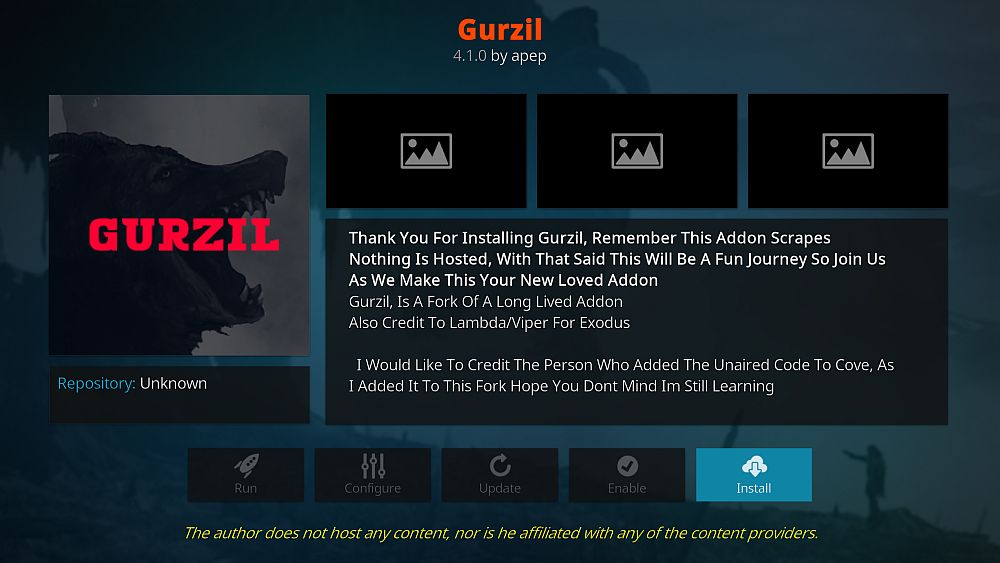
Gurzil
Here’s how to install Gurzil:
- Begin on your Kodi homepage
- Click on the settings icon, then go to File Manager
- Click on Add source
- Click on the box where it says <None>
- Enter in this URL: https://mediarepos.org/kodistuff/ Make sure to type it exactly as written, including the https://, or it won’t work
- Give the source a name. We’ll call it mediarepos
- Click OK
- Go back to your home screen
- Click on Add-ons
- Click on the icon that looks like an open box
- Click on Install from zip file
- Click on mediarepos, then on reposmash.zip
- Wait for a moment and you’ll see a notification once the source has been installed
- Click on Install from repository
- Click on -SMASH Repo
- Click on Video add-ons
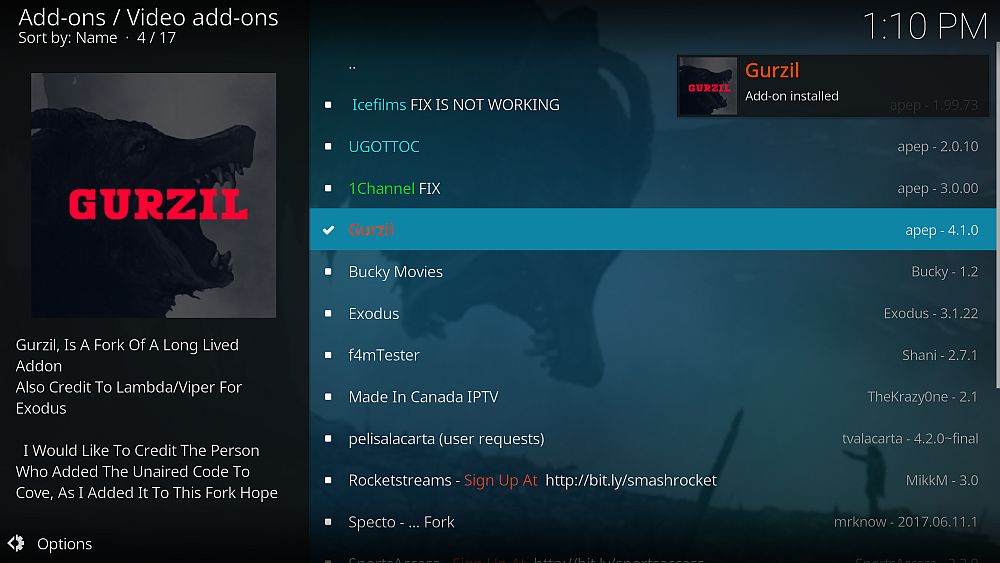
- Click on Gurzil
- A screen will open describing the add-on. Select Install from the menu at the bottom
- Wait for a moment and you’ll see a notification once the add-on has been installed
And here’s how to use Gurzil once it’s installed:
- Start on your Kodi homepage
- Go to Add-ons
- Go to Video Add-ons
- Select Gurzil
- Now you’ll see options for Movies, TV Shows, My Movies, My TV Shows, New Movies, New Episodes, Channels, Tools, and Search. You’ll notice this is exactly the same as Covenant and it works in just the same way

- Click on an option, such as New Movies. This brings up a list of the latest movies which have been added to watch. A description of the film along with a poster will appear in the box on the left, and the film’s running time will appear in white text to the right
- The add-on will search through a bunch of link providers. You can see the progress with the progress bar on screen
- When it is completed, it will show you a bunch of links. Click on the name of any link to open the stream and the video will begin playing
Elysium
Here’s how to install Elysium:
- Begin on your Kodi homepage
- Click on the settings icon, then go to File Manager
- Click on Add source
- Click on the box where it says <None>
- Enter in this URL: https://nan.aftermathwizard.net/nanrepo/ Make sure to type it exactly as written, including the https://, or it won’t work
- Give the source a name. We’ll call it nanrepo
- Click OK
- Go back to your home screen
- Click on Add-ons
- Click on the icon that looks like an open box
- Click on Install from zip file
- Click on nanrepo, then on repository.elysium-2017.06.10.zip
- Wait for a moment and you’ll see a notification once the source has been installed
- Click on Install from repository
- Click on Elysium repository
- Click on Video add-ons
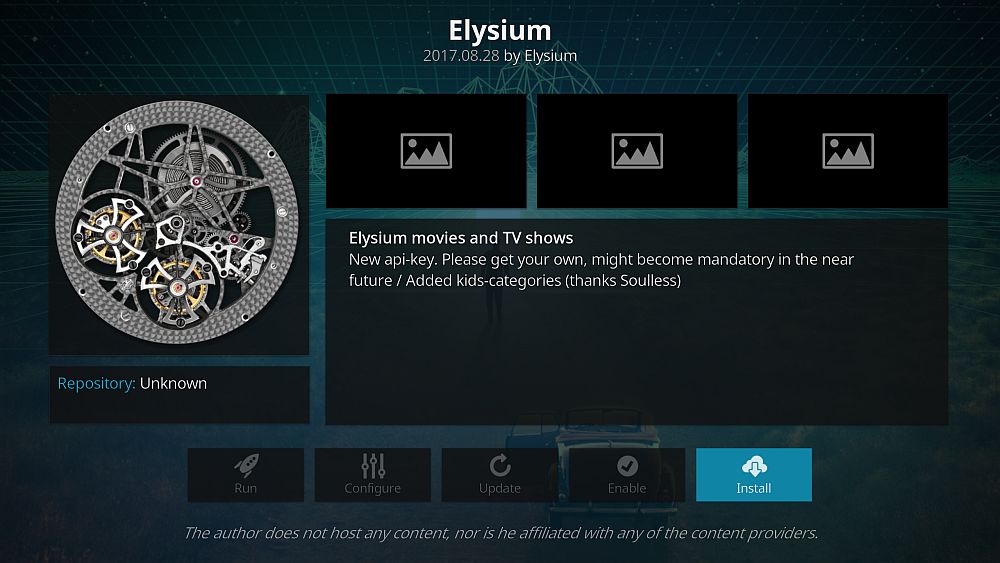
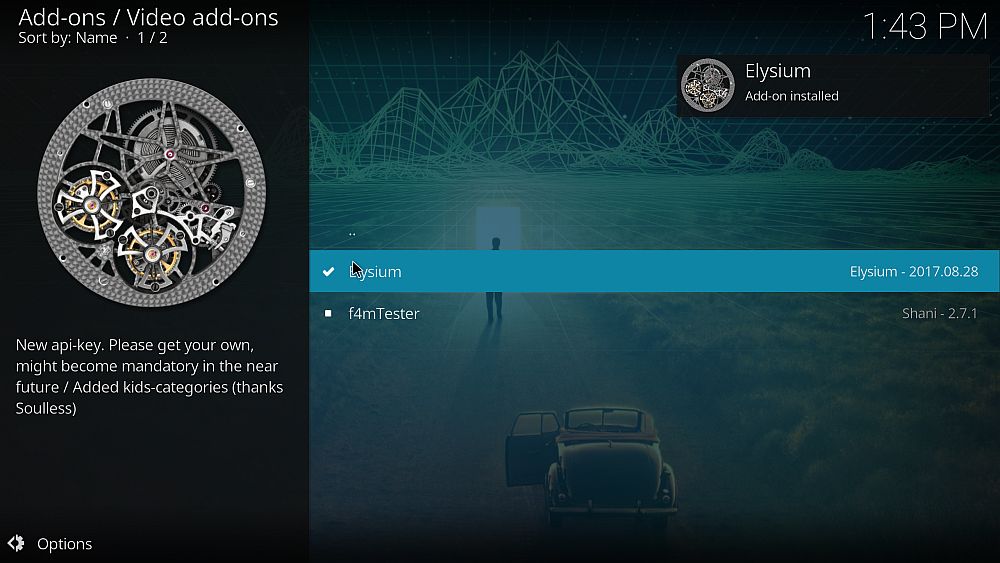
- Click on Elysium
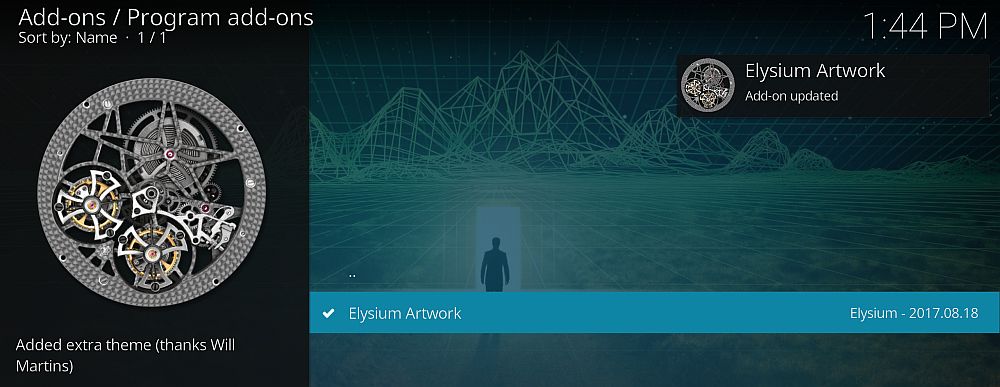
NOTE: If you’re getting the “Failed to install a dependency” error and Elysium won’t install it’s because you need to install the Artwork program addon. Instead of #16 above click on Program add-ons and then on Elysium Artwork. Then resume …
- A screen will open describing the add-on. Select Install from the menu at the bottom
- Wait for a moment and you’ll see a notification once the add-on has been installed.
And here’s how to use Elysium once it’s installed:
- Start on your Kodi homepage
- Go to Add-ons
- Go to Video Add-ons
- Select Elysium
- Now you’ll see options for Movies, TV Shows, Spotlight, New Movies, New TV Shows, My Elysium, TV Calendar, Channels, Tools, Search, and Changelog

- The TV Calendar is a useful function so we’ll try that. Click on TV Calendar and you’ll see a list of dates going backwards from today. Click on any date and a list of TV episodes which aired on that date will appear. The title will say the show, the episode number, and the episode name, and a description of the episode along with a thumbnail will appear in the box on the left. Click on a title to open the episode
- The add-on will search through a bunch of link providers. You can see the progress with the progress bar on screen
- When it is completed, it will show you a bunch of links. Click on the name of any link to open the stream and the video will begin playing
Specto
Here’s how to install Specto:
- Begin on your Kodi homepage
- Click on the settings icon, then go to File Manager
- Click on Add source
- Click on the box where it says <None>
- Enter in this URL: https://mediarepos.org/kodistuff/ Make sure to type it exactly as written, including the https://, or it won’t work
- Give the source a name. We’ll call it mediarepos
- Click OK
- Go back to your home screen
- Click on Add-ons
- Click on the icon that looks like an open box
- Click on Install from zip file
- Click on mediarepos, then on reposmash.zip
- Wait for a moment and you’ll see a notification once the source has been installed
- Click on Install from repository
- Click on -SMASH Repo
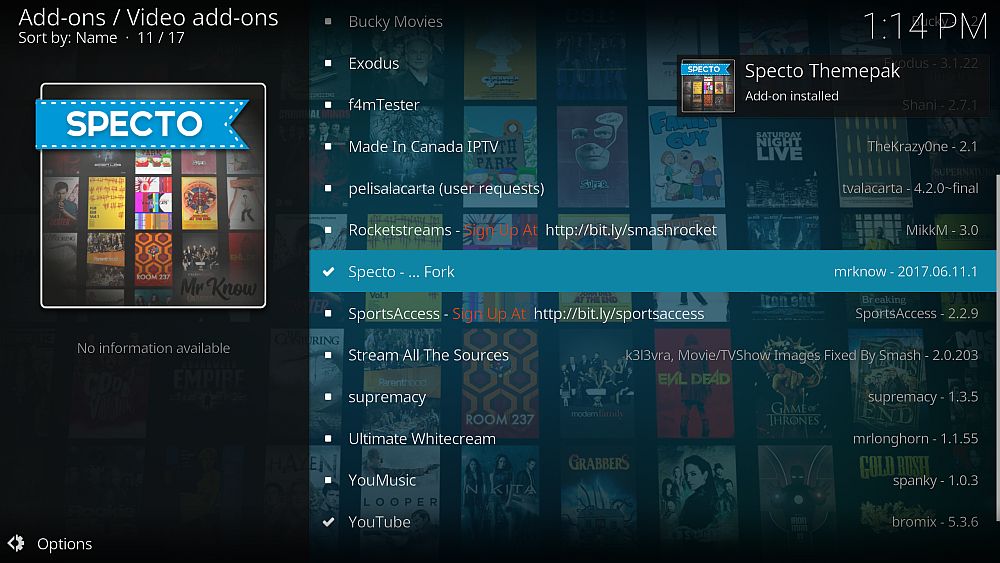
- Click on Video add-ons
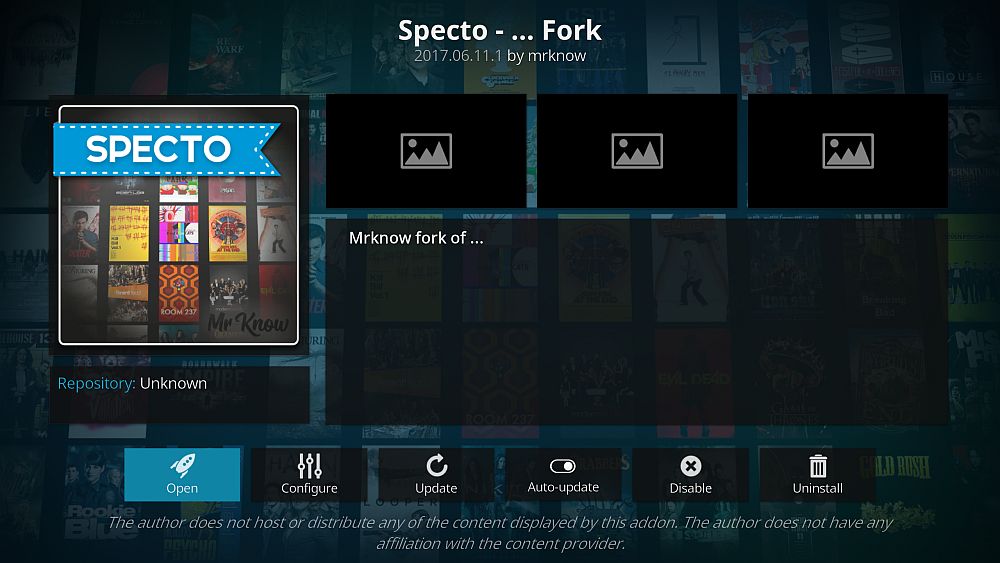
- Click on Specto-…Fork
- A screen will open describing the add-on. Select Install from the menu at the bottom
- Wait for a moment and you’ll see a notification once the add-on has been installed.
And here’s how to use Specto once it’s installed:
- Start on your Kodi homepage
- Go to Add-ons
- Go to Video Add-ons
- Select Specto-…Fork
- Now you’ll see options for Movies, TV Shows, Channels, My Specto, Latest Movies, Latest Episodes, Tools, and Search

- Click on an option, such as Latest Episodes. This brings up a list of the newest episodes of TV shows which have been added to watch. The title will say the show, the episode number, and the episode name, and a description of the episode along with a thumbnail will appear in the box on the left. Click on a title to open the episode
- The add-on will search through a bunch of link providers. You can see the progress with the progress bar on screen
- When it is completed, it will show you a bunch of links. Click on the name of any link to open the stream and the video will begin playing
No-Name
Here’s how to install No-Name:
- First you’ll need to add the Colossus repository. Here’s how.
- Now, click on Add-ons
- Click on Install from repository
- Click on Colossus Repository
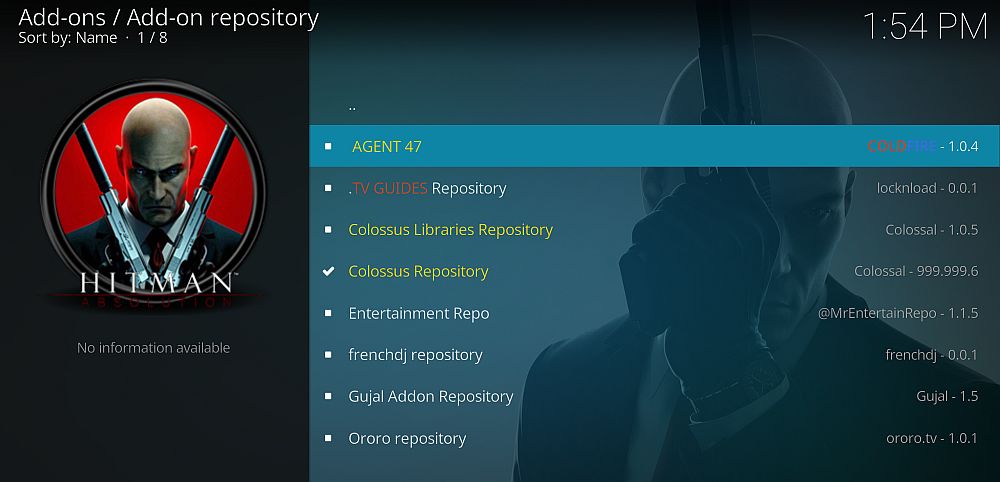
- Click on Add-on Repository
- Click on AGENT 47 and wait for the repository to install
- Go back to Add-ons, click on Install from repository
- Choose AGENT 47
- Click on Video add-ons
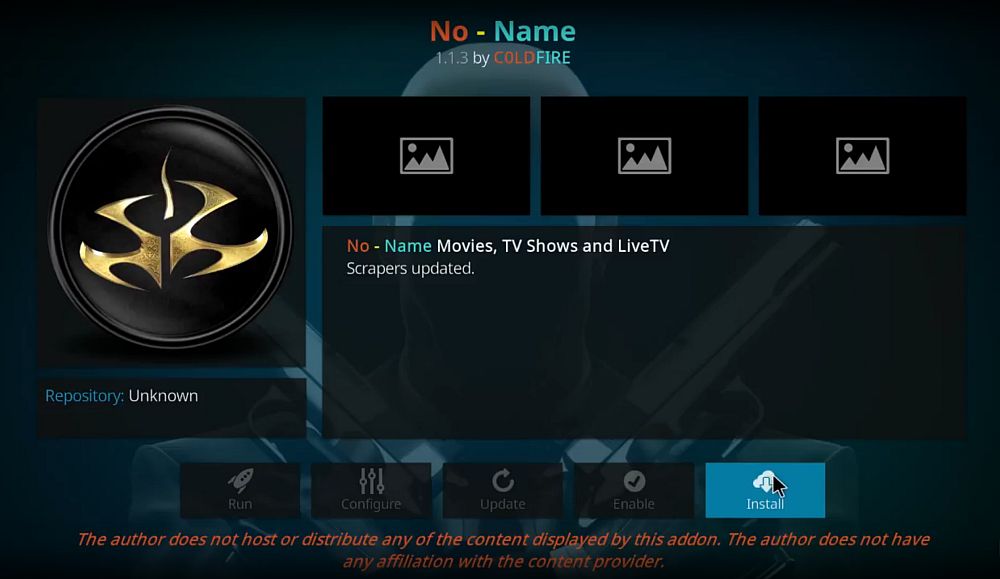
- Click on No-Name
- A screen will open describing the add-on. Select Install from the menu at the bottom
- Wait for a moment and you’ll see a notification once the add-on has been installed
And here’s how to use No-Name once it’s installed:
- Start on your Kodi homepage
- Go to Add-ons
- Go to Video Add-ons
- Select No-Name
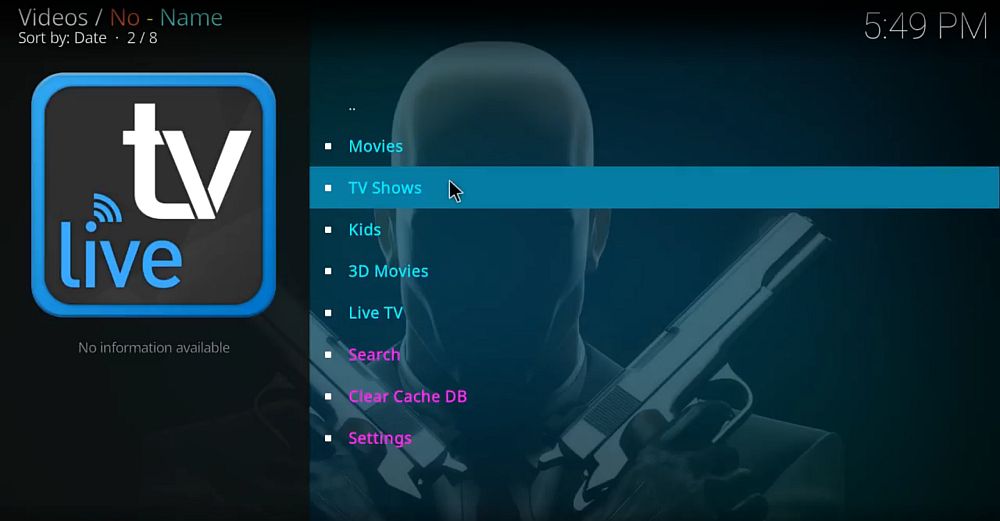
- Now you’ll see options for Movies, TV Shows, Kids, 3D Movies, Live TV, Search, Clear Cache DB, and Settings. This add-on is a little different to the others, so the menus looks different but the functions are very similar
- For example, in the 3D Movies section is a special selection of movies which can be watched on a 3D TV. Click on the title of a film to start the stream
- Alternatively, the Live TV function is also unique to this add-on. Click on Live TV to bring up a list of IPTV providers. Click on the name of a bundle to bring up the list of channels, such as Sky Movies Action or BBC One. Click the name of a channel to begin the live stream
DON’T FORGET: USE A VPN – we have a special offer which is exclusive to Addictive Tips readers (60% off)
Conclusion
Any of these forks can serve as a replacement for the Exodus add-on. Now that Exodus is no longer being updated, it’s a good idea to switch to one of these add-ons instead to make sure that everything keeps functioning as it should. The Covenant add-on is the most popular Exodus fork so that’s the one which most users have moved to, however, you can try out all of these forks and find the one which works best for you. There are only small differences between the forks, with features such as Trakt support for Covenant, live TV options for No-Name, and the TV calendar function for Elysium being the differentiating factors.
Which of these is your favourite Exodus replacement? Or is there another fork which we missed? Let us know in the comments below!
Don't miss this great deal
