Best Alternatives to Gorilla Streams: What Kodi Add-ons to Install As Replacement
The late 2017 DMCA (Digital Millennium Copyright Act) takedowns removed a lot of content from the Kodi community, including the Mucky Ducks repo. One of the top add-ons in this repository was Gorilla Streams. Gorilla Streams offered a ton of live TV, live sports, and live movie streams, all from a straightforward interface. Without it, Kodi users have been left scrambling to find alternatives to their favorite video resource. If you’re not sure where to look for a good Gorilla Streams replacement, check out our suggestions below.
VPNs Keep You Safe While Streaming
Online safety is something everyone thinks about these days. ISPs collect and sell our information, government agencies monitor our activity, and hackers are always searching for ways to steal data for themselves. Staying safe is even more difficult if you use Kodi. The nature of Kodi’s third-party add-ons has attracted a lot of unwanted attention from groups claiming they access pirated videos. How can you protect yourself against these threats? By using a virtual private network.
VPNs encrypt each packet of data that leaves your device, making it impossible for anyone to tell what sites you visit or what movies you stream. They also block attempts at discovering your identity and location, restoring a measure of anonymity to your daily activities. With an active VPN, you can use the internet and stream through Kodi without fear. Choosing the right one can feel like a hassle, which is why we’ve provided a recommended VPN below that will fit your needs nicely.
The Best VPN for Kodi – IPVanish
Most VPNs struggle to find the right balance of speed and security. Usually the stronger a service’s encryption, the slower your connection. Sluggish downloads can ruin Kodi streams, but sacrificing privacy simply isn’t an option. With IPVanish, however, you don’t have to give up one for the other.
IPVanish runs a huge network of over 850 servers in 60 different countries, enough to provide lightning-fast connections to cities around the world. You also get impenetrable 256-bit AES encryption on all data, built-in DNS leak protection, an automatic kill switch, and a zero-logging policy on all traffic. With IPVanish you can stay safe while streaming through Kodi, downloading anonymous torrents, or simply checking your e-mail.
IPVanish offers a 7-day money back guarantee which means you have a week to test it risk-free. Please note that Addictive Tips readers can save a massive 60% here on the IPVanish annual plan, taking the monthly price down to only $4.87/mo.
Gorilla Streams is Down – What to Do Afterwards
When an add-on goes down, the first thing most Kodi users do is run off to the internet to find a good replacement. Doing this skips a potentially important step that can keep your device safe, however. When a repository or add-on shuts down, this opens things up for rogue coders to step in and take over. An add-on may look like your beloved streaming resource, but in the wrong hands it can deliver malware or spying software to your system without you even realizing it. Follow the steps below to protect yourself before you check out Gorilla Streams alternatives.
Step 1 – Turn Off Automatic Updates
Keeping automatic updates turned on is usually a good idea. In the wake of DMCA takedowns, however, it can leave you vulnerable. When an add-on is discontinued by its developer you should immediately remove it from Kodi to prevent fake updates from spreading. It only takes a second, and if the developer revives the add-on at a later date, you can always reinstall it.
- Starting at Kodi’s main menu, click the gear icon then go to System settings.
- Click the gear at the bottom left until it says Expert.
- Select Add-ons from the same options menu.
- Click Updates and change the text to Notify, but don’t install updates.
- Save the changes and exit the settings menu.
Step 2 – Uninstall Gorilla Streams
Now that updates are disabled, go ahead and remove Gorilla Streams from your system. It’s not doing anything and will just take up space, so you’re not missing out by uninstalling it.
- Select Add-ons from Kodi’s main menu.
- Click My Add-ons, then choose Video add-ons.
- Scroll down to Gorilla Streams and click on it.
- Choose Uninstall at the bottom of the window.
- Confirm the uninstall and Kodi will remove Gorilla Streams right away.
Step 3 – Avoid Fakes
Kodi is now cleansed of potentially harmful installs. Now all you have to do is make sure you don’t add anymore! Fake add-on and repository downloads are common after DMCA takedowns. Rogue coders are trying to take advantage of distracted users and will create packages that look like their favorite content. In reality, these are little more than malware. Unless the Gorilla Streams creator announces a comeback, stay away from anything related to the add-on.
Official Alternatives to Gorilla Streams
Within the Kodi community you’ll run across two types of add-ons: official and unofficial. The latter are the ones you see disappear during DMCA takedowns. The former, though, are all safe, legal, functional, and free. Official Kodi add-ons help you make the most of the app without breaking any laws. You won’t find as much variety as with unofficial add-ons, but you may find some new shows and movies you never knew existed!
FilmRise
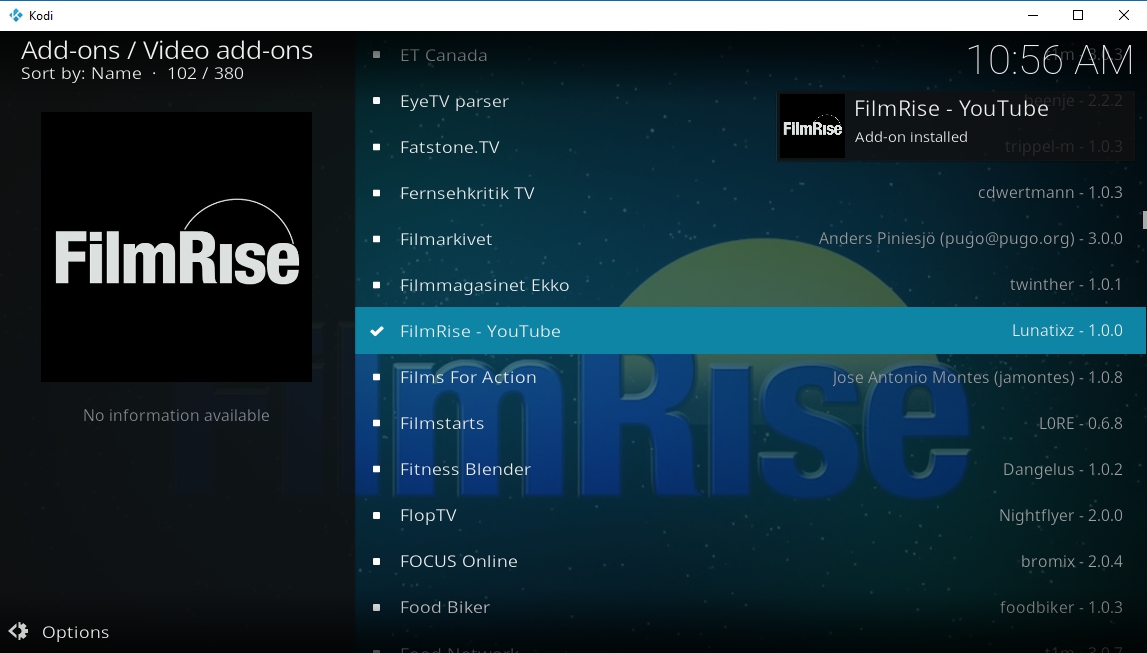
The often-overlooked add-on FilmRise connects to the website of the same name. Both provide information and streams of independent, classic, foreign, and modern film and TV, everything from popular movies to award winning documentaries. The add-on makes it easy to access the website’s content on your Kodi device without having to fuss with menus or awkward interfaces. Just install, browse the latest releases, and enjoy.
How to Install FilmRise
FilmRise is an official Kodi add-on, making it a quick and easy install. Follow the steps below and you’ll be starting your first free movies in no time.
- From Kodi’s main menu, select the Add-ons option.
- Click the open box icon at the top of the menu bar.
- Choose Install from repository, then navigate to the Kodi Add-on repository.
- Choose the Video add-ons folder.
- Scroll down and select FilmRise.
- Click the Install button in the lower right corner.
- The installation will complete in a few moments and FilmRise will appear on your main add-ons menu.
What to Watch on FilmRise
FilmRise is a surprisingly useful resource for new and undiscovered movies. The site and companion add-on make it extraordinarily easy to hunt down upcoming titles from around the world, including both TV and film releases. The catalog is sorted into over 30 different sections with a few unique genres just for fun. The usual selection of history, horror, documentary, comedy, and drama are there, but have you ever wanted to binge on classic wrestling events or paranormal documentaries? FilmRise has plenty, so dive in!
Stream TV Shows with USTVnow
Gorilla Streams had a heavy focus on live TV. Most official Kodi add-ons avoid that area of content, with the notable exception of USTVnow. This handy service offers high-quality live broadcasts from around the U.S. You can sign up for a free account to watch most of the basic streams from ABC to NBC, CBS to Fox, or go premium to catch cable channels as well. To learn more about USTVnow or to get started with the add-on, check out our guide: Install the USTVnow Kodi Add-on.
Unofficial Add-on Alternatives to Gorilla Streams
Gorilla Streams was an unofficial Kodi add-on, meaning it wasn’t made or endorsed by the Kodi development team. If official content just won’t cut it, you’ll need to dive into unofficial sources to get your TV and movie fix. They can be unreliable and of variable quality, but it’s tough to argue with the wide variety of content you’ll gain access to.
Before installing unofficial add-ons you’ll need to toggle one of Kodi’s internal options. This simply allows the software to download files from external sources, a necessary step to get repositories. Follow the steps below to get started:
- Head to Kodi’s main menu, then click the gear icon to enter the System menu.
- Go to System Settings and then click on Add-ons.
- Click the slider next to Unknown sources. Make sure it’s facing to the right so it’s enabled.
- Accept the warning message.
Note: Unofficial Kodi add-ons can access content from a variety of locations, including illegal streams. Addictive Tips does not condone or encourage any violation of copyright restrictions. Please consider the law, victims, and risks of piracy before accessing copyrighted material without permission.
Maverick TV
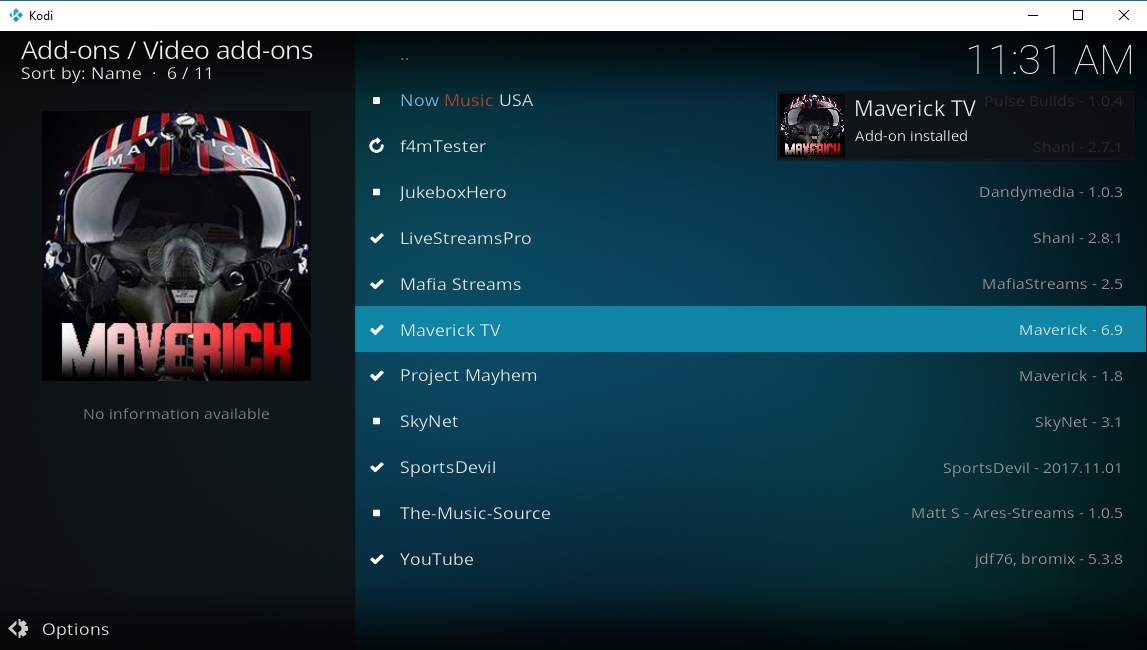
Gorilla Streams had a lot of content. Most add-ons focus on a few limited sources, which can be frustrating if you’re used to Gorilla. Maverick TV doesn’t follow that trend. The add-on comes with countless sources for 4K movies, TV series, live sports, IPTV streams, and a lot more. It’s a staggering variety of content that’s easy to use and surprisingly reliable, just like our old favorite Gorilla Streams.
How to Install Maverick TV
The Maverick TV add-on is part of a repository of the same name. Installation is a quick process that involves downloading the repo, adding it to your system, then grabbing Maverick TV from inside.
- Open your web browser and visit the official Maverick repository page.
- Download the file repository.maverickrepo-#.#.zip and save it somewhere convenient.
- Open Kodi, go to the main menu, then choose Add-ons.
- Click the open box icon and select Install from Zip File.
- Navigate to repository.maverickrepo and install it.
- From the open box menu, choose Install from repository.
- Scroll down and open the MaverickTV repository.
- Enter the Video add-ons folder and scroll to Maverick TV.
- Install the add-on, then access it from the main add-ons menu.
What to Watch on Maverick TV
You want options? Maverick TV has got options. More than you imagined, even. The main menu starts with two dozen categories that focus on TV, music, webcams, movie streams, documentaries, and more. Clicking on each one reveals even more options such as genres or streaming sources. You’re free to peruse the selection as you like, but below are a few of our favorite sections in Maverick TV.
- Maverick 4K UHD Movies – Like the name says, all the super high quality films you can handle.
- Maverick Movies – New releases, classic films, kids’ content, and a selection of popular genres.
- Maverick TV Box Sets – Full TV series for easy binge watching.
- Maverick Sports – Get your live sports fix along with a great selection of on-demand content.
- Maverick 24/7 Movies and TV Shows – Watch live streams through Kodi, or check out U.S. cable channel broadcasts.
Spinz Strictly HD
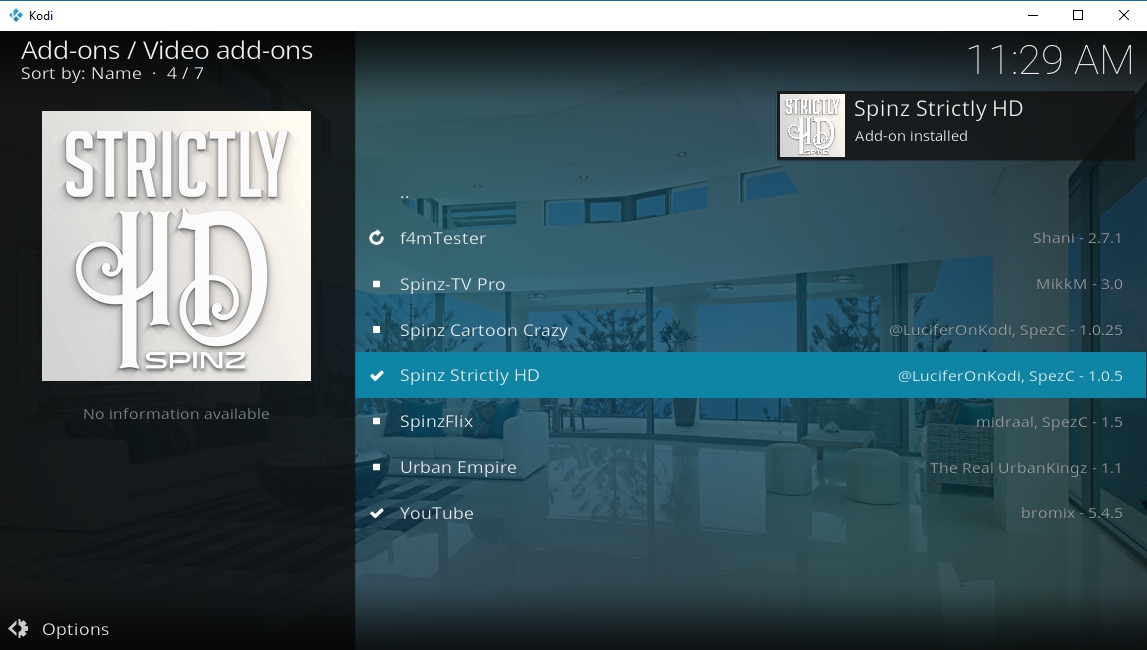
High-quality movie streams are hard to come by, even on Kodi. Gorilla Streams was a good resource for these. Spinz Strictly HD is an excellent alternative that should meet and exceed all of your HD film release expectations. The no-hassle interface presents all the latest 1080p movies, nothing more. It’s easy to sit down and start streaming, and it looks great on the big screen!
How to Install Spinz Strictly HD
Strictly HD is found in the SpinzTV repository. Follow the guide below to install the repo first, then the Strictly HD add-on.
- Visit the SpinzTV repository and download the file named repository.SpinzTV-#.#.#.zip
- Save the file somewhere easy to access.
- Open Kodi, select Add-ons from the main menu, then click the open box icon.
- Choose Install from Zip File
- Navigate to the repository.SpinzTV file and install it.
- Go back to the open box menu and choose Install from repository.
- Select SpinzTV, then enter the Video add-ons folder.
- Choose Spinz Strictly HD and install it.
What to Watch on Strictly HD
Strictly HD keeps everything super simple. Its focus is solely on 1080p movies, nothing else. No TV shows, no old SD releases, no live streams, nothing. As soon as you open the add-on you’ll see trending, popular, and genre categories. The first two let you jump in and see what other people are watching, perfect for those nights when you’re not sure what you want to check out.
A lot of new, top-rated movies are on Strictly HD, all in 1080p or above. Below are a few of the big releases popular at the time of writing:
- Atomic Blonde
- Baby Driver
- Cars 3
- Spider-Man: Homecoming
- Thor: Ragnarok
- Wonder Woman
FTFA
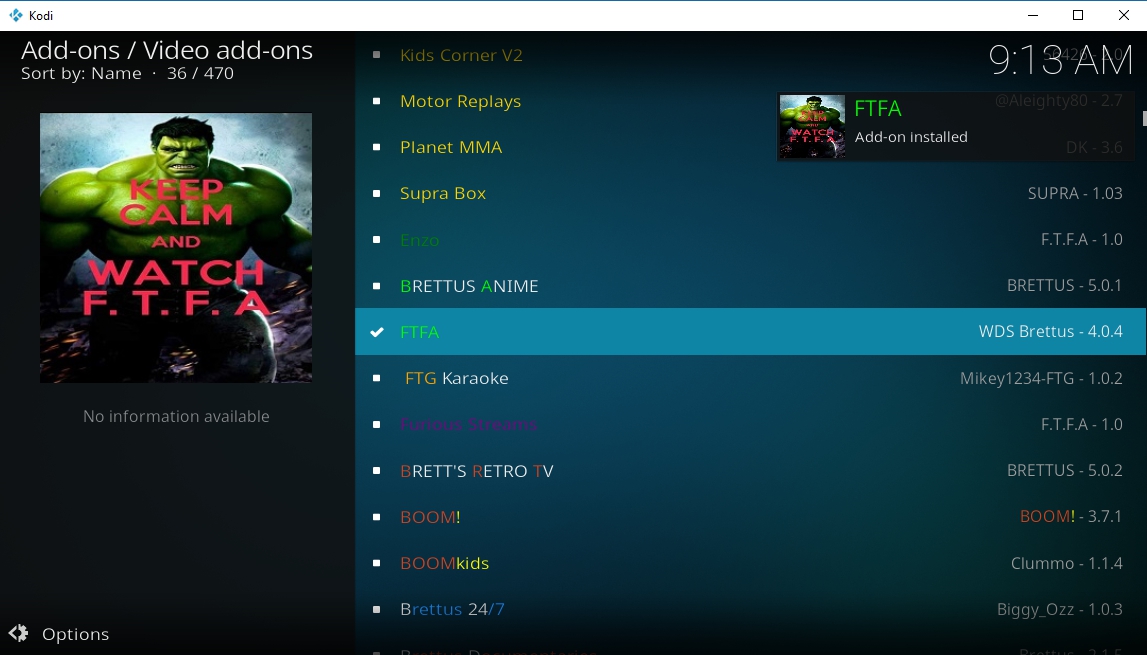
In addition to specific movie and TV show streams, Gorilla was great at providing 24/7 live content. FTFA does a great job replacing that feature with its own selection of broadcast and IPTV channels from the U.S. and UK. Watch movies and TV shows, stream documentaries, catch the latest sports, or just see what a random channel has in store.
How to Install FTFA
FTFA is part of the Brettus Repository, a relatively new collection in the Kodi community. You’ll need to install the repo first, then the add-on, and finally activate everything through a free PIN service. It takes a few extra steps, but it’s worth it for all the live content you’ll have access to.
- Run Kodi, go to the main menu, then click the gear icon.
- Go to File Manager > Add Source.
- Add the following URL into the text box: https://toptutorialsrepo.co.uk/kodi/Repos/
- Enter an easy to remember name, such as .toptut
- Click OK. Kodi will add the repo to your sources list.
- Go to the main menu and select Add-ons.
- Click the box icon at the top of the menu.
- Choose Install from Zip File, then select the repo above.
- Scroll down and find the file named repository.Brettusrepo-#.#.zip
- Install the repo, then go back to the open box menu.
- Choose Install from Repository.
- Select the entry named Brettus Builds Repository.
- Navigate to Video add-ons and scroll until you see FTFA.
- Install, then launch the FTFA add-on. A window will open asking for a PIN.
- Click OK and a website will load in your browser.
- Click the blue GENERATE button to receive a PIN.
- Copy the PIN, then paste it into the Kodi window.
- After a moment the FTFA add-on will validate and content links will appear.
What’s on FTFA?
FTFA is a lot like watching satellite TV. You have access to hundreds of channels at once, pulling from sources in both the UK and the U.S. Content is organized by country first, then channel name, so you won’t be able to just stream a show or movie like you would with other add-ons. Instead, check out a huge variety of live sports, watch film channels to see what’s on, or take a peek at some of the fun extras included with the add-on.
There are over two dozen categories to choose from in FTFA. Below are a few of our favorites for each one.
- 24/7 TV Shows – Live TV from around the world.
- Movies – Sky Movies, Starz, Showtime, HBO HD
- PPV LIVE – Pay per view events streamed as they happen.
- Sports – ESPN, Sky Sports, BT Sport
- TV – BBC channels, broadcast networks from the U.S. such as NBC, CBS, ABC, Fox
Conclusion
Gorilla Streams was a great resource for all kinds of streams. Replacing it isn’t easy, but with the right add-on choices you can fill the void. Do you know about any other alternatives worth checking out? Let everyone know in the comments section below!
