SnapNDrag: Full Screen, Region, Window & Timed Screenshot Tool [Mac]
Mac has a fairly good screen capture function, allowing you to capture the entire screen, a selected region of the screen, and even a particular window. Screenshots are saved in PNG, appended with the date and time of capture to the file name. SnapNDrag is a Mac app for taking screenshots, and it, too, is very basic, but allows you to save screenshots in four formats, and captures the entire screen, a selected area of the screen, a window, or a time-delayed screenshot. You can copy the screenshot to clipboard, and add it to an email via Apple’s native mail client.
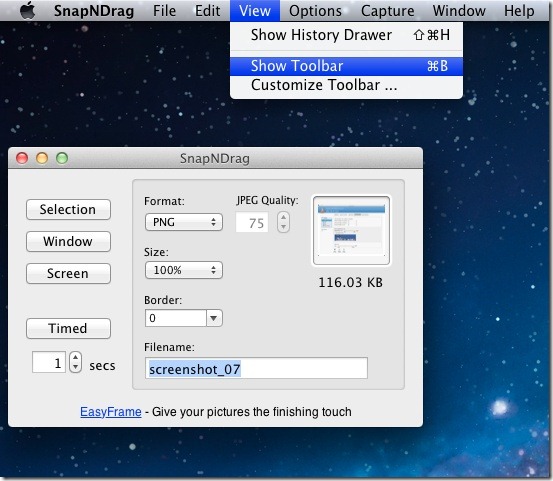
Once you’ve installed the app, one of the first things you should do is to make the toolbar visible on the main app window (saving screenshots with the toolbar hidden is not fun). To view the toolbar, click View on the menu bar and select Show Toolbar.

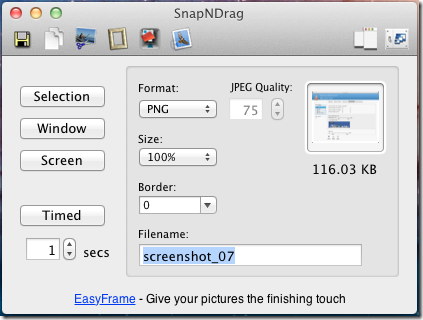
Once the toolbar is visible, you can start taking screenshots. Select which format you want to save the image in from the Format dropdown. You can choose between PNG, JPG, TIFF & GIF formats. Select which type of screenshot you want to take from the three buttons on the left. The timed capture feature appears to work only for full screen image capturing. In the Filename area, you can define a naming format for your screenshots, and the app will append successive numbers to that file name. Once you’ve taken the screenshot, click the save button in the toolbar, and enter a destination for saving files.

The app has both a paid and free version. The free version allows you to do everything described so far, whereas the paid version allows you to reduce the size of a screenshot, and add borders (worth $5.99). The free version additionally integrates with some other image editing Mac apps like EasyFrame, EasyCrop and FileChute, if you have them installed on your system.
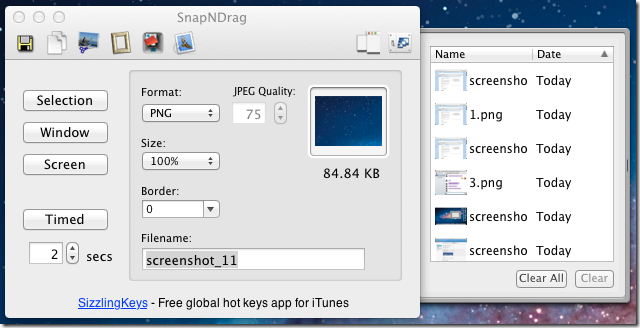
To copy the screenshot to your clipboard, click the copy button, and to add it to an email, click the Apple Mail button in the app’s toolbar. You can take several screenshots without saving them, and view all from the app’s history. Screenshots remain in the history depending on how you have set the app’s preferences.

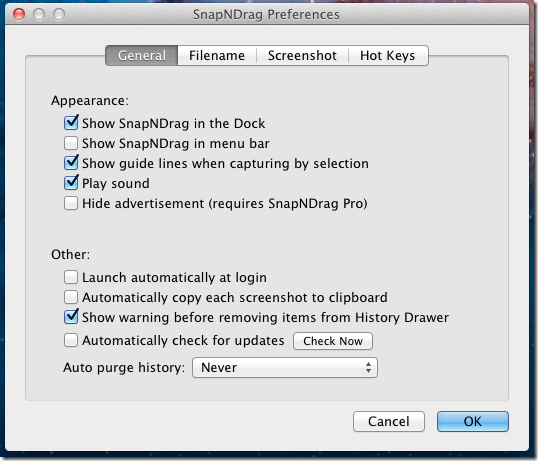
To set how long images are saved, go to the app’s preferences, and in the General tab, select a time frame in the Auto purge history dropdown menu. Additionally, you can set the app to appear in the system menu bar.

This app is fairly powerful for a free program, and if you never move to the paid version, you aren’t missing anything, except keyboard hotkeys and adding borders.
