iRamDisk: Create Virtual RAM Disks In Mac & Mount As Drives [Paid]
You may, or may not, have heard of creating vRAM disks and making your system faster. A Virtual RAM disk can be created using the internal hard disk memory, or you can just buy one. For those of you that know what RAM is meant to do, understand that a vRAM disk is a virtual disk that can can read and write to files faster than to your hard disk. The simplest reason (and there are many other complex ones) to the added speed is that a virtual drive isn’t a separate machine component that requires actual moving parts to read and write information. For the truly tech savvy who know the ins and outs of creating RAM disks, there is an entirely different world of information out there. For simpler users, more specifically, Mac users, there is iRamDisk, an app worth $1.99 in the Mac App Store which allows you to create virtual RAM disks and mount them as regular drives.
Before you create a RAM disk, you should know that it is volatile memory. These drives depend on a continuous power supply to retain the data saved to them. No power, no data. As for the drives created using this app, if you eject them, all data stored in the drive will be lost.
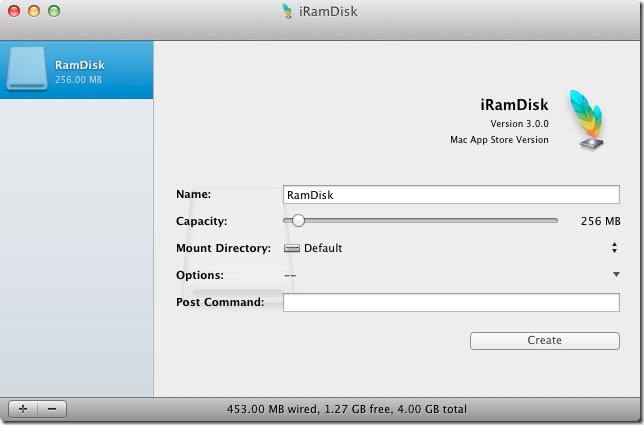
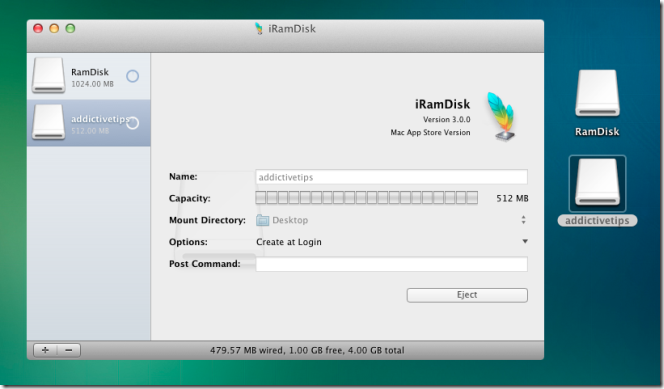
To create a drive, click the plus sign at the bottom of the left panel, enter a name for the drive and move the Capacity slider to set the size of the drive. Chose where you want to mount this drive (the location), and pick from the options if the drive should be mounted on login, hidden in Finder or assign it to Mac’s Wired Memory. Click Create when done, and the app will create and mount the drive to the location you specified.

The app also lets you execute shell scripts from the Post Command field, you can enter and execute scripts here. When creating drives, remember a little rule of thumb that many online experts cite; you should have twice the amount of free memory available as the size of the disk you’re creating.
To use the drives, copy files that you need to extensively read and write to (probably won’t give you much of an advantage with heavy apps like Photoshop), and continue saving to that location. To eject a drive, go to the app’s window, select the drive and click Eject. Remember that all data in the drive will be lost

Virtual drives aren’t something that everyone plays around with, but if your technical expertise is above average, this app can be immensely useful.
Get iRamDisk From Mac App Store
