Instantly Share Files & Screenshots From Mac Menu Bar With Thunder
You have your file sharing and cloud storage apps, and you have your screenshot tools. If you cross the two, you get something like Thunder – a free app available in the Mac App Store that not only lets you take screenshots and automatically uploads them to the cloud, but also allows you to upload any file to the cloud by dragging & dropping it on its menu bar icon. Whenever a file – whether one you added manually or a screenshot you took with Thunder – is uploaded, a link to it is automatically copied to your clipboard. You can upload one or several files at once; in case of more than one file, all files are added to a zipped archive before being uploaded.
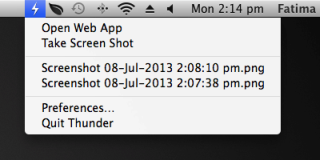
Thunder is a web service and to use the Thunder app, you will need to sign up for a free Thunder account. There is no indication of how much storage space you get with a free account, nor does it say how long your files are kept. Thunder adds a lighting bolt icon to the menu bar; click it to open the app’s menu and select the ‘Take Screen Shot’ option if you want to take a screenshot. If you want to do it more quickly, you can simply click the icon while keeping the Command key pressed. To upload any other files to Thunder, simply drag & drop them on the icon.


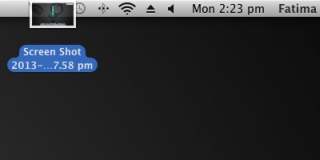
Once a file has been queued for upload, you can view file upload progress on the app’s icon or by opening the menu.


After the upload is complete, you receive a notification for it, and the link to the uploaded file(s) is automatically copied to your clipboard. Thunder integrates with Notification Center so you will be able to dismiss the notifications with a swipe and view them all from the Notification Center. Clicking a notification will open the file in your default browser.

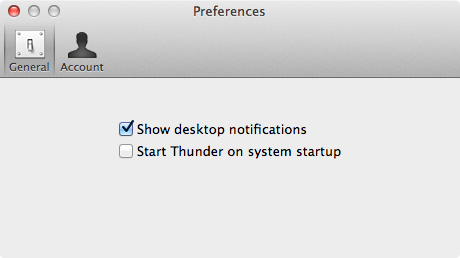
Thunder has very few options to manage in its preferences; you can disable the notifications if they’re bothering you, and set the app to start up when you boot your system. The ‘Account’ tab lets you sign out of your account, and also lets you change other options pertaining to your account by opening the ‘Account Settings’ page for the service in your browser. From there, you can even set the app to use your Amazon S3 bucket for your uploads.

If you want to use the service just on your Mac, you’ll never need to launch its web interface. Though since there is no indication of how long files are kept, you should be careful about that when it comes to files that you want to keep online for long. It’s best used as a means to share files quickly and not as along-term storage and hosting space for your files.
Download Thunder from Mac App Store
