How To Get Started With Procreate For iPad Pro
When the iPad Pro and the Apple Pencil came out, the creative community believe a new world of possibilities had just opened up. It was going to be the Wacom Cintiq killer, the sound of doom for the Surface tabs. Of course, that was all just egregious noise. At best, the iPad Pro was a glorified note-taking ebook reader. At worst, it was barely even a note taking tool. However, it’s not the hardware that defines Apple devices. It’s the apps. This brings us to Procreate for iPad, winner of Apple’s 2013 design award. Procreate is an app that lets you create digital paintings, calligraphy, etc. en masse. This one app was a major lure for creative professionals. Even though it still isn’t quite as powerful as Adobe Photoshop, it is still pretty close. Here is a guide on how you can get started with Procreate.
To use Procreate, you don’t necessarily need an Apple Pencil, or any external hardware. You can just as easily create artwork using touch. A stylus is a good option for enhanced precision but not a must-have. Procreate for iPad supports the Apple Pencil, Pencil for FiftyThree, and Adobe Ink, among others.
Edit A Project
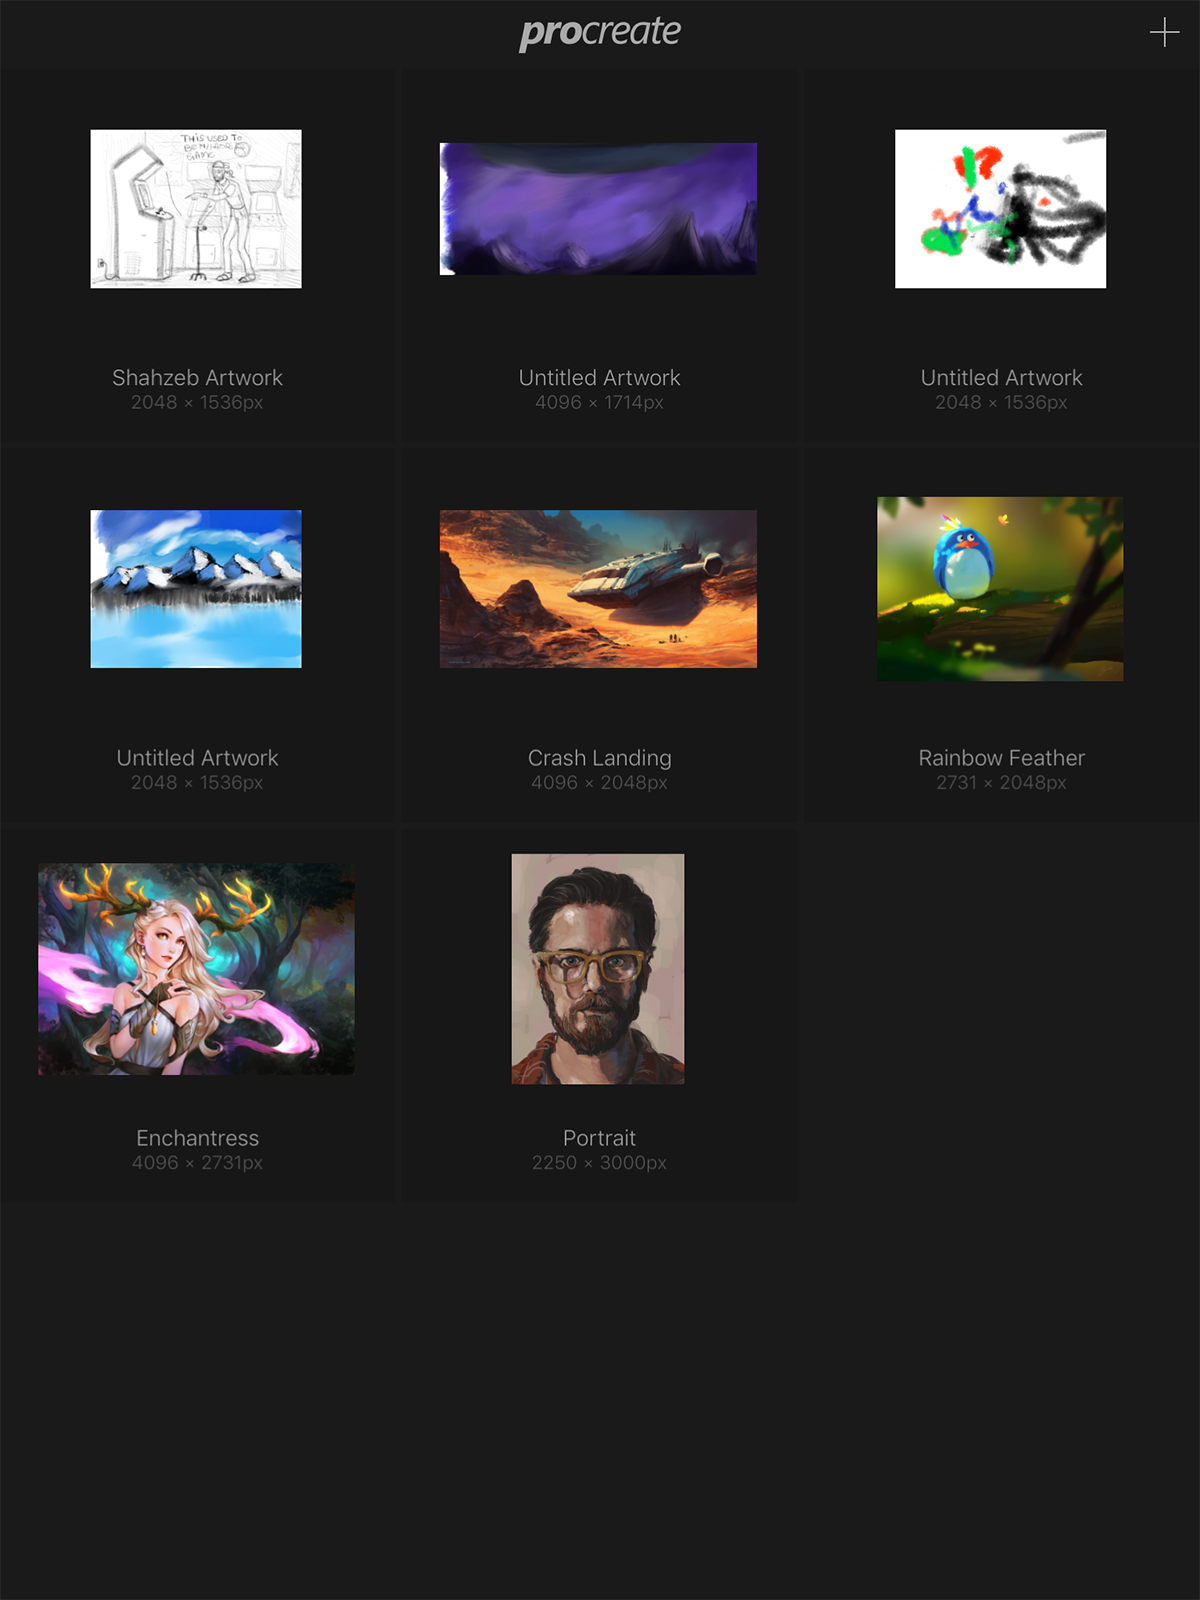
Launch the app and you will will see a screen showing all your projects. If you want to edit something old, just tap on the image and Procreate will take you right to it. If you want to interact with any image, just swipe left on it and you will be able to delete/duplicate/share it.
You can long press to select multiple drawings for bulk actions, or you can group them together (standard drag and drop).
Creat A New Canvas
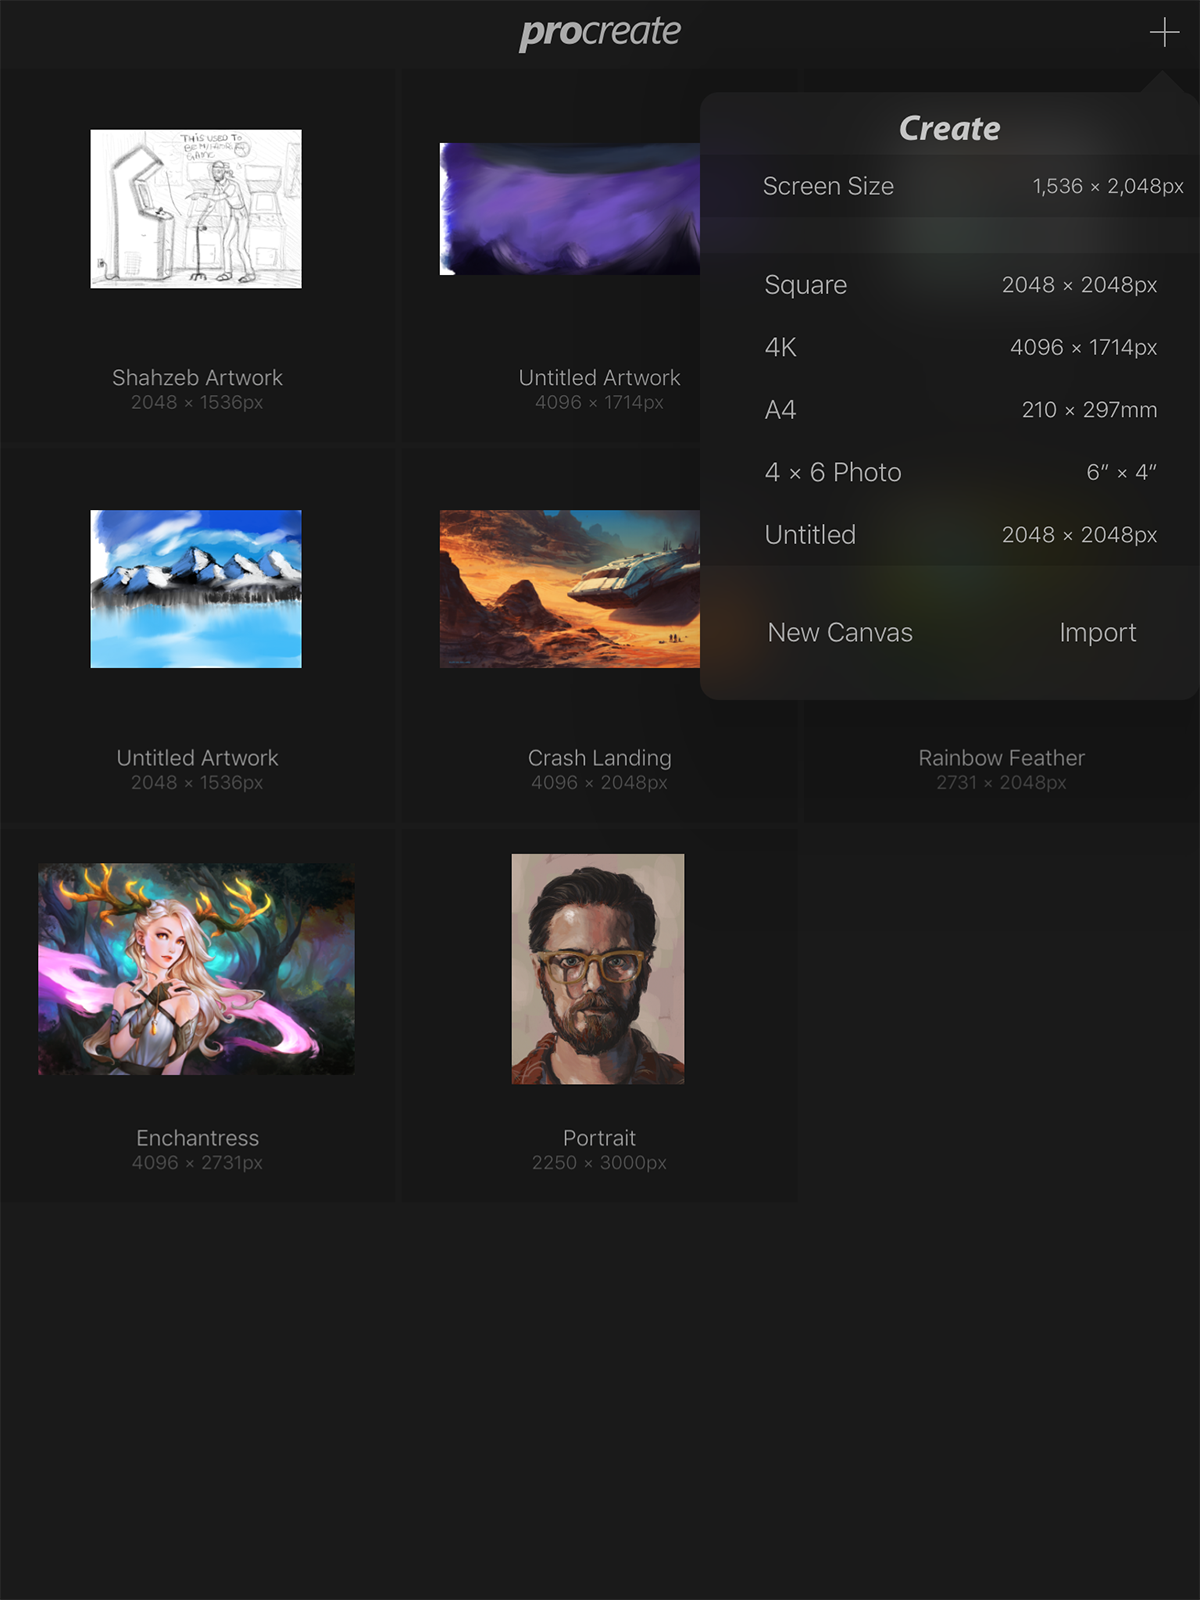
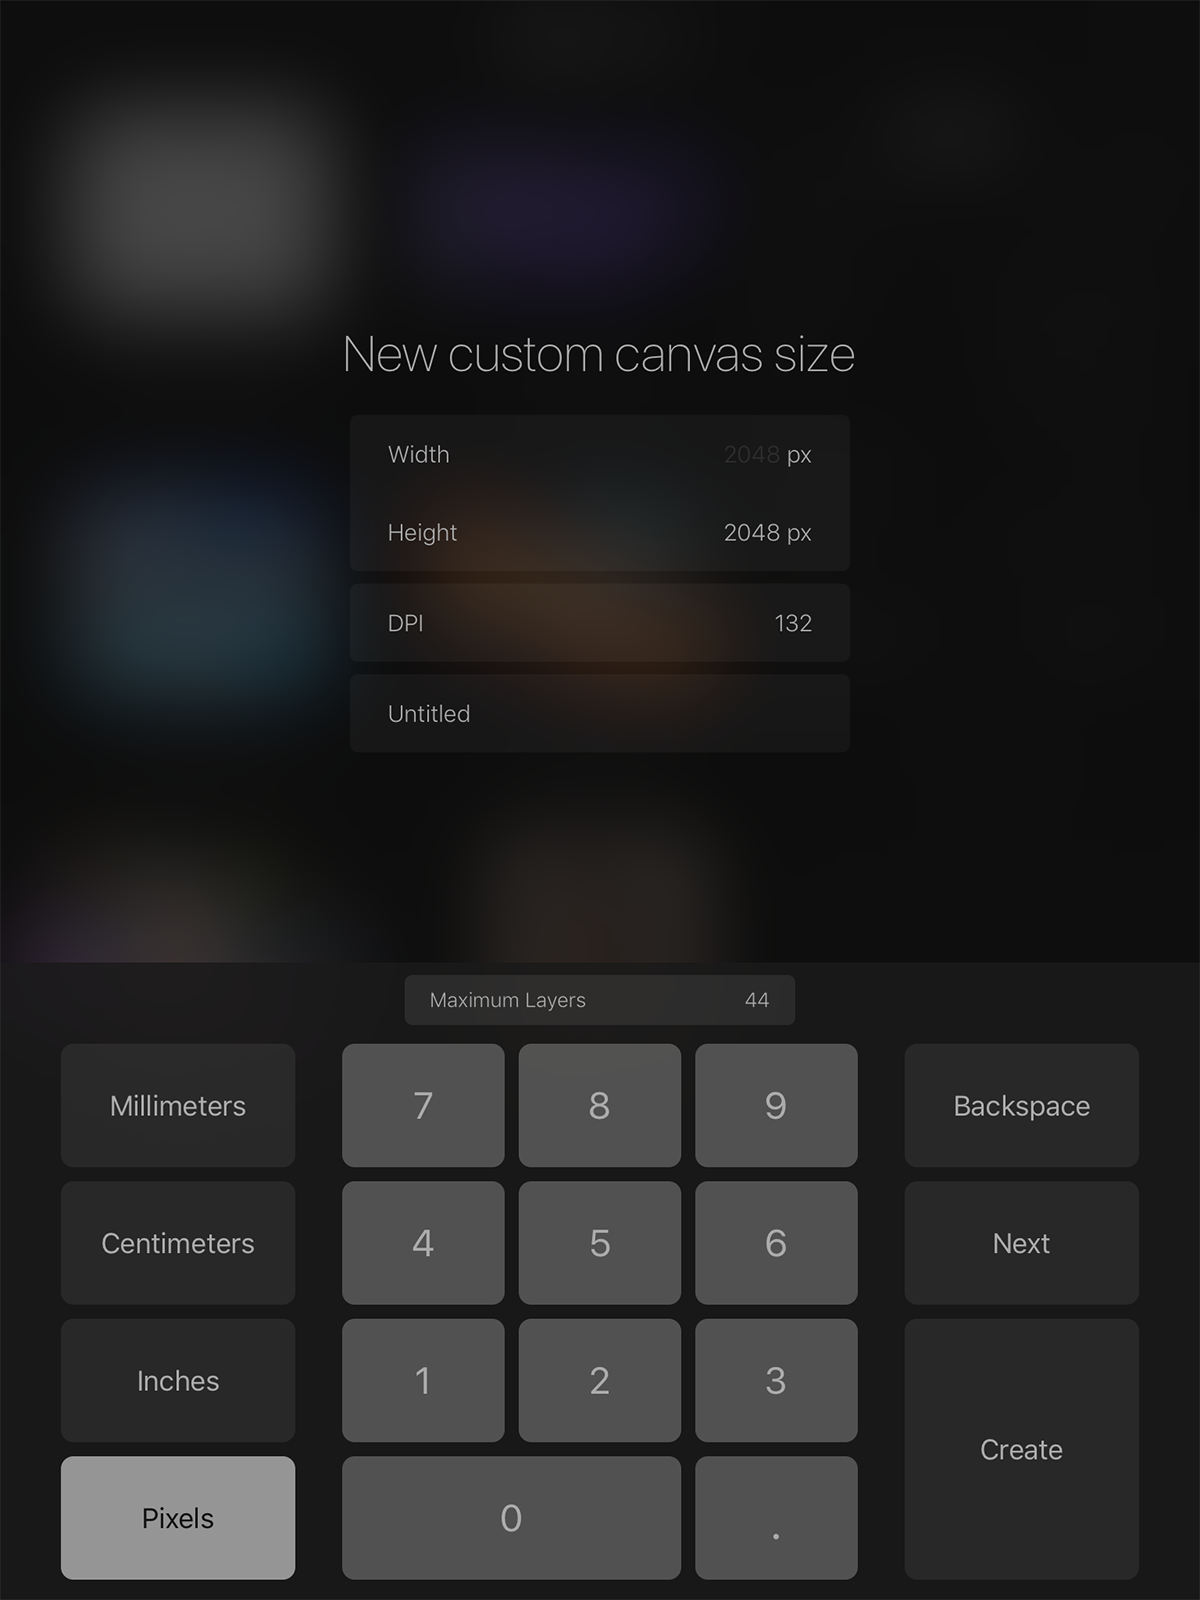
Launch the app. At he top right-hand side corner, tap the plus button. You will be given a list of different canvas sizes you can work with. The default being your iPad Pro’s resolution. If these don’t meet your needs, you can tap New Canvas and you enter a custom canvas size and resoltion.
The maximum resolutions are:
- iPad Pro 12.9″ – 16384 x 4096, or 8192 x 8192
- iPad Pro 9.7″, iPad Air 2, iPad mini 4 – 8192 x 4096
- iPad Air 1, iPad 4, iPad 3, iPad mini 3, iPad mini 2 – 4096 x 4096
- iPad 2, iPad mini 1 – 4096 x 2616
Import A Canvas
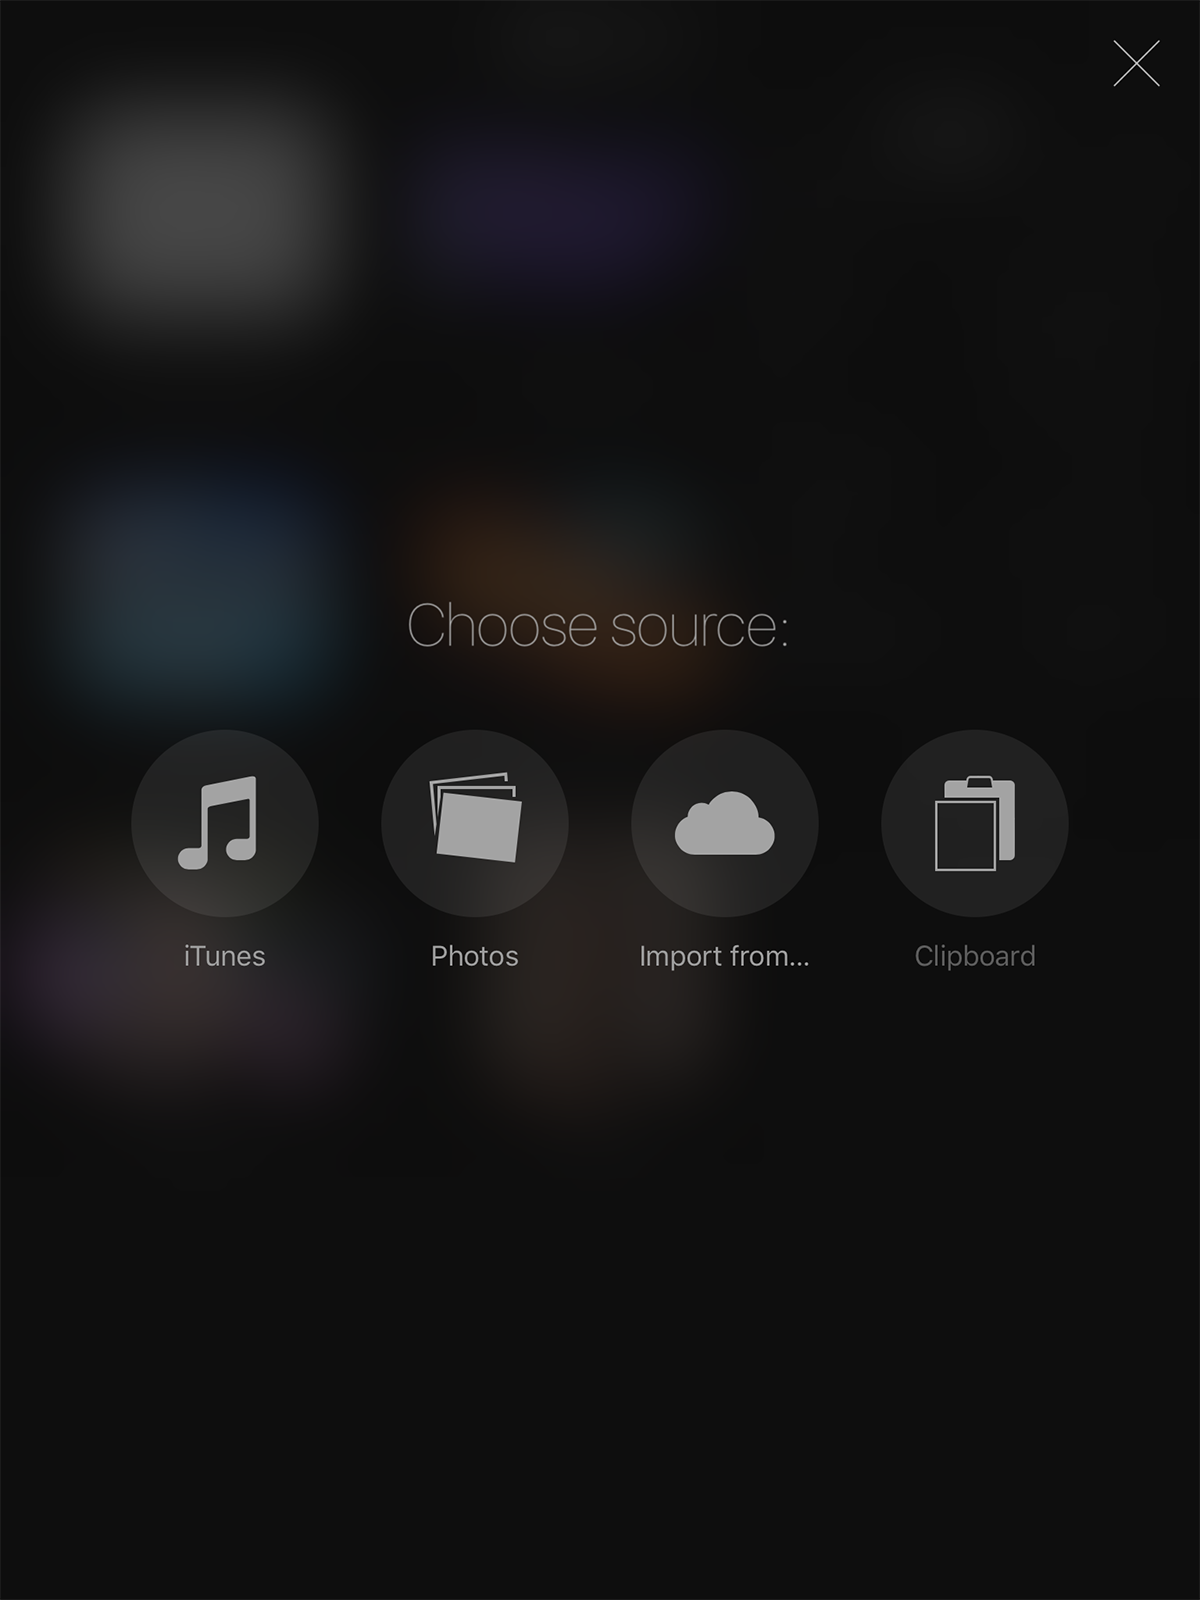
Additionally, you can also import a canvas into Procreate. This is in case you want to continue work on a drawing from another platform/device, or if you want to work off of another template. All files are stores in a [filename].procreate format, but you can import PSD files. Pick one and let’s get started.
UI Controls
The screenshot below shows you the name of each tool that you can access in Procreate. You have the tools for selecting elements, a paint tool, a color picker, an eraser, layers, and more.
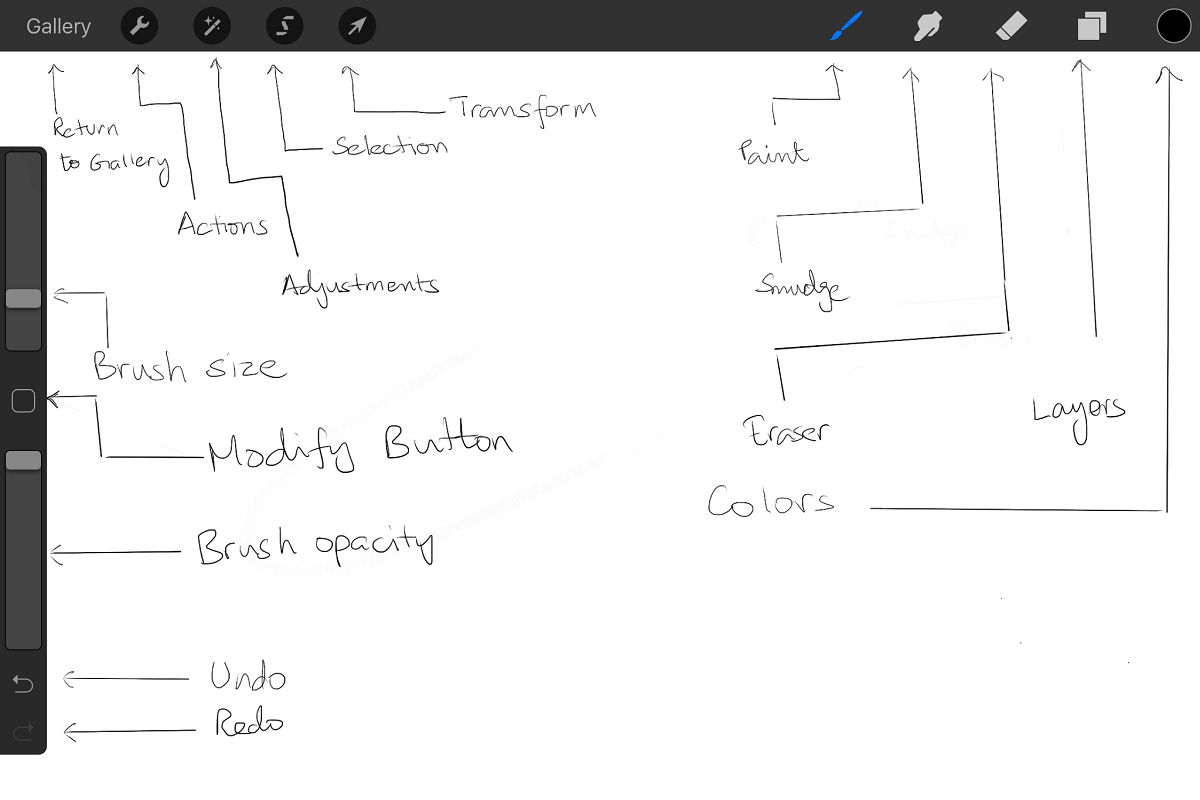
Undo/Redo Action.
Procreate can undo up to 250 actions in one go. Tap the screen with two fingers to undo one move, keep both fingers pressed to undo more actions consecutively.
In case you have gone too far back, tap the screen with three fingers and you will be able to redo your last action. Tap and hold with three fingers to redo more moves.
Drawing Basics
In order to draw a straight line, start drawing from your origin spot and draw all the way to the destination but do not lift your pen/stylus/finger. The shape will snap into a straight line. If you don’t lift your pen/stylus/finger you can move the straight line around until you find a suitable position for it.
If you want to clear the contents of an entire layer, use three fingers to scrub the screen. This will empty the entire layer.
You can pinch to Zoom in or out, or you can hold two fingers and rotate the canvas as you see fit. This is a simple gesture, but takes a few tries to get the hang of. Just pinch the screen inwards but lift your fingers as you finish pinching. This will fit the image to the screen. Do the opposite of this gesture to put it back in its original state.
Swipe downwards with 3 fingers to show options for cut, copy or paste.
Tap the screen with 4 fingers to switch to fullscreen. Tap with 4 fingers again to go back.
Working With Layers
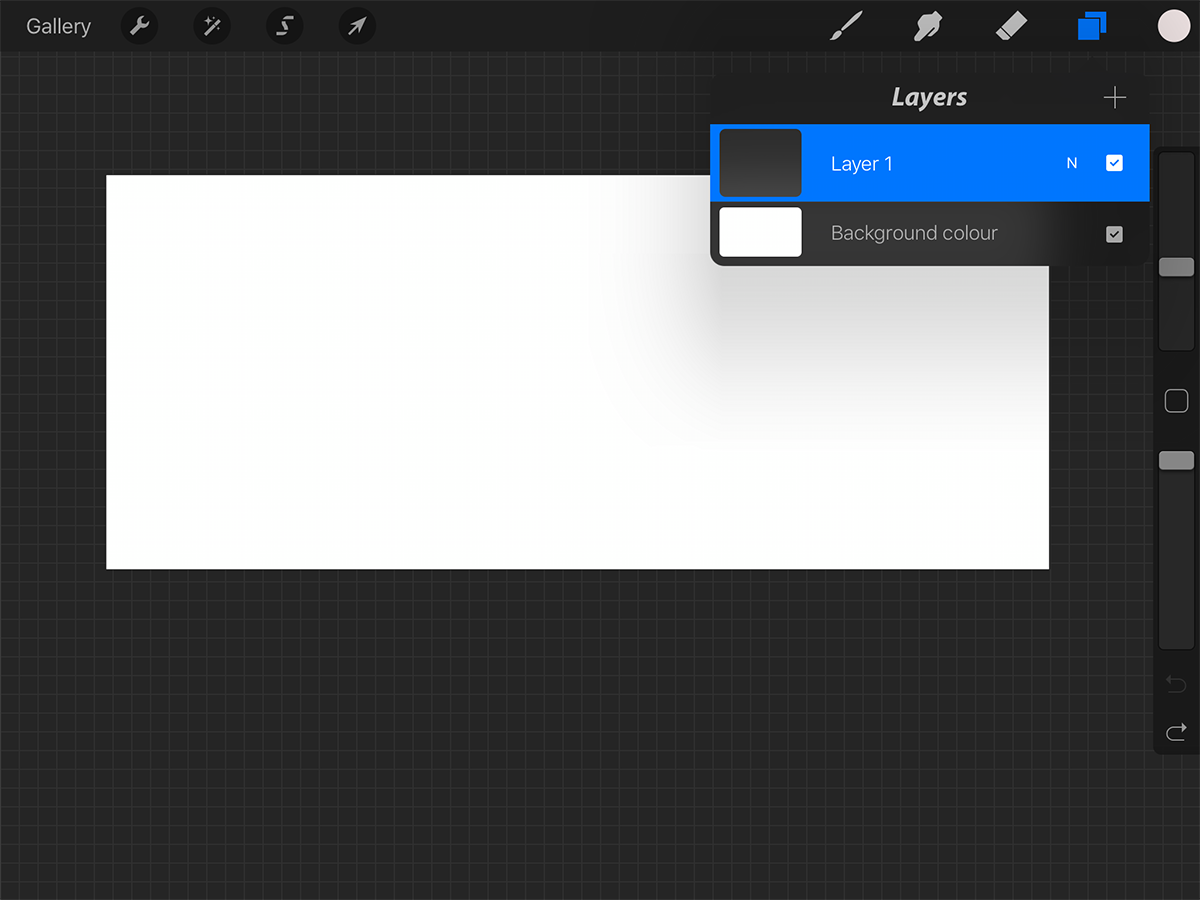
Tap the layers button to reveal all the layers. If you want to merge more than one layer, pinch the first layer and the last layer and squeeze. Every layer between the two will merge into a single layer. In the Layers menu, swipe from left to right (you’ll see a – sign) to interact with multiple layers simultaneously. If you two-finger tap a thumbnail of a layer, you can see the opacity options for said layer. Swipe a layer from left to right with two fingers to lock that layer’s transparency. If you want to select the entire contents of a whole layer, just tap and hold on that layer with two fingers .
Brushes
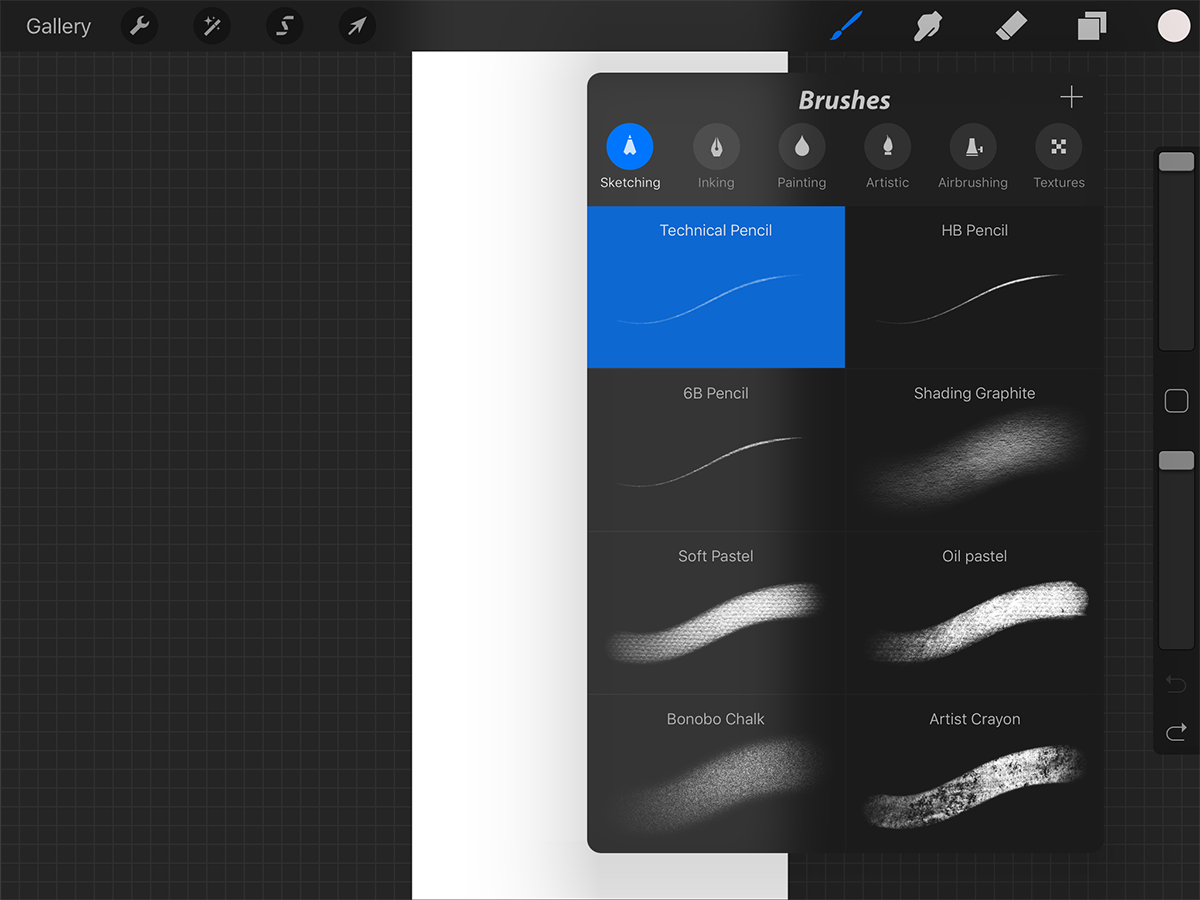
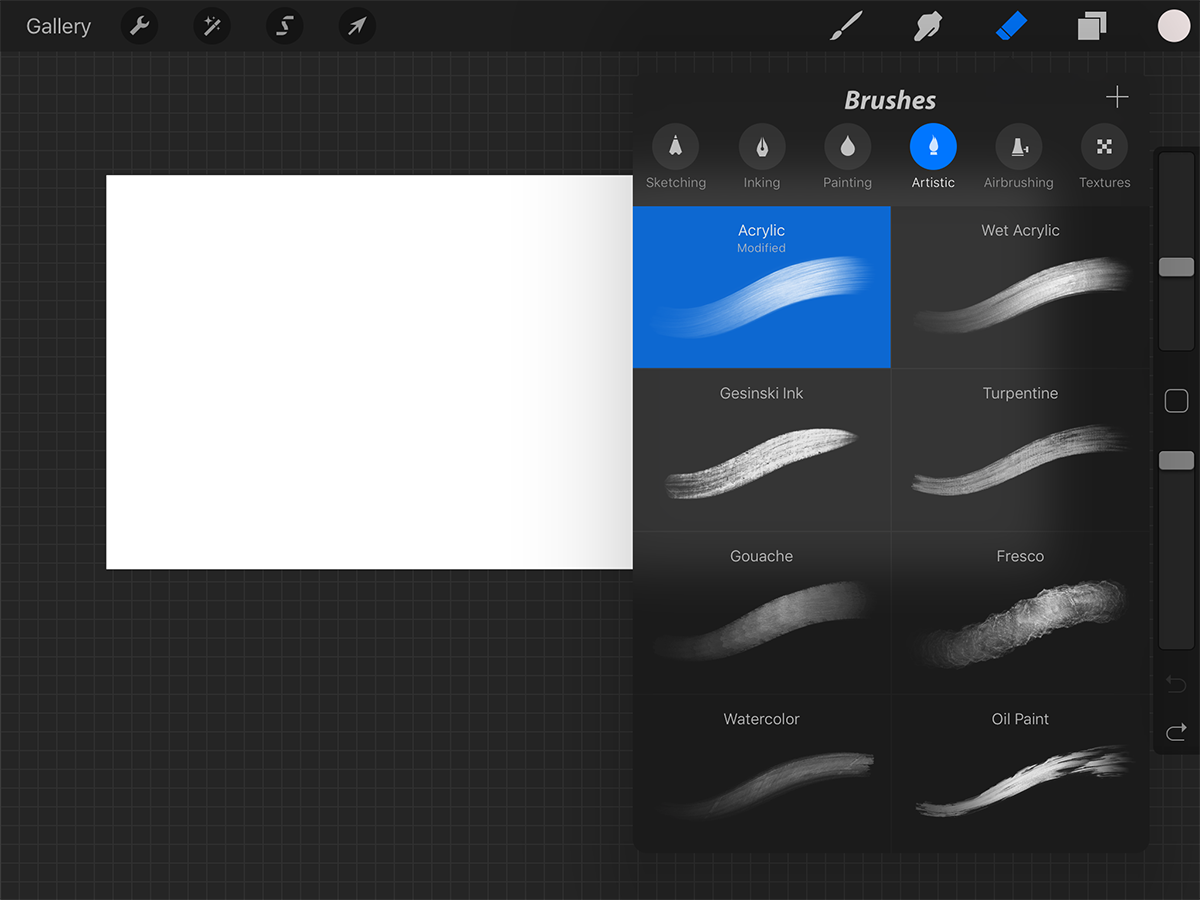
No drawing tool would be complete without brushes. Simply tap on the brush tool, and pick out a brush from the numerous groups that this app ships with. Each brush has its value to add to a drawing. Professional artists will know what they are looking for. Novices can experiment with different ones to find a good fit.
If someone has sent you a brush (email, iTunes, or self-created), just tap the + next to the Brushes label to import it. New brushes will be placed in a separate folder called Imported. Swipe to the last Brush Set panel to find it and tap and drag to replace it as you see fit.
You can also select different brushes for an eraser.
Preferences and Color Picker
From the Actions button, find your way to the Prefs button. Here you can switch drawing hands, choose interface color (you can go light instead of the default dark) as well as other advanced options that you can modify, if you want, but we recommend staying away from these until you’ve had more practice on the app.
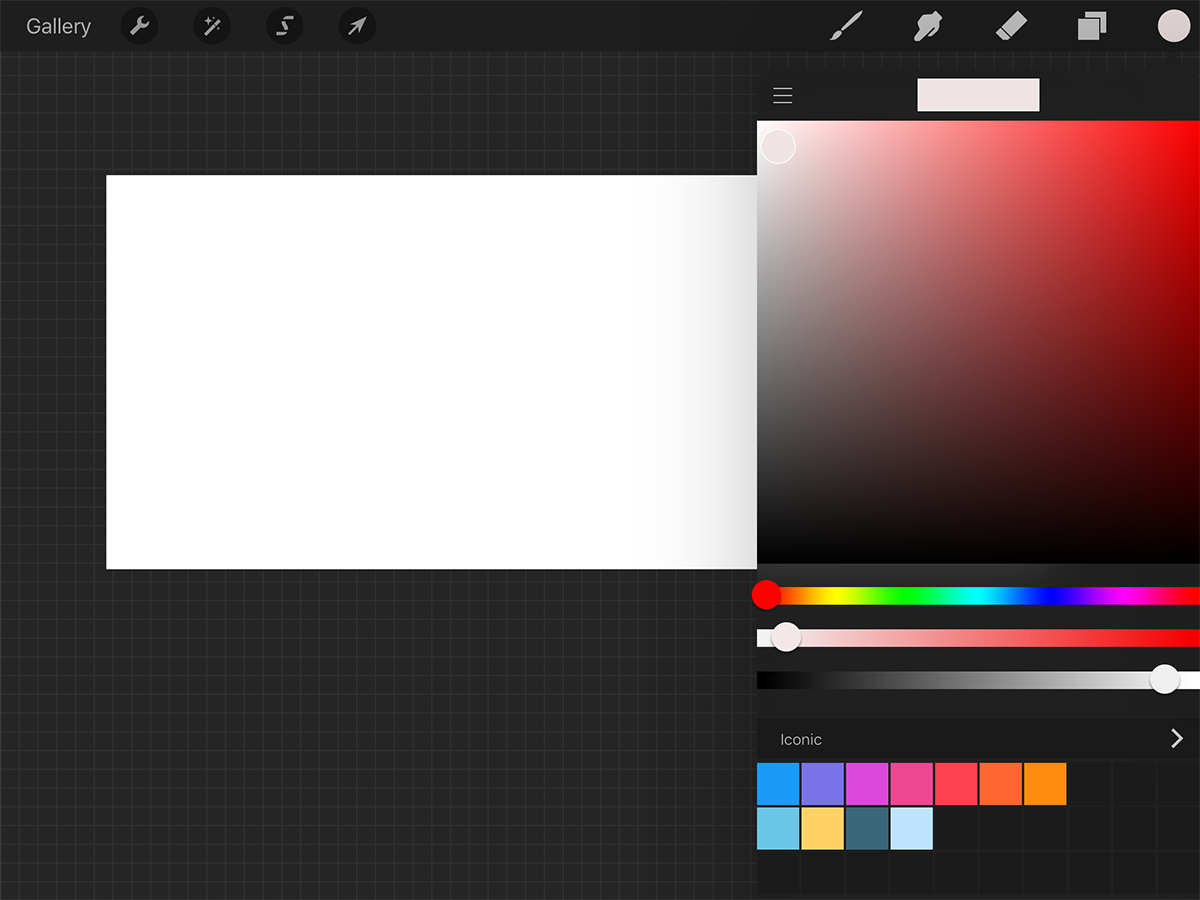
If you select Classic Color Picker, you will see a more traditional palette, that shows you a single color and all its possible gradations. Something that is very useful for shading.
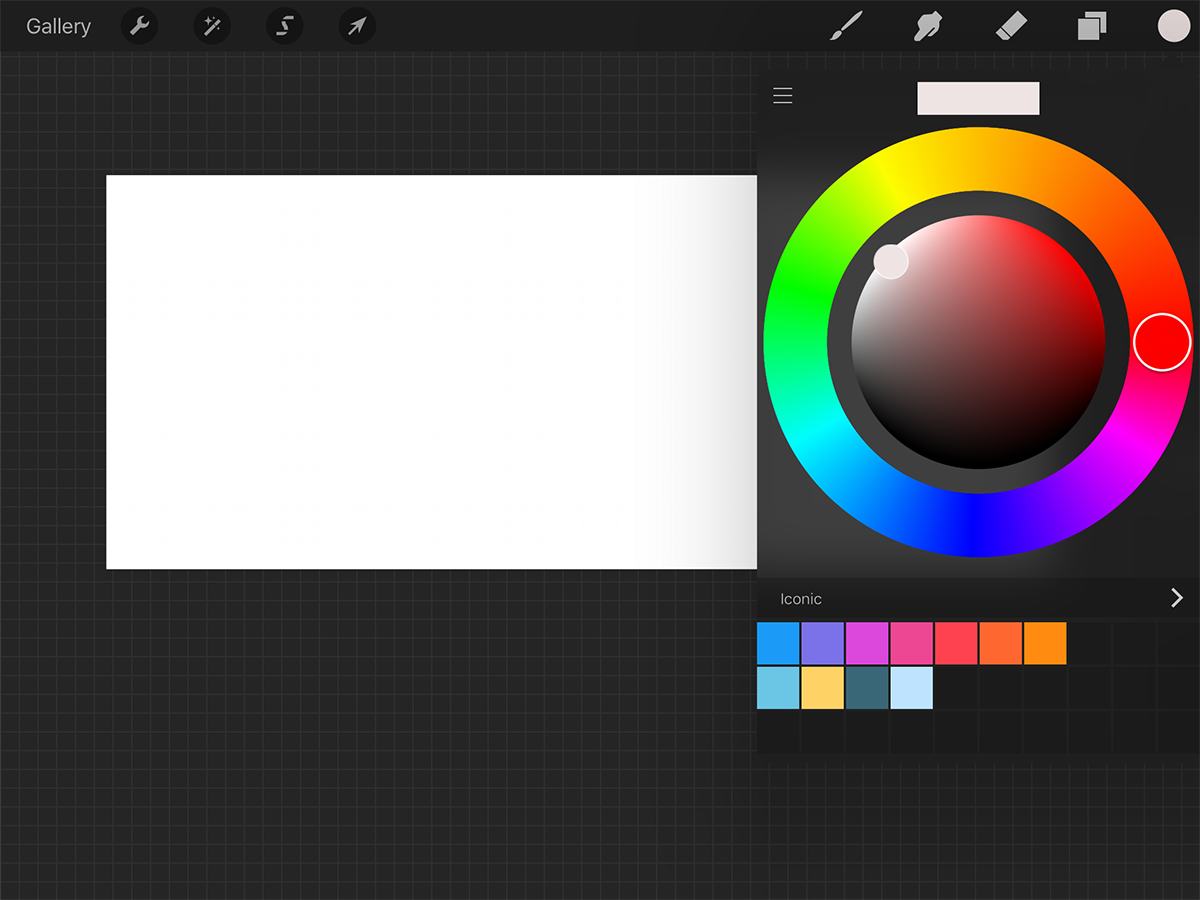
Alternatively, you can select the new color picker that gives you both gradation as well as a range of colors to make color selection easier.
Timelapse
The best part about working in Procreate is that you can view your artwork in a Timelapse video. It logs each stroke (minus undone strokes) and then lets you export it as a video. This is useful for professionals reviewing their process, or perhaps to communicate their process with other artists.
You can now get started with Procreate. If you have any questions about specifics of the app, leave us a comment and we’ll talk about it.
