How To Sync Your Nokia Phone With Mac Easily Over Bluetooth
All Nokia devices supported by iSync can connect to your Mac through Bluetooth. However, selected Nokia device models can also be synchronized through a USB cable in addition to using Bluetooth. If iSync supports both Bluetooth and USB connections to your Nokia device, you can choose whichever connection method you prefer for the initial setup. Follow these simple steps to connect your Nokia Phone with you Mac.
Before you set up iSync, make sure that your Nokia device and your Mac are paired over Bluetooth.
Launch iSync
Launch the iSync application on your Mac. Navigate to Finder Menu > Go > Applications > iSync.
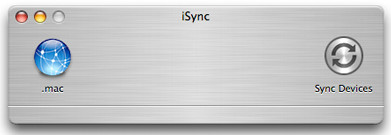
Add Device
Select Add Device from the iSync menu, then chose your Nokia device from the list.

Sync Your Data
You may now sync your calendar and contact info.
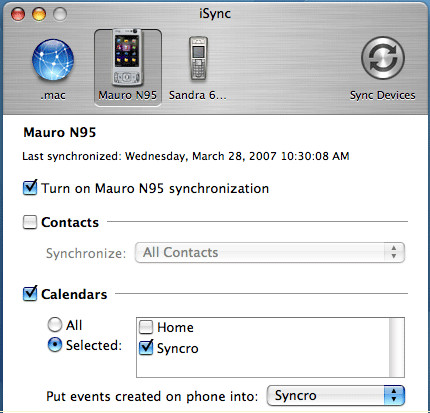
Pairing Your Phone With Mac
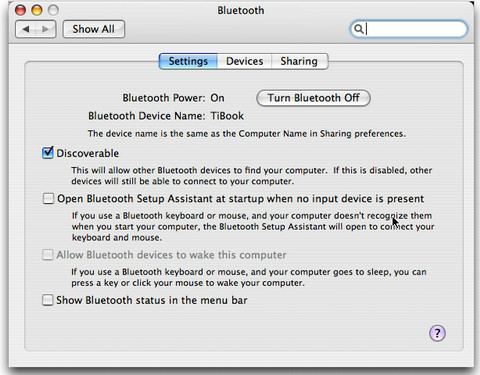
To pair your Nokia device with your Mac over Bluetooth, make sure Bluetooth is enabled on your Mac.
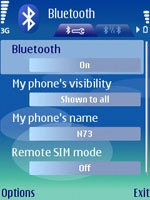
You will also need to turn on Bluetooth on your Nokia device. The settings can usually be located Under Connect > Tools or Settings depending on your Nokia device.
On your Mac choose Set up Bluetooth Device from the Bluetooth item on the menu bar. If you do not see a Bluetooth item on the menu bar, go to System Preferences > Bluetooth > Devices and click Set Up New Device. The Bluetooth Setup Assistant will now pen. Click Continue and select mobile phone as device type.
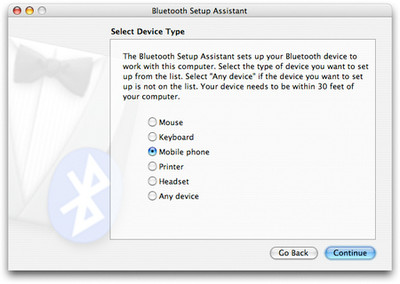
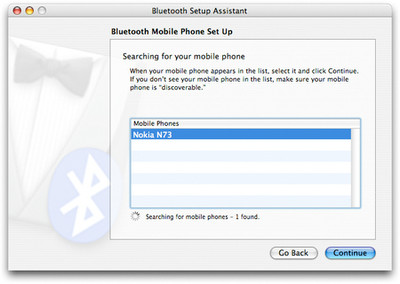
Now Mac will begin searching for mobile phones. When you see your Nokia device’s name on the list, select it and click Continue. Now your Mac will gather information about the Nokia device you selected. When it has completed, click Continue.
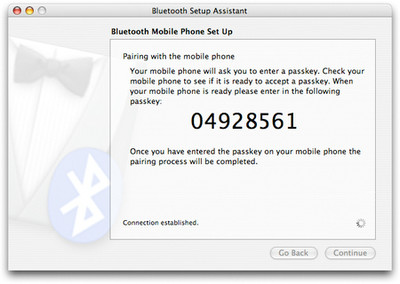
Your Nokia device should now ask for a passkey to connect to your Mac. Enter the passkey displayed on the dialogue box and accept the connection requests from your Nokia device.

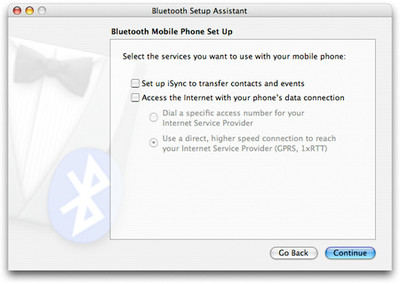
Select the services you want to use with your device by checking the boxes. If you are using iSync or Nokia Multimedia Transfer, you have now finished pairing your Nokia device and Mac and may press Continue. You should see a confirmation message displayed on your Mac.
I hope I haven’t missed any step, do let us know with your feedbacks in the comment section.
Update: Since iSync is no longer available in Mac, here is an alternative.

Hello Assad ! Thanks for your explanation with hardcopies.
You wrote this post in 2008 but I ask you in 2011;) because something wrong with my connection in the step “Add Device” what happens when scanning, device is not found ?
I have never had and never will have any love for computers! Though, in this time in this world you can not come along if you don’t work with a computer. Though this was a pleasure to do! It works, and it worked the first time!!!
It works!!! Great, THNX.