How to use Adobe Acrobat on Chrome OS
PDFs are very important in this day and age. From paperwork to applications, and even government documents, you need a way to fill them out on your computer. If you’re on a Chromebook, you’re stuck with Google’s sub-par PDF tool. Thankfully, it is possible to install the Adobe Acrobat document app on Chrome OS. Here’s how to get it working on your system.
How to enable Linux on Chrome OS
To use Adobe Acrobat on your Chromebook, you need to have Linux support enabled on your Chromebook. First, click on the clock in the Chrome OS dash. Then, find the gear icon, and select it with the mouse.
Selecting the gear icon in the clock menu on your Chromebook will launch the Chrome OS settings area. From here, find the “Advanced” section, and click on it with the mouse. Upon selecting the “Advanced” option, find “Developers” and select it to access the “Developers” area.
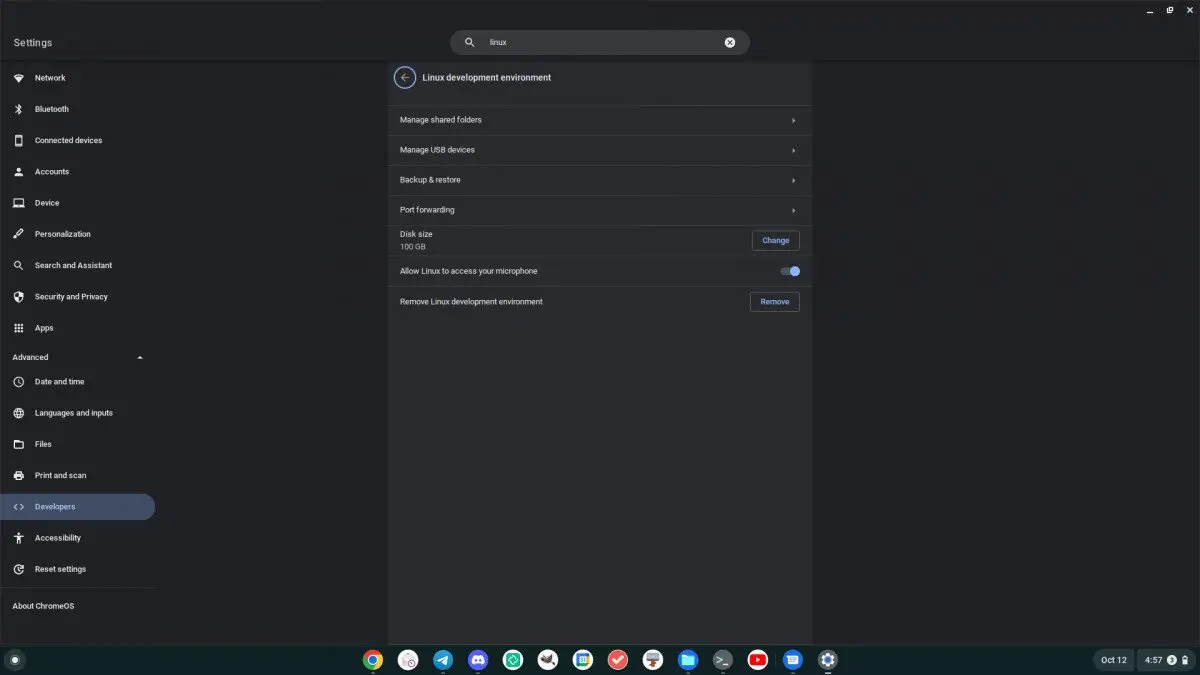
Inside the “Developers” area, find “Linux developer environment,” and select it with the mouse. After selecting it, find the “turn on” button, and click on it with the mouse to enable Linux support on your Chromebook.
When you select the “Turn on” button, Chrome OS will download a Debian Linux container to your Chrome OS system. Additionally, it’ll download and install a terminal application, and then launch it.
Inside the Chrome OS terminal application, find “Penguin,” and select it with the mouse. After selecting “Penguin,” you’ll have access to the Chrome OS Linux command line. Using the terminal, enter the apt update and apt upgrade commands to update all of the programs.
sudo apt update

sudo apt upgrade
Once everything is up to date, you’ll be free to install Linux software on your Chromebook like Adobe Acrobat.
How to install Adobe Acrobat on Chrome OS
If you have some PDFs that you need to view or edit on your Chromebook, you’ll want to install Adobe Acrobat Reader. Thankfully, there is a Linux version, and you can install it easily through Flathub as a Flatpak.
To install Adobe Acrobat, start by launching the terminal app on the Chrome OS desktop. Once the terminal app is open, find the “Penguin” option, and select it with the mouse. Upon selecting “Penguin,” you’ll have access to the Linux terminal interface on your Chromebook.
Using the apt install command, you can install the “flatpak” package. This package is important, as it is responsible for making sure that Flatpak apps like Adobe Acrobat will work on your system.
sudo apt install flatpak
With the “flatpak” package installed, you must enable the Flathub app store. Enabling this app store is required, as without it, Acrobat cannot be installed. To enable the Flathub app store, enter the following command.
flatpak --user remote-add --if-not-exists flathub https://dl.flathub.org/repo/flathub.flatpakrepo
With the Flathub app store enabled, you can quickly (and easily) install Adobe Acrobat on your Chromebook using the command below.
flatpak install flathub com.adobe.Reader
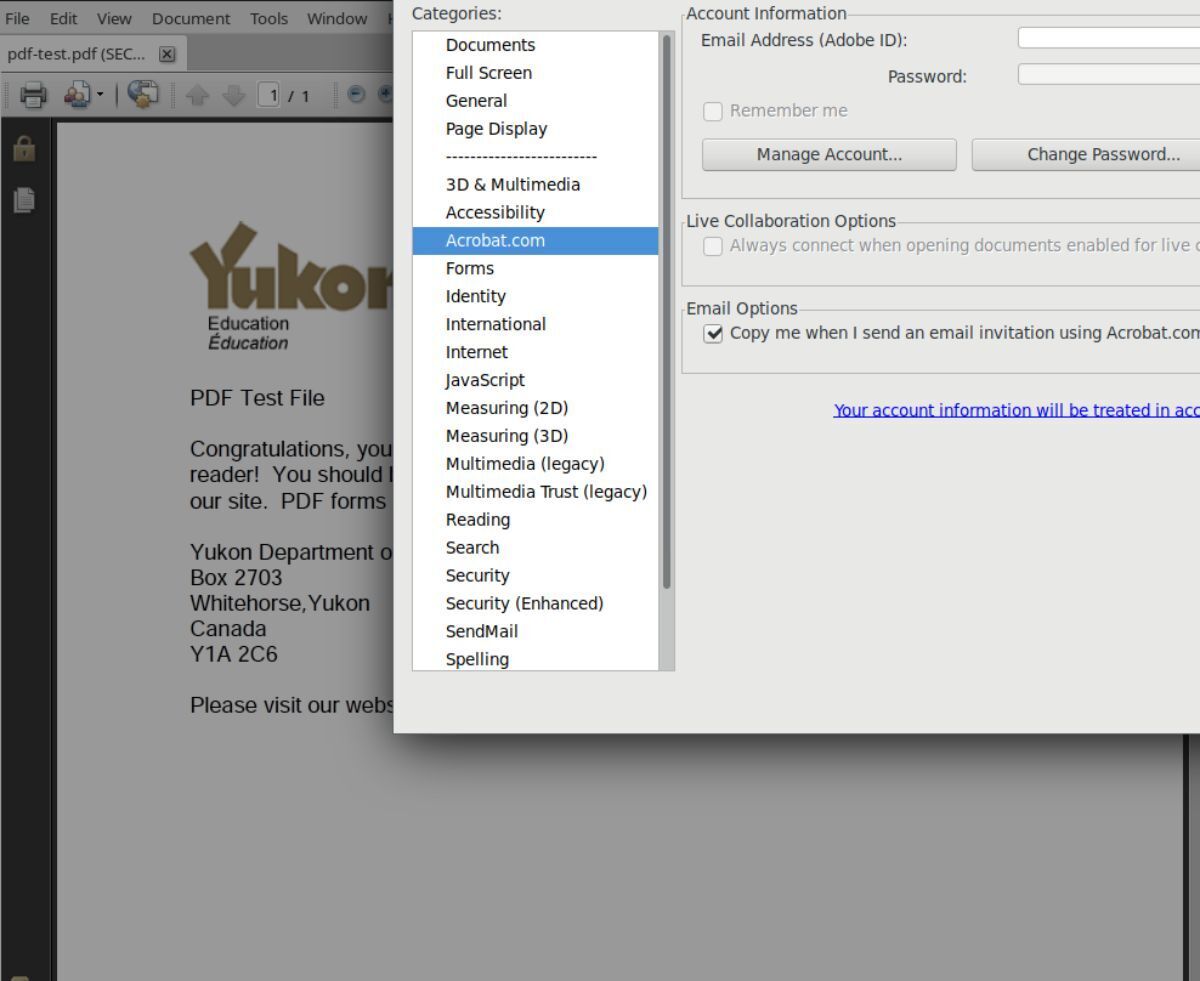
Once the installation is complete, Adobe Acrobat 9 will be available to use on your Chromebook via the “Linux apps” directory. Note that you will need to add PDF files and other documents to the “Linux files” folder in the Chrome OS File Manager before you can access them.
Adobe Acrobat alternative – Okular
Adobe Acrobat is available for Chrome OS, but it’s an incredibly old version. If you don’t absolutely need Acrobat specifically, consider trying out one of its most popular alternatives on your Chromebook: Okular. It can read PDF files, it’ll let you edit them too. Additionally, it has support for a wide variety of formats, including Markdown (.md).
Okular is available to Chrome OS users via the Debian packaging tool apt as well as a Flatpak package on Flathub. To install the software on your Chrome OS device, start by launching the terminal, and select “Penguin.”
Once inside of the Chrome OS terminal, use the following apt install command to install the software on your Chromebook.
sudo apt install okular okular-extra-backends
When the packages are set up on your Chrome OS device, you will be able to launch Okular from the “Linux apps” folder in the Chrome OS menu. However, keep in mind if you wish to view/edit PDF files, and documents of other types, they must be placed inside the “Linux files” folder via the Chrome OS File Manager tool.
