How to safeguard your data on Chrome OS
Keeping your Chrome OS data safe and secure is important. However, backing up data in Chrome OS is different from other operating systems due to its use of Google Cloud Services.
In this guide, we’ll go over how you can back up your Chrome OS data, Chrome OS settings, Android Apps Data, and even Chrome OS Linux data. To start, make sure your Chromebook is plugged in, then follow the steps below.
How to backup files to Google Drive
Every Chrome OS device has direct access to Google Drive, a cloud storage platform. You can use this to back up files like PDFs, photos, videos, important documents, and more.
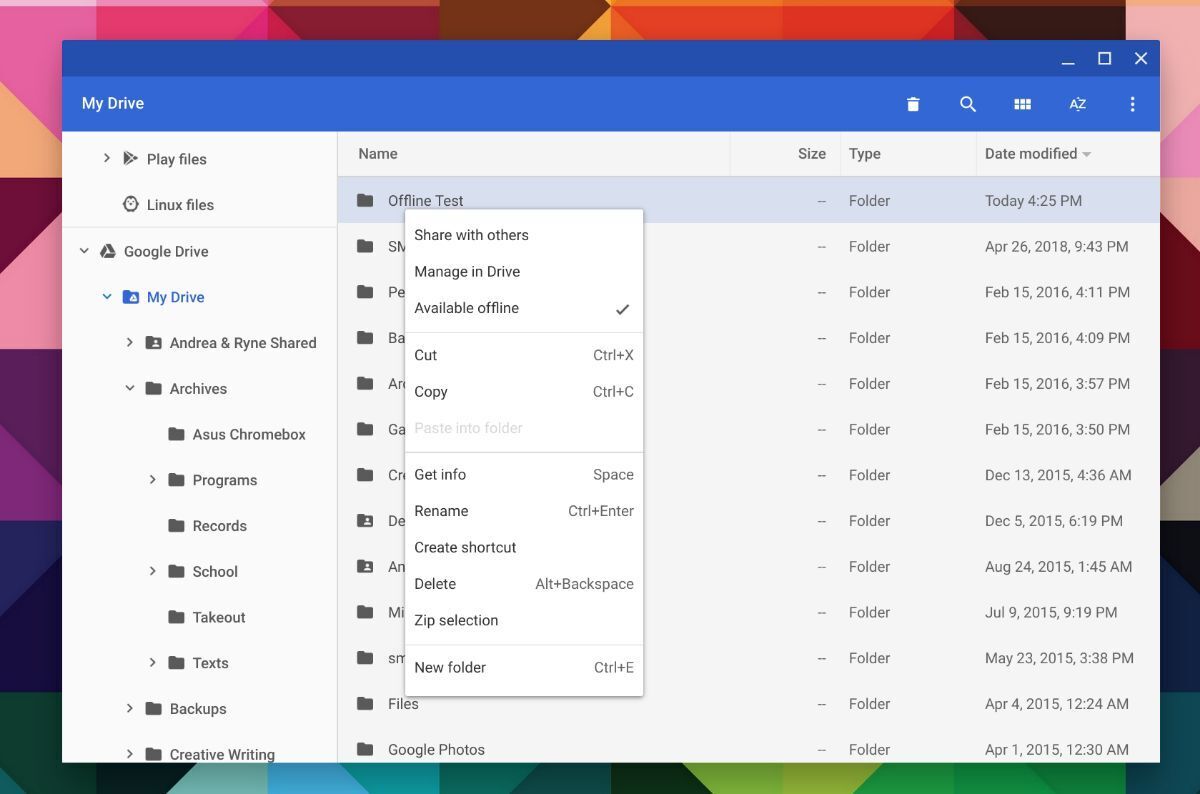
To back up these types of files on your Chromebook, follow these steps. First, open the Chrome OS file manager. Once it’s open, create a folder named “Backups”.
After you’ve created your “Backups” folder, add any PDF files, photos, videos, important documents, etc. When all the files you want to back up are in the folder, copy the “Backups” folder into the “Google Drive” section in the Chrome OS file manager. As soon as you move the folder into “Google Drive”, it will start to back up to Google’s cloud storage service.
How to access your Google Drive backups
If you need to access your Google Drive backups on your Chromebook, follow these steps. First, open the Chrome OS file manager. Once it’s open, find the “Google Drive” section and look for the “Backups” folder.
When you’ve found the “Backups” folder, you can copy it to your Chromebook in the Files app. Alternatively, you can leave the folder in the “Google Drive” section and access the individual files there.
How to backup your Chromebook settings
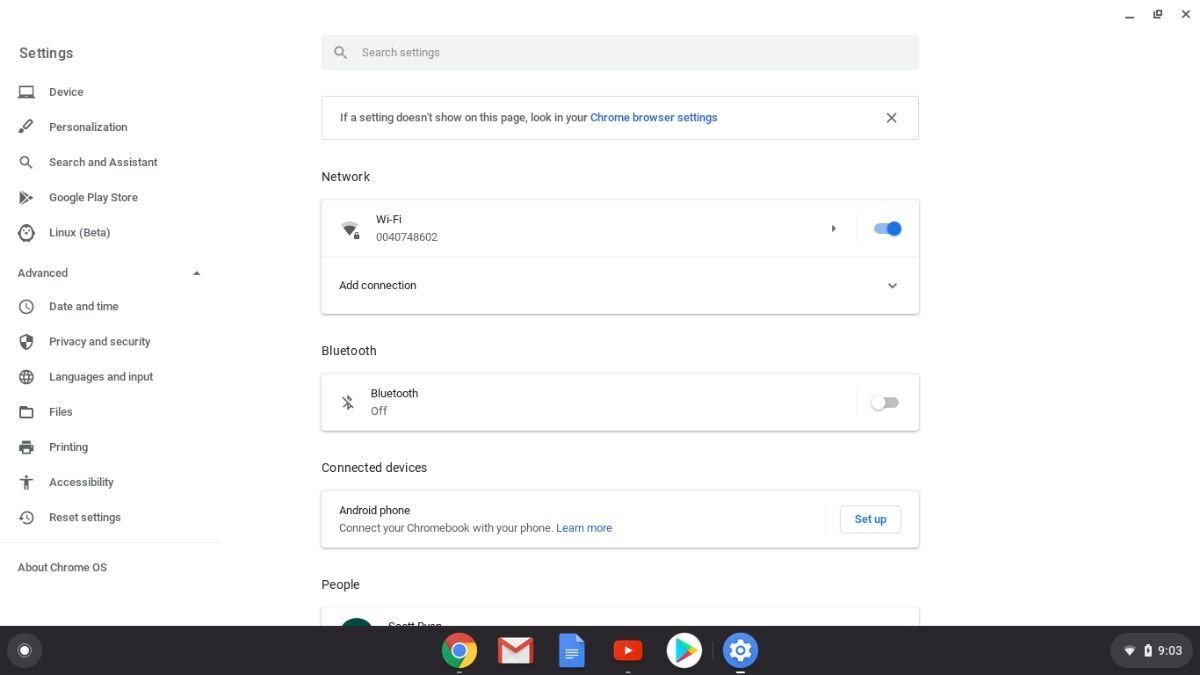
Besides backing up important files on your Chromebook, it’s a good idea to also back up your settings to the cloud. Here’s how to do it. First, click on the clock in the Chrome OS dash. After clicking on the clock, look for the gear icon and select it with your mouse.
When you’ve selected the gear icon, Chrome OS will load up the settings area. From here, find the “Sync and Google Services” section, then look for “Manage sync”. When you’re in the “Manage sync” section, make sure everything is enabled.
By enabling everything in the “Manage sync” section, you’re ensuring that all your important Chrome OS settings are synced up with the Google Cloud, effectively creating a backup.
How to Backup Android app data
Chrome OS users often install Android apps on their Chromebooks. If you’ve installed Android apps on your Chrome OS device, it’s important to make sure that the data within these apps is backed up. Here’s how to do it.
First, click on the clock in the Chrome OS dashboard to open up the Chromebook status area. Once you’re in the status area, find and click on the gear icon. Selecting the gear icon will take you to the Chrome OS settings area.
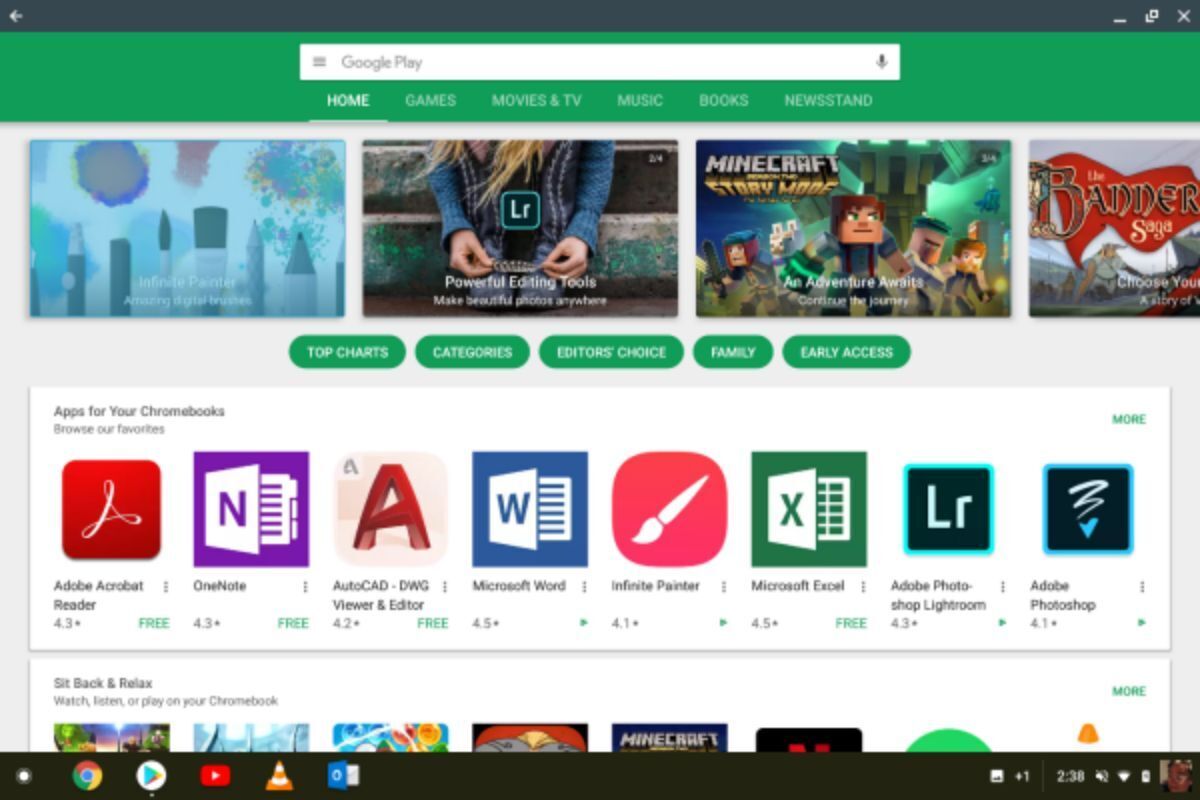
Inside the Chrome OS settings area, look on the left side of the page. Here, you’ll find a section called “Apps”. Use your mouse to click on this option. As soon as you select “Apps”, you’ll see all the app-related settings on your Chromebook. Now, in the “Apps” section, find “Google Play Store” and select it with your mouse. Doing this will bring up the settings area for Android Apps on your Chromebook.
From here, look for the “Manage Android Preferences” option and click on it. When you select this option, Chrome OS will load up the Android settings page. Once you’re in the Android settings page, scroll down to the “System” section and click on “Backup.”
When you select “Backup”, look for “Enable Backup to Google Drive”. If you choose this option, your Android app settings will be backed up to Google’s cloud sync service, Drive. However, remember that not every Android app supports this backup feature, so some app data might not be backed up.
How to Backup and Restore your Linux apps
If you use Linux apps on your Chromebook, you’ll want to ensure your Linux environment is backed up. Thankfully, it is easy to create a backup of your entire Linux developer environment on a Chromebook, ensuring your Linux apps, Linux files, etc. are backed up.
To start, click on the “Clock” icon in the Chrome OS dash. After selecting this icon, choose the “Gear” icon to open up the Chrome OS Settings area. Then, scroll down and find the “Advanced” section, and click the arrow.
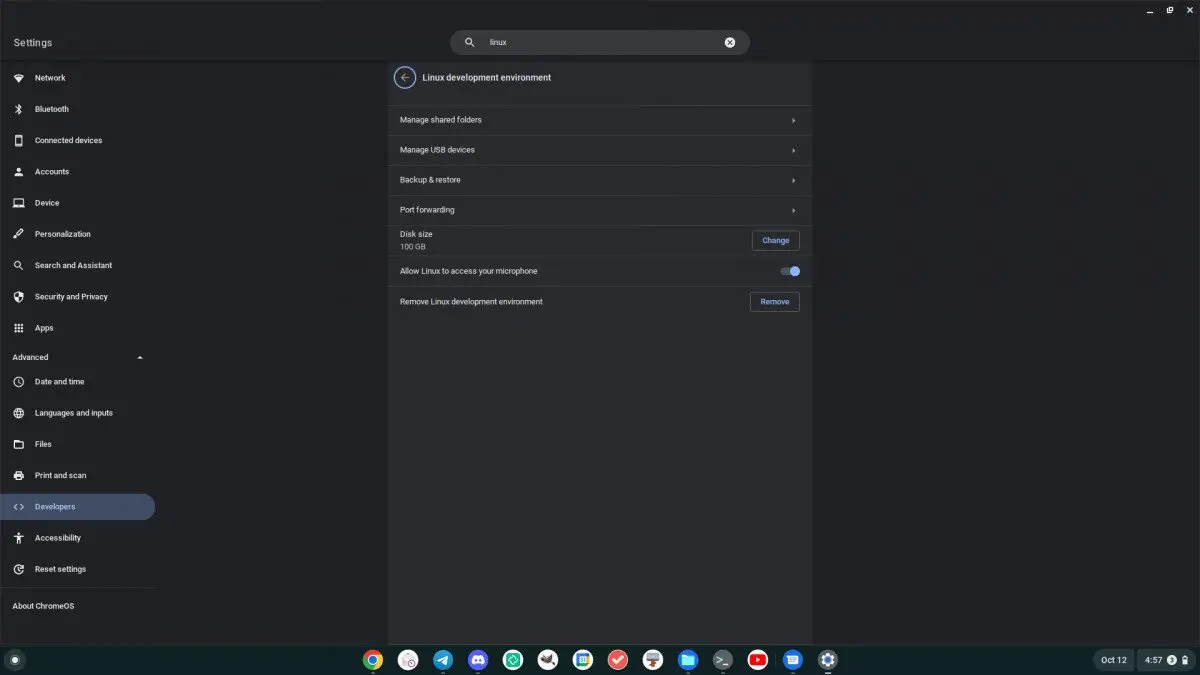
After selecting the down arrow, look for “Developers” and locate “Backup & Restore”. Select it to access the backup feature for the Linux development environment. Then, click on the “Backup” button to create a backup.
Once you click on the “Backup” button, you’ll be prompted to choose a location to save your backup. Using the Chrome OS file picker, choose a location. Chrome OS will then create your backup. This backup can take some time, so be patient.
When the backup is complete, you can take the backup file (with the .tini) extension, and upload it to Google Drive via the Chrome OS file manager. Or, save it to an external SD card/USB drive.
Restoring your Linux apps
To restore your Linux backup on your Chromebook, load up the Chrome OS settings area, select the arrow next to “Advanced,” choose “Developers,” and select the “Backup & Restore” button in the “Linux development environment” area.
After choosing the “Backup & Restore” button, choose “Restore”. When you select the “Restore” button, the Chrome OS file picker will appear. From here, you can browse for your .tini backup file to restore your Linux apps to Chromebook.
