Navigation Layer Lets You Perform Countless Actions On Android Using Edge Gestures [Review]
I’m a huge fan of using gestures instead of buttons for quickly performing several actions on our devices. Nokia got it just right with their version of MeeGo on the amazing N9, but that device was sadly doomed to failure before even its launch due to Nokia’s exclusive Windows Phone deal with Microsoft. Next came Ubuntu Touch with a similar edge gesture-driven interface, which I completely fell in love with when I tried it out for my review. While Android doesn’t natively offer such system-wide edge gestures, we’ve seen third-party apps like Switchr bring this functionality to our favorite mobile OS. Though none of the options we’ve previously seen offer the robust functionality of the app we’re about to take for a spin. Navigation Layer just might be the ultimate edge gesture control solution for Android, offering multiple gestures from the left, right and bottom edges of your screen, each of which can be configured to perform an action of your choice such as OS navigation, music playback control, task management and even launching apps.
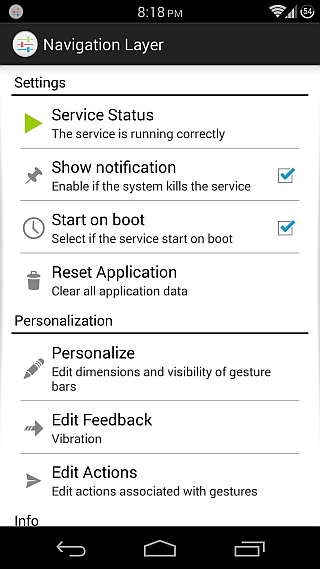
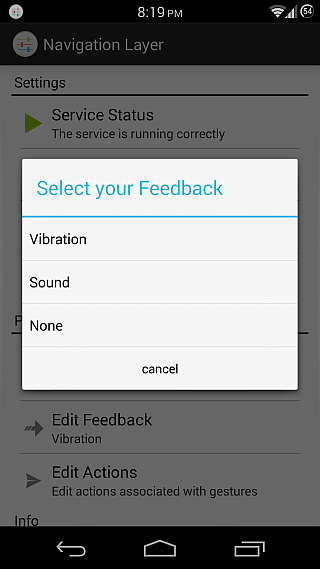
Before you can start using the edge gestures, you’ll need to start Navigation Layer’s service using the first button on its home screen. And to keep Android from killing its service in order to free up memory while it runs in the background, it’ll be a good idea to enable the second option there too, which adds a persistent notification of the app. Lastly, if you don’t want to have to launch it each time you restart your device, make sure to enable the Start on boot option. Each time you use one of the app’s gestures, you get a vibration feedback by default, which you can change to sound or none from the Edit Feedback option under Personalization.
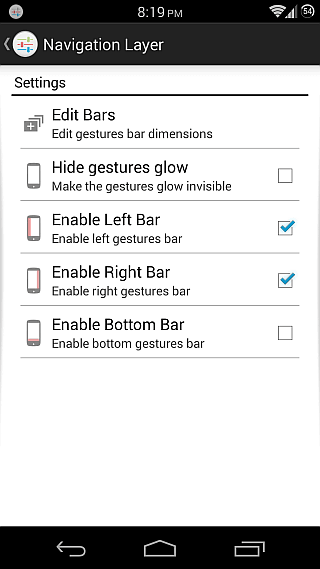
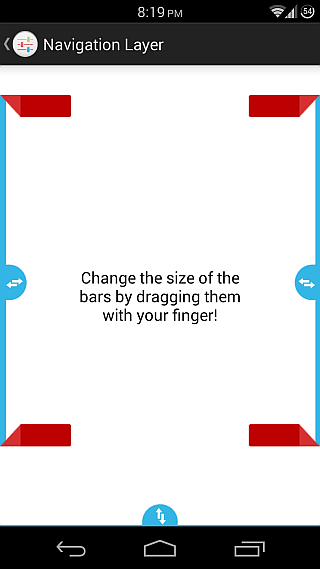
Before we start configuring all the gestures offered by the app, let’s configure the gesture bars first. These are regions from where you can initiate the gestures. Three options are available here: the left, right and bottom edges of your screen, which you can enable selectively. Hit the ‘Edit Bars’ button and you’ll be able to resize the lengths as well as thickness of these bars, and toggle the glow that’s visible for them (which you can see along the edges in several of these screenshots).
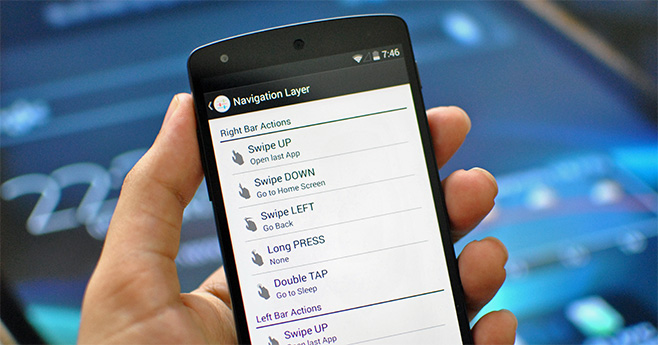
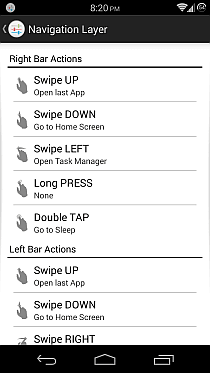
Now that we’ve configured our bars, it’s time to set up the actual actions for our gestures. For that, head to the Edit Actions section. In addition to the Long PRESS and Double TAP actions that are common to all bars, there are gestures available for each bar in three possible directions depending on the edge. You can swipe UP, DOWN and LEFT from the right edge, UP, DOWN and RIGHT from the left one, and UP, RIGHT and LEFT from the bottom one. This makes a total of five gestures available for each bar.
When it comes to the actions that can be assigned to each gesture, there’s a huge list available, including going to the Home screen, opening the last app, going back, opening the notification drawer, putting the device to sleep, opening the Task Manager, opening the menu, closing the current app and going to the Home screen, clearing the RAM by killing all active apps, controlling music playback such as jumping to the next or previous song and pausing/resuming the currently playing song, or opening any of your installed apps.
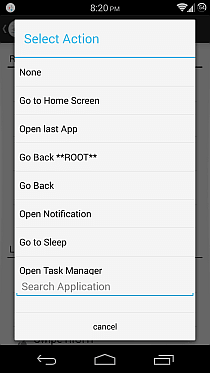
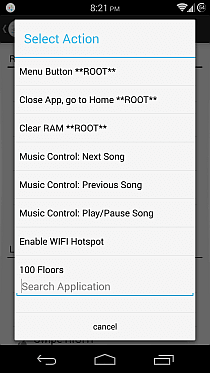
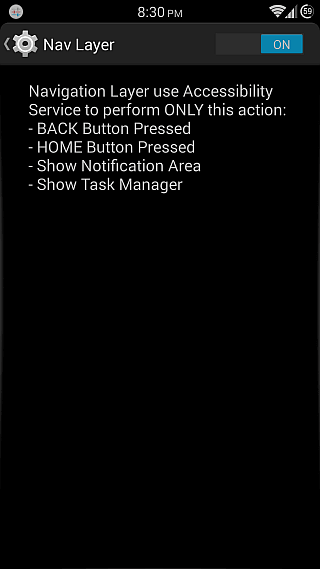
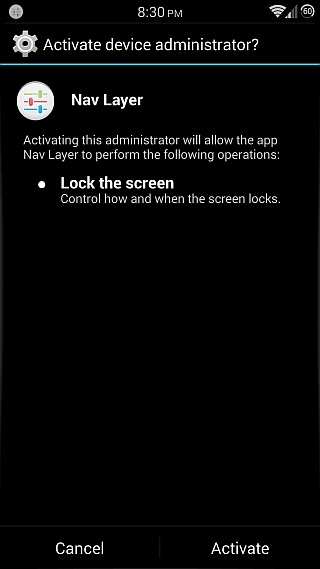
Needless to say, the options labeled **ROOT** are available only for rooted devices. If you have a rooted device, the app will ask for root access upon first launch, which you must provide in order to use these root-only options. Though non-rooted users (as well as rooted users who don’t want to grant the app root privileges) can also use some advanced actions not labeled as **ROOT** such as ‘Go Back’, ‘Go to Home Screen’, ‘Open Notification’ or ‘Open Task Manager’ by going to Settings > Accessibility and enabling the app’s accessibility service there. Similarly, for the ‘Go to Sleep’ action, you’ll need to set Navigation Layer as a device administrator from Settings > Security > Device administrators.
Considering the sheer number of apps we test out here at AddictiveTips for reviews on a daily basis, it’s quite rare for us to keep an app installed on our devices after we have finished the review. And for us, not hitting the uninstall button for the app even after reviewing it really marks it as an exceptional one, which is the case with Navigation layer. Ever since I came across the app, I’ve been finding myself increasingly relying on its gestures for the supported actions. And thanks to the GravityBox Xposed Module’s handy Expanded Desktop mode that I use (which can also be found in many popular custom ROMs such as CyanogenMod, AOKP and Paranoid Android), I’ve completely hidden away my Navigation bar, and use the edge gestures for going back, jumping to the home screen, and opening the Task Manager.
All these features with a price tag of free make this app a must-have for anyone who’s a fan of using gestures for navigating their device. And given its price tag of free, there’s no reason not to give it a try!
Install Navigation Layer from Play Store

I think you have forgotten Jolla with SailFish OS as better exponent of edge gestures on smartphones and touch devices also is the natural continuation of N9 MeeGo OS.
I feel Trigger is best. No root….and provide multiple options
I’m using all-in-one gestures app for this, for quite some time. I think it probably has a bit less options but IMO it is better.
I have almost the same notification bar with OmniROM and the right settings 😉
What app is used to style the notification bar like in the pictures?
It’s the GravityBox module for the Xposed Framework. I’ll be writing an in-depth review of the module soon, covering all its great features.