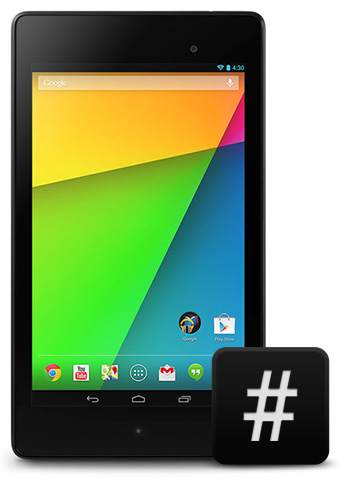
How To Root The New Nexus 7 (2013) On Android 4.3 Jelly Bean
It has been barely a couple of weeks since Google revealed the new 2013 edition of its Nexus 7 tablet shipping with Android 4.3 at its “Breakfast with Sundar Pichai” event, along with the latest version of Android itself that we covered for you in our summary post. If you’ve managed to get your hands on the tablet and can’t wait to root it in order to run all your favorite root-only apps on it or mod and hack it to your heart’s content, we’ve got you covered. Read on for more details and the instructions.

As you’d expect if you’re familiar with Nexus devices, the tablet ships with an unlockable bootloader and runs a fully stock version of Android 4.3 Jelly Bean. Therefore, rooting it doesn’t take much effort other than unlocking your bootloader, flashing or booting it into a custom recovery such as ClockworkMod or TWRP, and then flashing the SuperSU package compatible with Android 4.3, in the exact same way that works for rooting the Nexus 4, Nexus 7 (old), Nexus 10 and Galaxy Nexus on Android 4.3. For the novices among us, here are the step-by-step instructions, along with everything you need to download.
Disclaimer: Please follow this guide at your own risk. AddictiveTips will not be liable if your device gets damaged or bricked during the process.
Requirements
- Nexus 7 2013 edition (codenamed flo)
- Latest TWRP recovery recovery for the new Nexus 7 (ClockworkMod isn’t available for it yet)
Procedure
- Download the TWRP recovery image for the device using the links provided above.
- Proceed to our rooting guide for Nexus 4, 7, 10 and Galaxy Nexus on Android 4.3 and follow the exact same steps, simply using the downloaded recovery file when flashing the recovery.
Your tablet should now be rooted, and you can start using the root-only apps, hacks and mods on it.
[via XDA-Developers]

My N7 2013 doesn’t go into the TWRP recovery – rather the stock one. Tried many time with no luck.