How To Add A Do Not Disturb Switch To The Volume Controls In Android 7
Android has a do not disturb mode that you can enable to block out all unimportant alerts. The feature was introduced in Android 6 along with Quick Settings in the Notifications shade. This shade includes a toggle for enabling and disabling do not disturb. The shade can be accessed from any and all screens which means you can enable and disable do not disturb from any screen. If the shade isn’t the easiest for you to access, Android 7 has an option to include a Do Not Disturb toggle in the volume controls. When you press either of the two physical volume keys on your device, a slider appears on your screen for managing the volume. As of Android 7, you can add a Do Not Disturb switch to this on-screen slider. Here’s how.
The slider is added through the System UI Tuner. It’s a set of hidden experimental features in Android. It must be enabled first. To do so, make sure you have developer options enabled. Pull down the notifications shade all the way so that the Quick Settings are visible.
In the status bar, you will see a little cog wheel button next to the profile button. Tap and hold it until it starts to spin and then release it to enable System UI Tuner.
Open the Settings app and scroll to the very bottom. You will see a new preference called ‘System UI Tuner’. Tap it and tap ‘Do Not Disturb’.
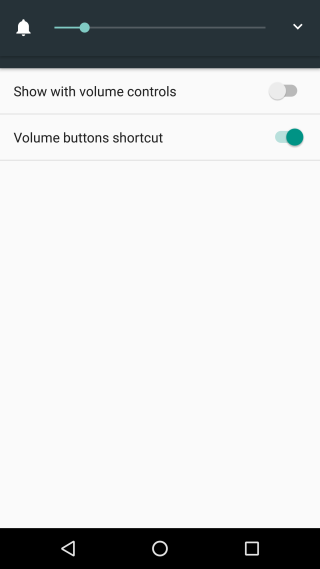
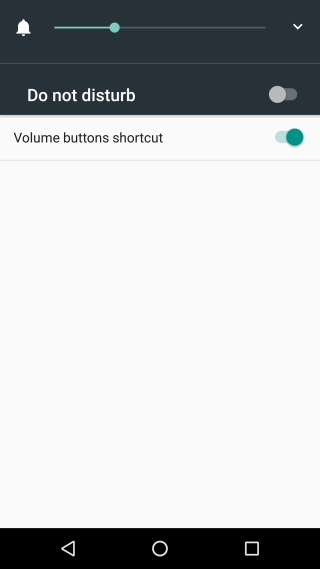
Turn on the ‘Show with volume controls’ switch. When you increase or decrease the volume of your device using the physical volume buttons, the on-screen volume control will have a Do not disturb toggle button under it.


This was added in Android 7.1.1 which is still in beta unless you own a Google Pixel phone. You won’t see it just now but the beta is going to be rolled out to the stable channel soon so there isn’t much of a wait left.
