How To Easily Install CM ROM With The Official CyanogenMod Installer
Here at AddictiveTips, we’re all for flashing custom ROMs to our Android devices and taking them to levels of customization not usually possible on stock Android (though that’s changing fast with the awesome Xposed framework). CyanogenMod has been one of our favorite custom ROMs for quite a while, and for good reason – it has been around on the custom ROM scene since its very beginnings, and supports the most devices out there. If you have been intrigued by the idea of installing it to your device but the whole process of manually flashing a custom recovery, downloading different files, booting into the unfamiliar recovery interface and using it to install the ROM has been keeping you from it, your worries may be over. The team behind CyanogenMod now offers an easy solution for installing the ROM to an impressive list of popular devices with little hassle, in form of CyanogenMod Installer. All you have to do is install both the Android and Windows apps of the installer, launch them both and follow the easy instructions, and the downloading as well as installation will be done for you automatically behind the scenes. What’s more – it doesn’t even require root access, so you can even do it on a stock device!
In case you are unfamiliar with CyanogenMod or would like to learn more about this excellent ROM, take a look at our in-depth CyanogenMod review.
Disclaimer: Follow this guide entirely at your own risk. AddictiveTips will not be responsible if your device gets damaged or bricked in the process.
Before You Proceed
The CyanogenMod installer is built to work with devices that have unlocked or officially unlockable bootloaders. This means if you are running a device that comes with an encrypted bootloader that requires some unofficial hack to unlock, you’re out of luck. There is an official list of supported devices maintained by the CyanogenMod team at their wiki, so make sure to look at it before proceeding.
Also, it is extremely important to take a full backup of your data and current ROM, in case you’ll need to switch back to it. If your device’s bootloader is locked to begin with, you should also backup the contents of your internal storage to your PC, because the installer will unlock the bootloader in the process, and that will result in a full wipe of all your device’s contents (except those on an external SD card on devices that come equipped with an SD card slot).
Furthermore, your device can be running any stock or ROM as long as it is able to identify the device correctly to the installer. Though for full support, it’s recommended to be running the official stock ROM for your device.
Lastly, root access is not required, so you don’t have to worry about rooting your device first. Though if you have already done so, it shouldn’t be a problem at all – the installer works irrespective of root.
Requirements
- USB debugging enabled
- CyanogenMod Installer Android & Windows App or if you’re a Mac user, join the CyanogenMod Installer for Mac Beta Google+ community and download the beta installer from its About section.
Procedure
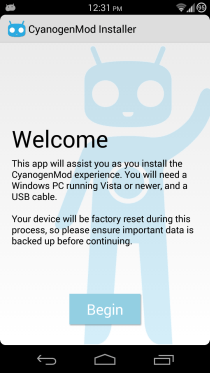
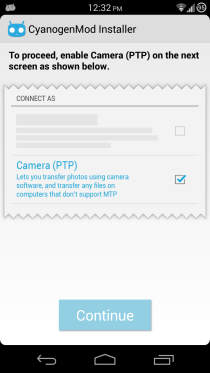
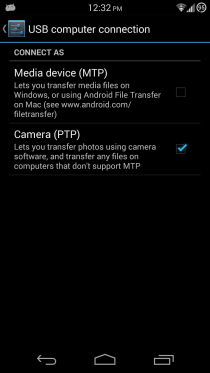
Launch CyanogenMod Installer on your Android device and tap ‘Begin’ on the first screen. The second screen will instruct you on enabling the Camera (PTP) mode for your USB connection; tap Continue and enable Camera (PTP) on the next screen.
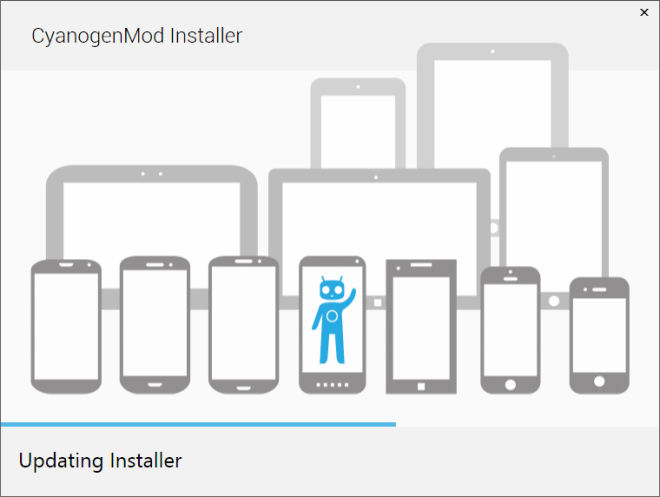
Now launch CyanogenMod Installer on your Windows PC. It will first update itself if required.
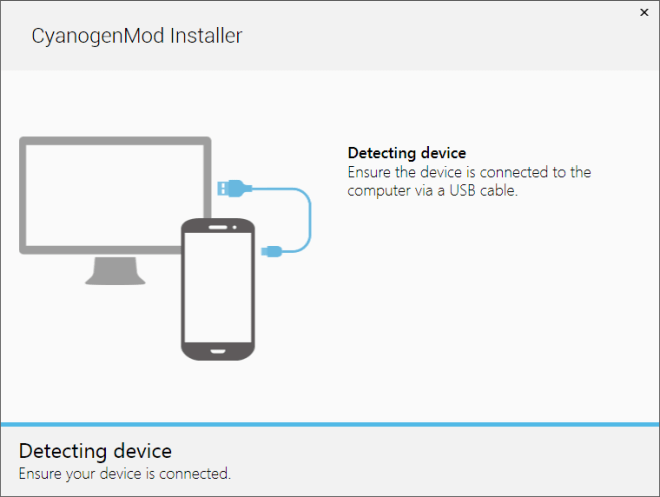
Next, the installer will attempt to detect your device. At this stage, make sure to connect your device to your PC via USB.
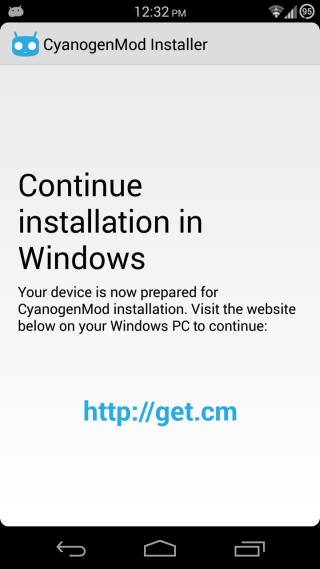
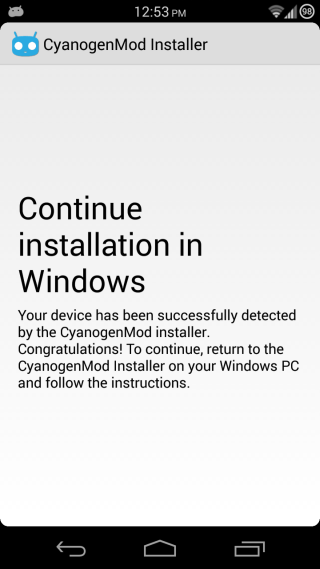
On your device, enabling Camera (PTP) mode will land you on a screen stating you are ready to install CM and should continue on Windows. If you have followed the previous steps the right way, you should now see a message on your Android device stating it has been successfully detected by the installer.
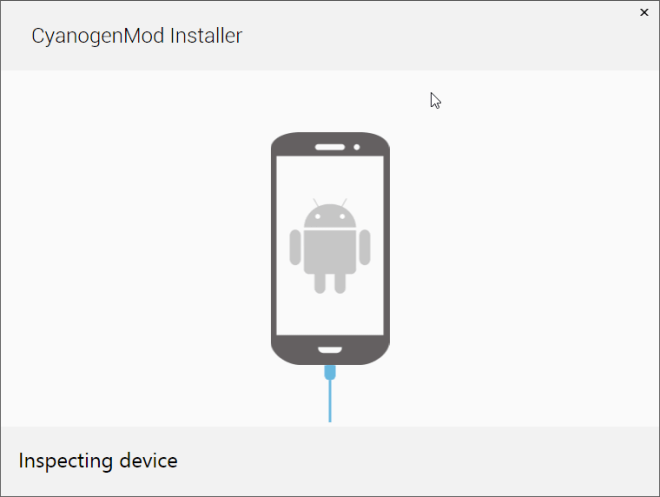
The Windows app will then inspect your device and check if it is compatible.
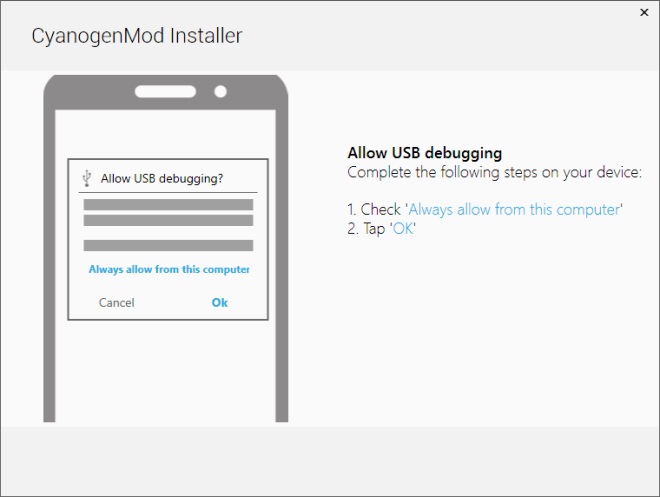
If you are prompted to allow USB debugging on your device, make sure you tap OK on the dialog that appears on your device’s screen.
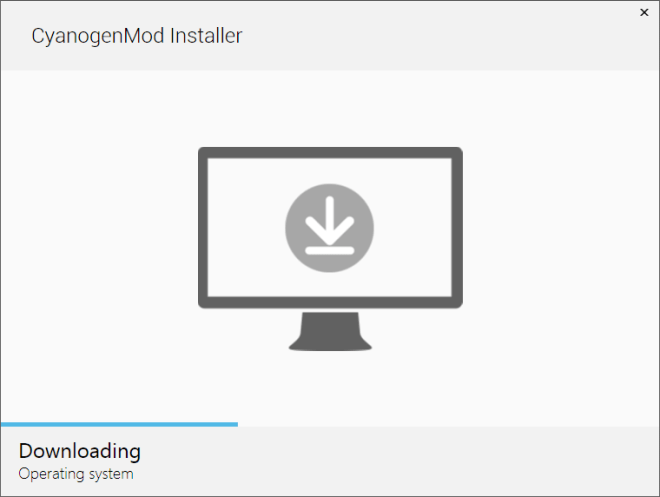
After that, the CyanogenMod Installer will start downloading the required files for your device, starting with the recovery software, followed by the operating system and finally some system applications.
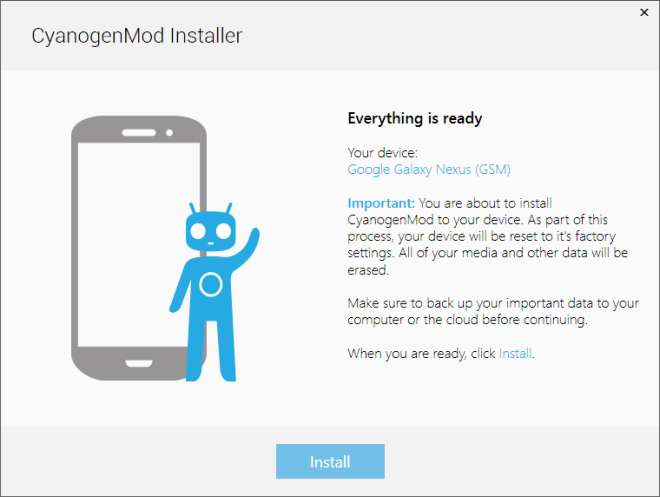
Once everything has been downloaded, you’ll be prompted to install the ROM. Just double-check that you have backed up everything you need from your phone to an external SD card or your PC, and when you’re ready, click Install.
From this point onward, the installer will take over, rebooting your device itself whenever required, and performing all the necessary steps for installing CyanogenMod on it. Just make sure to keep an eye on the PC app as well as on your device’s screen, and follow any instructions that may appear there. In a few minutes, you’ll end up with CyanogenMod fully up and running on your device.
It’s great to see an official solution like this from the biggest name in the Android custom ROM scene, and we’re hoping other popular ROM developers will also start offering similar solutions to make the switching process easier for non-technical users.
What do you think of the CyanogenMod Installer? Would you rather use this method, or stick with the old manual flashing method? Tell us about it in the comments below.

What a unnecessarily complicated and roundabout method, I do this all the time & that was pretty confusing
The windows installer is inspecting my Nexus 5 and it won’t stop? Its been doing it for at least 5 minutes. Is this normal?
I’m fine with the old method
To take a full backup of your data and current ROM you have to have root access, right? So if you want to do a full backup you have to root your phone and for instance install CWM. Will not the simplicity of the installer fall away as your still have to root and install a custom recovery in order to do a backup?
“All you have to do is install both the Android and Windows apps of the installer”
Windows? Shame about that.