Xbox 360 Transformer Pack Makes Windows 7 Look Like Xbox 360
After bringing you a number of Windows 7 transformation packs, including he Android , Mango, iOS, Windows 8, Mac OS X, and the Ubuntu Skin Pack, we have come across yet another elegant skin pack, called Xbox 360 Transformer Pack. Unlike the previously-reviewed transformation packs, this skin pack has been developed by a different developer, “the-dhruv-8”. However, just like our previously reviewed skin packs, you can install this one by simply launching an executable file, and following the simple setup wizard. In other words, you do not need to go through any manual theme patching methods.
Note: Please bear in mind that such transformation packs are difficult to uninstall and a system restore point will not revert the changes. Before installing the Xbox 360 Transformer Pack, make sure that you backup your computer to revert the changes (if required). Moreover, make sure that UAC (User Account Control) is disabled.
To get started, launch the EXE file, accept the terms and conditions and click Next.

It is worth mentioning here that this skin pack is ad-supported, as it attempts to change your default home page and search engine. You can avoid this by unchecking the respective options during the installation process.

When installing this transformation pack, you will be presented with the option to install the UXTheme Patch, DLL files and other extra items (e.g., wallpaper, visual styles etc). Click Install to begin the installation process.

This will install the skin pack on your Windows 7 computer.

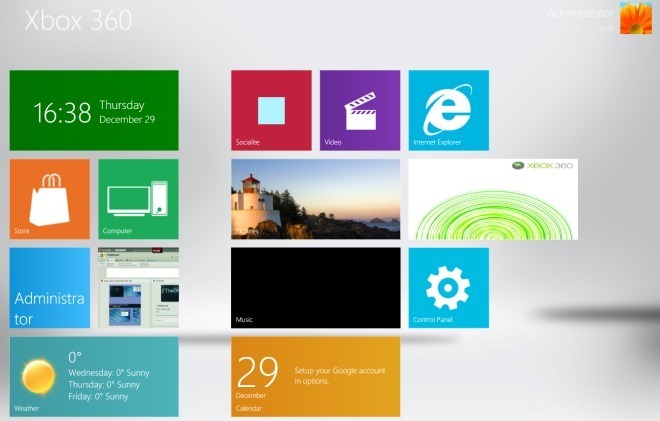
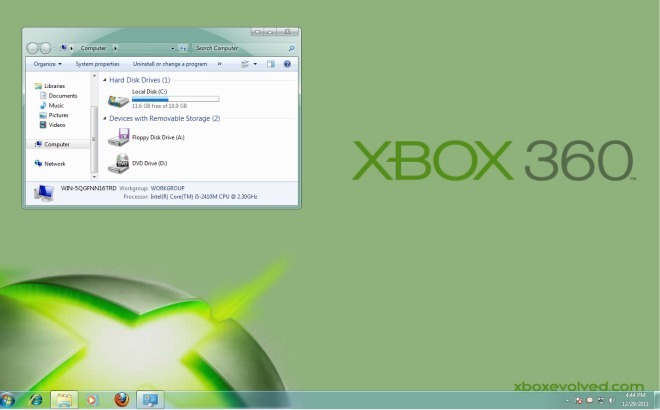
The following screenshot displays some UI elements of this skin pack, including the Windows 8 Metro UI like menu.

You can switch to the normal desktop mode by hitting the Windows key.

Xbox 360 Transformer Pack works only on Windows 7 32-bit operating systems.
Download Xbox 360 Transformer Pack

Nice 🙂
The post clearly explains that you can un-check this option. Ofcourse I unchecked it, see details above with the screenshot.
Nice 🙂