Easily Create, Design & Publish Your Own eBooks Online With Papyrus
For authors looking to crash through the exclusivist publishing gateway, self-publishing online can be quite a liberating option, and many contemporary and struggling writers have lately been using it as their primary publishing option. Amazon’s direct publish has helped thousands of writers achieve a greater audience than ever before, and there are many other like it. We’ll be taking a look at one such today, Papyrus. What sets this web app apart from the competition is its overall approach to the business of online publishing. More details after the jump.
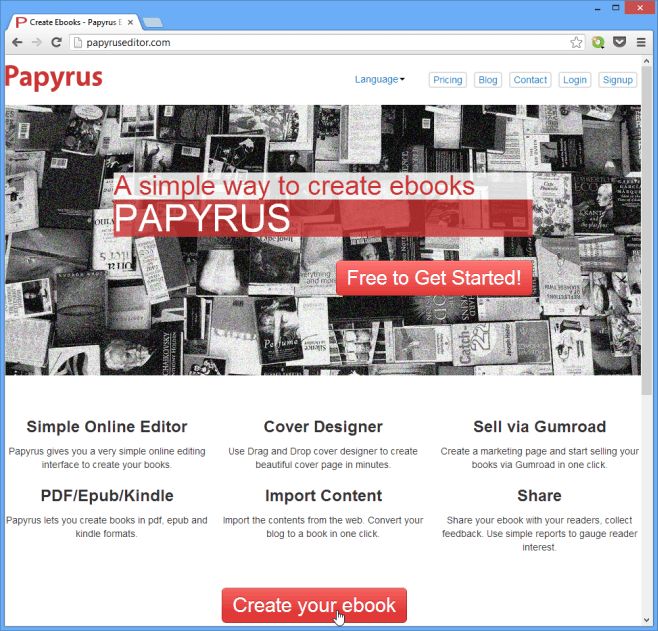
So let’s get a-writing! When you’re at the Papyrus website, click ‘Create your ebook’ to get started. You can write your book in French, German, Chinese or Spanish, too, in addition to English; simply choose your language from the drop-down menu up there.
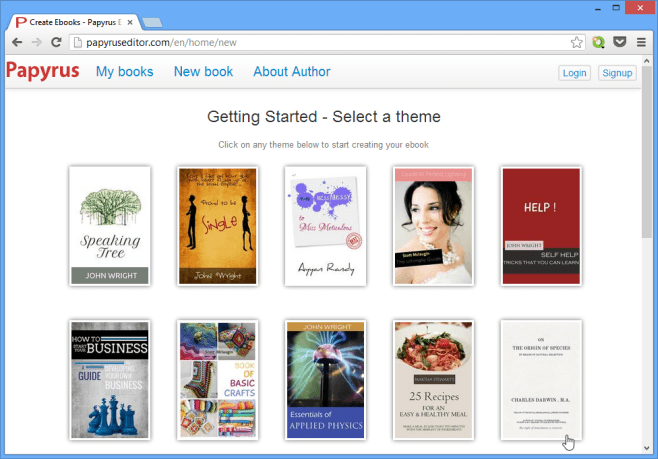
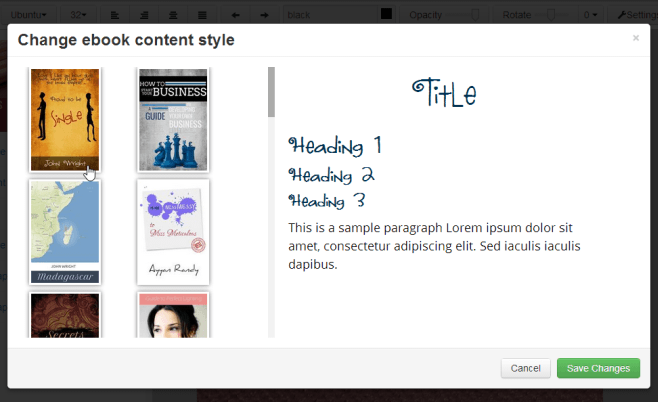
The first thing you need to do is to select a theme for your book. A theme is basically a cover, plus a specific font style for headings and content. There are quite a few options to choose from, but don’t worry about making the wrong selection; you can switch to a different theme, or even edit the one you’ve selected, any time during the writing process.
You don’t need to signup for an account to create your eBook, but you do need one to publish it. With an account, you’ll also be able to access all the books you’ve written under ‘My books’, which is a handy feature if you’re planning a series, or publishing multiple books through the service. More on that later.
Once you’re in the editing interface, a guide will automatically start explaining how to begin your eBook. Go ahead and take the tour – it’s the quickest way to acquaint yourself with all the different features and options offered by Papyrus.
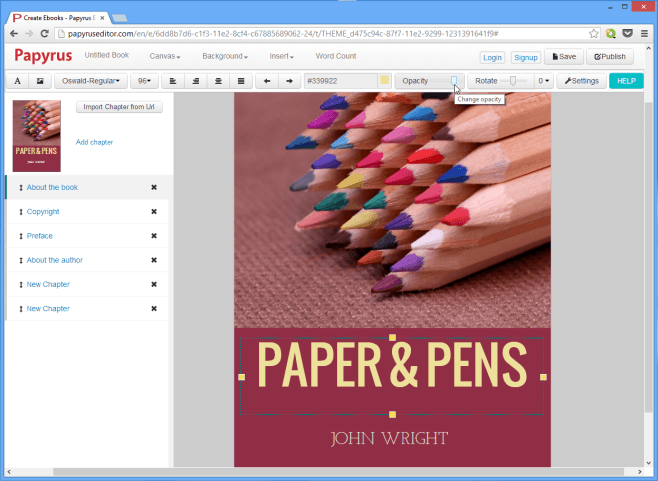
Most of the screen is taken up by the editing area, where your book is displayed. This is where you’ll do most of your work – creating a cover and generally writing your book. On the panel to the left, there’s a little design preview of your book’s cover, along with a list of all the chapters you’ve written so far (the Table of Contents). You can reorder chapters by dragging. To go to a chapter, simply click it from this list; to delete one, click the cross mark in front of an unwanted chapter. Similarly, use the ‘Add chapter’ button above the list to add a new one. You can also import a webpage directly from the internet via the ‘Import Chapter from Url’ button; the imported webpage will be included as a chapter in your eBook. (Do make sure it’s your own content, though!) You can, thus, convert your blog to an eBook in just one click!
A horizontal toolbar at the top contains all the editing tools you’ll need to write your book. You can, among other things, switch size, font, color and opacity for images and text. With the ‘Rotation’ slider, you can slant a selected item at an angle. To name your book or edit the existing name, click ‘Untitled Book’ and write what you want to call it there.
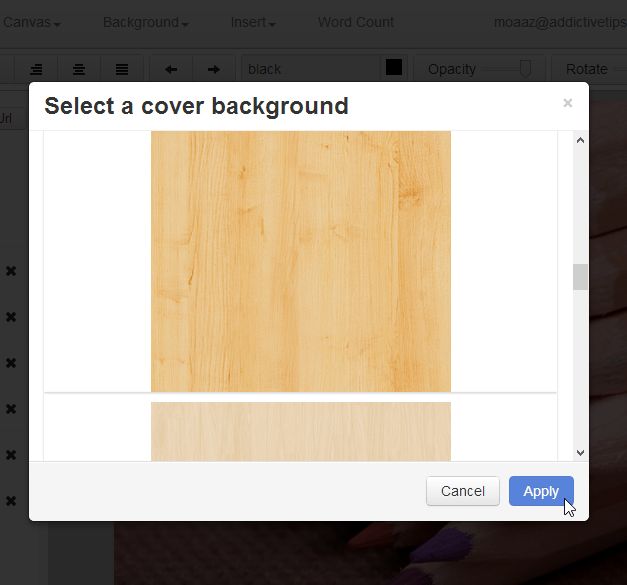
Above the editing tray, you’ll see additional drop-down menus where you can clear everything in the display area, or choose a new background for your book’s cover.
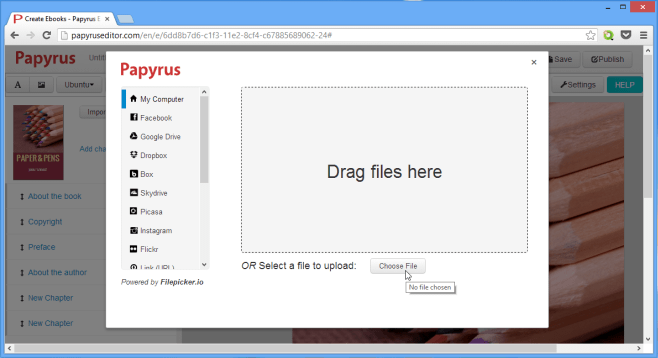
Now let’s take a look at the editing options you have for chapters. To insert images, click ‘Insert’ followed by ‘images’, and from you’ll be presented with an exhaustive list of options, allowing you to upload images from your local drive, a plethora of social networking sites, and your cloud storage accounts.
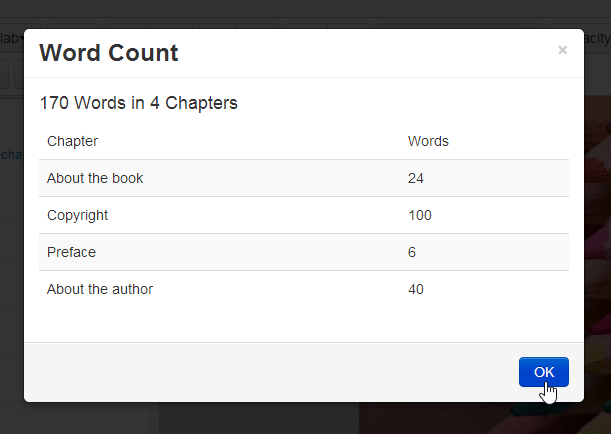
There’s also a ‘Word Count’ option that allows you to see a detailed breakdown of your eBook’s chapter by chapter word count.
If you want to change your book’s content style, you can do so while writing. Simply click the ‘Settings’ button from the top and choose from one of the available styles.
Use the ‘Save’ button at top-right to make sure you don’t lose any changes while writing. When you’ve finished your book and edited it to satisfaction, you can click ‘Publish’ to generate PDF, EPUB or Kindle formats of you book.
The service offers Free, Professional and Publisher tiers; eBooks created using the free account will contain the Papyrus logo. The Professional account costs $20 per eBook and offers a few additional features such as letting you sell your eBooks via Gumroad, and providing you with an an author webpage as well as an eBook sales website of your own, with a synopsis of your books and purchasing options for visitors.
Papyrus is not compatible with Firefox, Opera or Internet Explorer; you need to be on Chrome or Safari to use it.
Update:
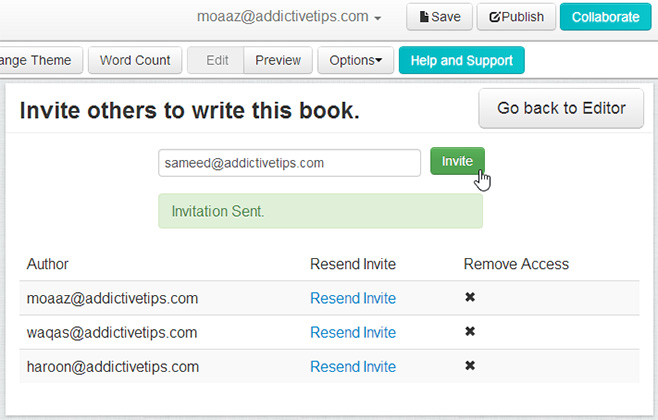
Papyrus has been tweaked a little since it was released. On top of the usual functions, you can now invite others to work together on the same book in real time via the Collaborative Editor. Simply click the blue-green ‘Collaborate’ button in the user interface, type in an email address, and send the invite. Your would-be co-authors will receive a link that allows them to edit the book with you.
The other important change is that, from now on, only books below five thousand words will be free. Writing anything above a novella will require you to upgrade to the ‘Professional Plan’ before you can save and/or publish. Details are available at the Papyrus website and blog.

You can just change your user agent and still use it! Some browsers may make it look funny (because it’s old).